Table of Contents
Advertisement
Available languages
Available languages
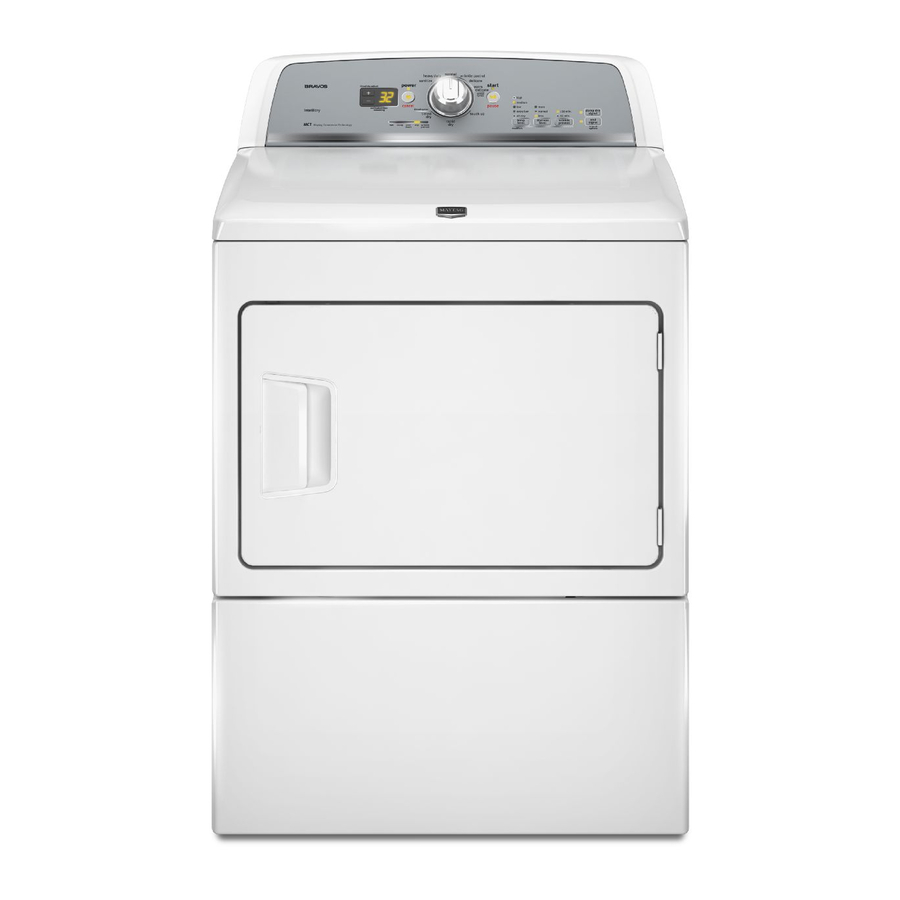
ELECTRONIC
DRYER
USE AND CARE GUIDE
S cHeuse LectrONIQue
GUIDE
D'UTILISATION
ET
D'ENTRETIEN
Para una versi6n de estas instrucciones
en espa_ol, visite www.maytag.com
Table of Contents
Table des mati6res
DRYER SAFETY ...............................................................
2
CHECK YOUR VENT SYSTEM
FOR GOOD
AIR FLOW ..................................................
4
CONTROL
PANEL AND
FEATURES .................................
5
CYCLE GUIDE .................................................................
6
USING YOUR
DRYER .....................................................
7
DRYER CARE .................................................................
10
TROUBLESHOOTING
..................................................
12
WARRANTY
..................................................................
14
ASSISTANCE OR SERVICE ...........................
BACK COVER
SI_CURITI _ DE LA SI_CHEUSE .........................................
15
VITRIFICATION
D'UNE
CIRCULATION
D'AIR
ADI_QUATE
POUR LE SYSTEME D'I_VACUATION
........ 17
TABLEAU DE COMMANDE
ET CARACTI_RISTIQU
ES................................................
18
GUIDE
DE PROGRAMMES
...........................................
19
UTILISATION
DE LA SI_CHEUSE ...................................
21
ENTRETIEN
DE LA SI_CHEUSE ......................................
23
DI_PANNAGE ................................................................
25
GARANTIE ....................................................................
27
ASSISTANCE OU SERVICE .......... COUVERTURE
ARRIERE
W10096989A
W10097006A-SP
Advertisement
Table of Contents

Related Manuals for Maytag Bravos MEDX600XW0


Summary of Contents for Maytag Bravos MEDX600XW0
- Page 1 S cHeuse LectrONIQue ELECTRONIC DRYER USE AND CARE GUIDE GUIDE D'UTILISATION D'ENTRETIEN Para una versi6n de estas instrucciones en espa_ol, visite www.maytag.com Table of Contents Table des mati6res SI_CURITI _ DE LA SI_CHEUSE ......... DRYER SAFETY ............... VITRIFICATION D'UNE CIRCULATION...
- Page 2 DRYER SAFETY Your safety and the safety of others are very important. We have provided many important safety messages in this manual and on your appliance. Always read and obey all safety messages. This is the safety alert symbol. This symbol alerts you to potential hazards that can kill or hurt you and others. All safety messages will follow the safety alert symbol and either the word "DANGER"...
- Page 3 IMPORTANT SAFETY INSTRUCTIONS WARNING: To reduce the risk of fire, electric shock, or injury to persons when using the dryer, follow basic precautions, including the following: • Read all instructions before using the dryer. • Do not repair or replace any part of the dryer or attempt any servicing unless specifically recommended in this...
- Page 4 CHECK YOURVENT SYSTEM FOR GOOD AiR FLOW Maintain good air flow by: • Cleaning your lint screen before each load. • Replace plastic or foil vent material with 4" (102 mm) diameter heavy, rigid vent material. Fire Hazard Use a heavy metal vent. Do not use a plastic vent.
- Page 5 CONTROL PANEL & FEATURES eco normal wrinkle control delicate start BRAVOS • high • medium • more pause • low timed cycles _m_e¢ocon serve m extra low m norma( m tSOmin. timed m airdry mless m 6om(n........... rapid MCT Maya_Comr_'eciaTeclnoogy damp COOl...
- Page 6 CYCLE GUIDE -- SENSOR DRY CYCLES Not all cycles and settings are available on all models. Settings and options shown in bold are default settings for that cycle. SENSOR CYCLE - Senses moisture in the load or air temperature shuts off when load reaches...
- Page 7 Setting the Drying Temperature Select a drying temperature based on the fabrics in your load. If you A Low to Medium heat setting may be used for drying medium- are unsure of the temperature to select for a load, select the lower weight items such as sheets, blouses, dresses, underwear,...
- Page 8 Press POWER/CANCEL Setting modifiers timed dry adjust power • high • medium • low • more • normal • 150 min. • extra low • less • 60 min. • air dry estimated time cancel remaining temp [eve[ 1 Press the POWER/CANCEL button to turn on the dryer. modifiers The default cycle settings will be shown.
- Page 9 Select cycle options (if desired) Remove garments promptly after cycle is finished fdamp dry_ • 150 min. • _ signal J • 60 rain. (_ wrinkle • signal hi.low.off Promptly remove garments after cycle has completed to reduce options wrinkling. Use the Wrinkle Prevent feature to avoid wrinkling when you are unable to remove a load from the dryer as soon as it stops.
- Page 10 DRY[R CARE Cleaning the lint screen Every load cleaning The lint screen is located in the door opening of the dryer. A screen blocked by lint can increase drying time. To clean: 1. Pull the lint screen straight up. Roll lint off the screen with your fingers.
- Page 11 , storage, and moving care the drum light (on some models) Install and store your dryer where it will not freeze. Because some water may stay in the hoses, freezing can damage your 1. Unplug dryer or disconnect power. dryer. If storing or moving your dryer during freezing weather, 2.
- Page 12 First try the solutions suggested here or visit our website and reference FAQs (Frequently Asked Questions) to possibly avoid the cost of a service ca[[...In U.S.A. htt)://www.maytag.com/he[p - In Canada www.maytag.ca If you experience Possible Causes Solution Clothes are not drying...
- Page 13 First try the solutions suggested here Or visit Our website and reference FAQs (Frequently Asked Questions) to possibly avoid the cost of a service ca[[...In U.S.A. htt)://www.maytag.com/he[p - In Canada www.maytag.ca If you experience Possible Causes Solution Dryer displaying code "PF"...
- Page 14 MAYTAG ®LAUNDRY WARRANTY LIMITED WARRANTY For one year frorn the date of purchase, when this rna'orj appliance is operated and rnaintained according to instructions attached to or furnished with the product, Maytag brand of Whirlpool Corporation or Whirlpool Canada I_P (hereafter "Maytag")
- Page 15 SECURITE DE LA SECHEUSE Votre s6curit6 et celle des autres est tr_s importante. Nous donnons de nombreux messages de s6curit6 importants dans ce manuel et sur votre appareil menager. Assurez-vous toujours lire tousles messages de securit6 et de vous y conformer. Ce symbole d'alerte de securite vous signale les dangers potentiels de deces et de blessures graves &...
- Page 16 IMPORTANTES INSTRUCTIONS DE SI=CURITle AVERTISSEMENT • Pour r6duire le risque d'incendie, de choc electrique ou de blessure Iors de I'utilisation la s6cheuse, il convient d'observer certaines precautions el6mentaires dont les suivantes " • Life toutes les instructions avant d'utiliser la secheuse. •...
- Page 17 VERiFICATiON D'UNE CIRCULATION D'AIR ADEQUATE POUR LE SYSTEME Maintenir une bonne circulation d'air en effectuant les operations suivantes : Nettoyer le filtre _ charpie avant chaque charge. Remplacer le mat6riau de conduits d'6vacuation en plastique ou en aluminium par des conduits d'6vacuation Iourds et rigides de 4"...
- Page 18 TABLEAU • high • medium pause • • more estimated time _ ecoconserve remammg timed cycles • extra • normal • _ 50 rain. • air dry • Jess • 60 rain. Mwa_ Co //_ercia T echlo ogy Certains programmes et options ne sont pas disponibles sur certains...
- Page 19 GUIDE DE ?ROGRAMME5 o PROGRAMME5 DE SECHAGE DE DETECTION Certains programmes ne sont pas disponibles sur certains modules. Les r6glages et options indiqu6s en gras sont les r6glages par d6faut pour ce programme. PROGRAMME DE SI_CHAGE DE DI_TECTION - D6tecte I'humidit6 pr6sente dans la charge ou la temp6rature de I'air et s'6teint Iorsque la charge atteint le degr6 de s6chage s61ectionn6.
- Page 20 GUIDE DE PROGRAMMES o PROGRAMMES MANUELS Certains programmes ne sont pas disponibles sur certains modules. Les r6glages et options indiqu6s en gras sont les r6glages par d6faut pour ce programme. TIMED DRY (s_chage minute) - Fait fonctionner la s6cheuse pour la dur6e sp6cifi6e sur le module de commande.
- Page 21 UTiLiSATiON DE LA SECHEUSE Risque d'explosion Risque d'incendie Garder les mati_res et les vapeurs inflammables, telle Aucune laveuse ne peut completement enlever I'huile. que I'essence, loin de la s_cheuse. Ne pas faire s6cher des articles qui ont _t_ sails par Ne pas faire secher un article qui a dej_ _t6 touche par tout genre d'huile (y compris les huiles de cuisson).
- Page 22 S_lectionner les r_glages S_lectionner les opt!ons de programme (si desire) de programme ['damp dry_ timed dry adjust • high O L signal J • medium • • more • extra low • normal • 150 min. signal 1 • • less •...
- Page 23 ENTRETiEN DE LA SECHEUSE Nettoyer le filtre _ charpie Nettoyage avant chaque charge I'emplacement de la Le filtre _ charpie se trouve dans I'ouverture de la porte de la s6cheuse. Un filtre obstru6 de charpie peut augmenter la dur6e de s6chage. [_viter de laisser autour de la s6cheuse des 616ments qui Nettoyage pourraient obstruer la circulation de I'air et emp6cher le...
- Page 24 prendre avant les vacances, ement de la lampe du tambour (sur certain modules) un entreposage ou un d_m_nagement 1. D6brancher la s6cheuse ou d6connecter la source de Installer et remiser la s6cheuse _ I'abri du gel. II est possible que de I'eau stagne dans les tuyaux; ceci pourrait courant 61ectrique.
- Page 25 Essayer d'abord les solutions sugg6r6es ici ou visiter notre site Web et consulter [a FAQ (Foire aux questions) pour tenter d'6viter [e coClt d'une intervention de d6pannage... Aux E.-U., http://www.maytag.com/he[p - Au Canada, www.maytag.ca Si les ph_nom_nes sulvants se produlsent...
- Page 26 DEPANNAGE cont. Essayer d'abord [es solutions suggdrdes ici ou visiter notre site Web et consulter [a FAQ (Foire aux questions) pour tenter d'dviter [e coot d'une intervention de ddpannage... Aux E.-U., http://www.whir[poo[.com/he[p - Au Canada, www.whir[poo[.ca Si les ph_nom_nes sulvants se produlsent Causes possibles...
- Page 27 _ moins que ces dommages soient dus _ des vices de mat6riaux ou de fabrication et soient signal6s _ Maytag dans les 30 jours suivant la date d'achat. I.'enl6vement et la liwaison. Ce gros appareil m6nager est conqu pour 6tre r6par6 _ domicile.
- Page 28 We recommend that you use only Factory Specified Parts. These parts will fit right and work right because they are made with the same precision used to build every new MAYTAG _ appliance. To locate factory specified replacement parts, assistance...
Need help?
Do you have a question about the Bravos MEDX600XW0 and is the answer not in the manual?
Questions and answers