Table of Contents
Advertisement
SAVE THIS MANUAL
FOR FUTURE
REFERENCE
_ARS
owners
manual
MODEL NO.
113.244512
Serial
Number
Model and serial
number may be found
at the right-hand
side
of the frame.
You should
record both
model and serial
number
in a safe place
for future use.
CAUTION:
Read GENERAL and
ADDITIONAL
SAFETY
INSTRUCTIONS
carefully
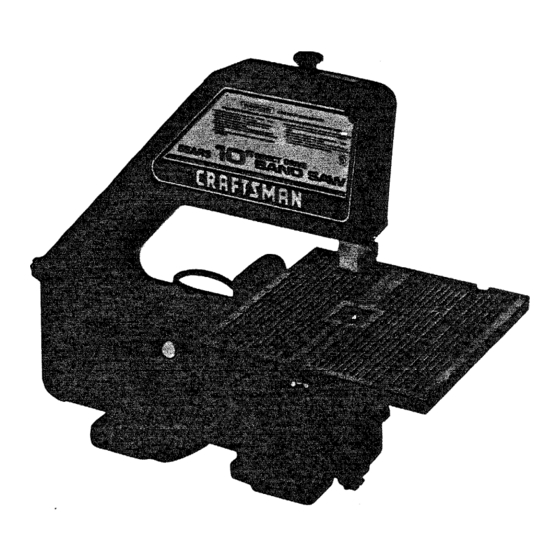
IO-INCH DIRECT DRIVE
BAND SA W
,, assembly
• operating
, repair parts
Sold by SEARS,
ROEBUCK
AND
CO., Chicago,
IL. 60684 U.S.A.
Part No. 69188
Advertisement
Table of Contents

Related Manuals for Craftsman 113.244512


Summary of Contents for Craftsman 113.244512
- Page 1 SAVE THIS MANUAL FOR FUTURE REFERENCE _ARS owners manual MODEL NO. 113.244512 Serial Number Model and serial number may be found at the right-hand side of the frame. You should record both model and serial number in a safe place IO-INCH DIRECT DRIVE for future use.
- Page 2 FULL ONE YEAR WARRANTY ON CRAFTSMAN BAND SAW If within one year from the date of purchase, this Craftsman Band Saw fails due to a defect material or workmanship, Sears will repair it, free of charge. ,WARRANTY SERVICE IS AVAILABLE...
- Page 3 additi onal safety instructions for ALWAYS adjust the upper blade guide and Safety is a combination operator common sgnse and alertness at all times when the band blade guard to just clear the workpiece protect the operator, to keep blade break- saw is being used.
- Page 4 for band saw additional safety instructions Should any part of this band saw be missing, Think Safety. bend, or fail in any way, or any electrical Safety is a combination of operator common component fail to perform properly, shut sense alertness whenever band...
- Page 5 electrical motor specifications requirements This plug requires a mating 3-conductor ground- This machine is designed to use, and is equip- ed type outlet as shown. ped with, a 1725 RPM motor. It is wired for opera- tion on 110-120 volts, 60 Hz., alternating current.
- Page 6 contents CONTENTS POWER TOOL WARRANTY ....Adjusting Lower Blade Guides ....Drive Belt Tension ......GENERAL SAFETY INSTRUCTIONS Adjusting Table ......POWER TOOLS ......GETTING TO KNOW YOUR BAND SAW ADDITIONAL SAFETY INSTRUCTIONS Tension Adjustment Knob ....FOR BAND SAW ......Cover Knobs ........
- Page 7 ITEM TABLEOF LOOSE PARTS QTY. Basic saw assembly Owners Manual ....Saw Table assembly ....Bag Assembly Part #69189 Containing the following parts: Switch, Key ......Nut, Wing 1/4-20 ....Screw, Truss Hd. 1/4-20 x 3t4 ..Washer 17!64 x 5!8 x 1/16 ... Washer 17164 x 47164 x 1/16 ..
-
Page 8: Installing Table
assembly Securely clamp board to workbench using "C" clamps. "C" NOTE: Supporting surface where band saw is CLAMP mounted should be examined carefully after mounting to insure that no movement during use result. If any tipping or walking is noted, secure workbench or supporting... -
Page 9: Replacing Blade
Locate bevel indicator 10-24xl/4 cross hd. screw in loose parts bag. Install bevel indicator and screw as shown using a phillips screwdriver. NOTE: This unit comes with the Band Saw blade installed, assembly continues on p. 10, "Tension- ing the Blade." i ,mlrll ©... -
Page 10: Tensioning Blade
assembly Loosen the two screws that secure the lower blade guides and separate them about 1/8". Loosen the screw holding the lower blade guide support and slide support all the way toward the rear of the saw, and retighten all screws. -
Page 11: Tracking Blade
TRACKING THE BLADE Loosen the Tension Lock Knob (1/4 of a turn ° TRACKING ADJUSTMENT TENSION counter-clockwise) turn tracking SET SCREW LOCK KNOB adjustment set screw slightly with a 1/8" hex wrench. (Turning set screw moves tension wheel back and forth.) If the blade moves toward... - Page 12 assembly NOTE: The upper and lower blade guides support _he blade and keep it from twisting during opera- tion. An adjustment is necessary when blades are changed, replaced or installed for the first time, ADJUSTING UPPER BLADE GUIDE ASSEMBLY Loosen lower screw on side of upper blade guide assembly and slide...
- Page 13 DRIVE BELT TENSION DRIVEBELT WARNING: TO AVOID INJURY DUE TO ACCI- DENTAL START, UNPLUG TOOL BEFORE MAKING ADJUSTMENTS. The tension on the drive belt has been set at the factory. If adjustment is needed, use a 3/16" hex wrench to loosen upper and lower cap screws.
- Page 14 etting to know your band saw Tension adjusting knob...Tightening Guide lock knob...The upper blade knob (clockwise) will increase the tension guide assembly should just clear the work- the blade. Loosening it (counter clockwise) piece while cutting. Always adjust the upper will decrease the tension.
- Page 15 basic ban saw operation A band saw is basically a "curve cutting" mach- KERF ine. It is also used for straight-line cutting opera- tions such as cross cutting, ripping, mitering, WORKPIECE beveling, compound cutting, and resawing. It is not capable of doing inside cutting.
- Page 16 Do not allow pitch to accumulate on the table, blade insert, blade guides, or thrust bearings. Clean them with Craftsman Pitch _Remover. Apply a thin coat of automobile-type wax to the table so the wood slides easily while cutting. Also...
- Page 17 |rou ieshooting WARNING: FOR YOUR SAFETY, TURN SWITCH "OFF" REMOVE PLUG FROM POWER OUTLET BEFORE READJUSTING ALIGNING YOUR BAND SAW. REMEDY PROBABLE CAUSE TROUBLE Motor will not run. 1. Defective On-Off switch. 1. Replace defective parts before using Defective power or motor cord.
-
Page 18: Parts List
PARTS LIST FOR CRAFTSM 10 INCH MOTORIZED BANDSP, W "R MODEL 113.244512 "0 53 / l_f. - Page 19 PARTS LIST FOR CRAFTSMAN 10 INCH MOTORIZED BANDSAW MODEL NO. 113.244512 ALWAYS ORDER BY PART NO. AND DESCRIPTION - NOT BY KEY NO. Part Part Description Description 69165 60102 Ring-Retaining 5160 Screw-Soc. Cap. 1/4-20xl STD315505 69172 *Bearing-Ball Spacer 69166 60528...
- Page 20 owners manual SERVICE Now that you have purchased your 10-Inch Band Saw should a need ever exist for repair parts service, simply contact any Sears Service Center and most Sears, Roebuck and Co. stores. Be sure to provide all pertinent facts when call...
Need help?
Do you have a question about the 113.244512 and is the answer not in the manual?
Questions and answers
What size is the saw belt for the 10inch band saw?
The document does not provide the exact size of the saw belt for the Craftsman 10-inch band saw model 113.244512. However, it confirms that a replacement belt is available for this model.
This answer is automatically generated