Advertisement
Quick Links
Advertisement

Related Manuals for Windster RA-7730SS


Summary of Contents for Windster RA-7730SS
- Page 1 RA-7730SS RA-7736SS RA-7742SS RA-7748SS For residential and indoor use only.
- Page 2 Limited Warranty P.15-P.16 WINDSTER recommends that all kitchen range hood be installed by a certified installer.
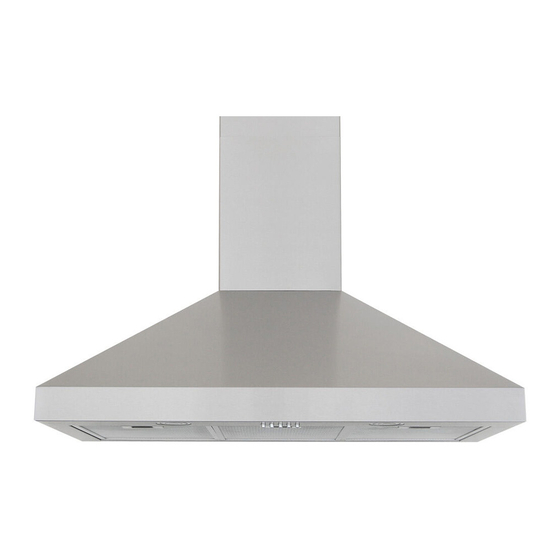
- Page 3 27” 35” 27”-35” If the hood is mounted too low, it may caused heat damaged and fire hazard.
- Page 4 IMPORTANT SAFETY INSTRUCTIONS WARNING – To reduce the risk of fire, electric shock, or injury to persons, observe the following: DO NOT spray any liquid form cleaner on hood surface including lights and control switch. To clean the range hood, spray liquid form cleaner directly onto cleaning cloth for hood cleaning.
- Page 6 code(s). - All electrial work have to be done by certified electrician. - This range hood requires a 120V/60Hz electrical supply and must meet local required safety code(s).
- Page 7 Installation and Maintenance must be carried out by qualified installer Duct cover and extension duct cover fitment may vary depend on the mounting height of the range hood. Install the Upper Mounting Bracket and then adjust the duct to the required height. Ensure the mounted range hood is level when installed for optimum performance.
- Page 8 Fig. 6 Fig. 7 Use a level to balance out both sides to Mount the unit onto the wall with correct ensure the hood will be properly mounted. wall screws. (Note different types of walls require different types of screws) Fig.
- Page 9 Fig. 12 Fig. 13 Correctly align the duct cover into black Black plastic plate. plastic plate. Fig. 14 Fig. 15 Evenly slide duct cover into the slot of the Attach duct cover to duct cover bracket hood. and screw in the screws provided. Fig.
- Page 10 All figures below are for optional ductless installation. The steps will continue after Figure 9 above. Fig. 19 Fig. 20 Fig. 18 Figure 18 (Ductless kit box photo) –Remove the content from box. Fig. 21 Fig. 22 Kit will include: Fig.
- Page 11 Test the LED lights after putting the LED lights back into original position. AL700 AL700 10 9...
- Page 12 Problem Check power plug to see if it is plugged firmly into the power socket.
- Page 13 Range hood should be turn on before cooking to create air pocket. After cooking, range hood should be kept on for additional time until complete ventilation of cooking odor. 10 9...
- Page 14 Model: RA-77 Series Switch holder Switch...
- Page 15 Yellow Motor Capacitor Brown White Power Fig. 29 RA-77 Series Electrical Schematic Diagram RA-77 SERIES See M. DIAGRAMS (Page.14) 160W...
-
Page 17: Limited Warranty
1) Labor: For a period of one (1) year from the date of purchase, if this product is determined to be defective, Windster will repair or replace the product, at its option, at no charge. After the warranty period, you must pay for all labor charges. -
Page 18: Return Policy
EXCEPTIONS. Return Policy Windster offers only the best and highest quality products. If you are not satisfied with your purchase, please contact us within 3 business days of product arrival to obtain a Return Merchandise Authorization (RMA). Returns sent without a RMA will not be accepted. - Page 19 5101 Commerce Drive Baldwin Park, CA 91706 TEL: (626)962-8600 FAX: (626)962-8669...
Need help?
Do you have a question about the RA-7730SS and is the answer not in the manual?
Questions and answers