Subscribe to Our Youtube Channel
Summary of Contents for McCulloch MC1246
- Page 1 MODEL MC1246 Portable Power Steam Cleaner by Top Innovations, Inc. Please read all instructions before use. Mail in your warranty registration card.
-
Page 2: Product Specifications
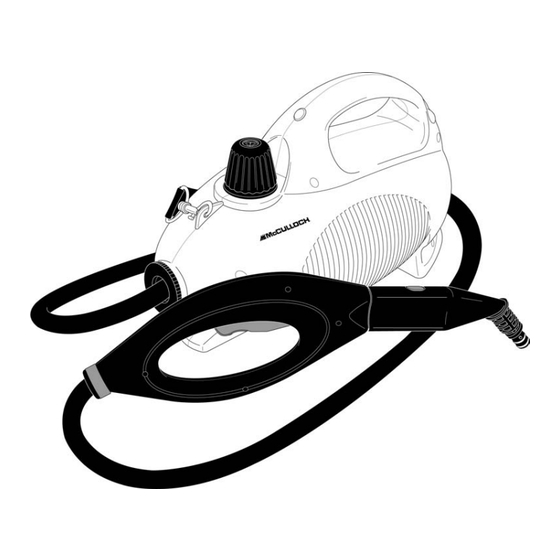
ETTER FROM THE Dear Valued Customer, Congratulations on purchasing your new MC1246 Portable Power Steam Cleaner. This powerful product combines the power of a full-size steam cleaner with the easy portability of a handheld steamer for the ultimate home cleaning and sanitizing solution. Plug in your Portable Power Steam Cleaner and in minutes you are ready to eliminate dirt, grease, grime, stains and more from most anywhere in or around your home. -
Page 3: Important Safety Instructions
IMPORTANT SAFETY INSTRUCTIONS WARNING: To reduce the risk of fire, electrical shock, or injury, the following basic safety precautions should always be followed when using an electrical appliance. READ ALL INSTRUCTIONS BEFORE USING YOUR PORTABLE STEAM CLEANER 1. DO NOT leave your MC1246 Portable Power Steam Cleaner unattended when plugged in. Use only for intended purpose as indicated in this manual. - Page 4 IMPORTANT SAFETY INSTRUCTIONS WARNING: To reduce the risk of electrical shock, this appliance has a three-pronged plug. This plug will fit in a polarized wall outlet only one way. If the plug does not fit fully in the outlet, contact a licensed electrician to install a proper outlet.
- Page 5 ORTABLE OWER TEAM LEANER RODUCT NFORMATION The following features and accessories are included with your Portable Power Steam Cleaner. Carefully inspect Styrofoam packaging material for all parts listed below. To obtain possible missing parts, refer to the Customer Support section on page 14 of this manual. &...
- Page 6 ORTABLE OWER TEAM LEANER RODUCT NFORMATION • The Boiler Cap (1) securely covers the Boiler Fill Hole, preventing hot steam from escaping the Boiler. The Boiler Cap must be unscrewed and removed (only when the Boiler is completely cooled) in order to fill the Boiler with water. •...
- Page 7 SSEMBLING THE ORTABLE OWER TEAM LEANER CONNECTING THE STEAM JET NOZZLE 1. Align Steam Jet Nozzle with Main Nozzle as shown (FIGURE 1-A). 2. Press down on the yellow locking button located on Main Nozzle. While continuing to hold button down, slide Steam Jet Nozzle onto Main Nozzle. Push Steam Jet Nozzle over button, and continue to push it on unit button snaps through hole on Steam Jet Nozzle (FIGURE 1-B).
- Page 8 SSEMBLING THE ORTABLE OWER TEAM LEANER CONNECTING THE UTILITY HEAD 1. Align Steam Jet Nozzle and Utility Head as shown (FIGURE 3-A). Flat edge of Nozzle will align with peg inside of Head connection. 2. Slide Steam Jet Nozzle into Utility Head, pushing Nozzle in as far as it will go to make sure it is in proper position (FIGURE 3-B).
- Page 9 SSEMBLING THE ORTABLE OWER TEAM LEANER CONNECTING THE EXTENSION WANDS 1. Select one of the Extension Wands, and align rear end of Wand with Main Nozzle as shown (FIGURE 4-A). 2. Press down on the yellow locking button located on Main Nozzle. While continuing to hold button down, slide Extension Wand onto Nozzle.
- Page 10 SSEMBLING THE ORTABLE OWER TEAM LEANER ATTACHING THE CLOTH COVER 1. Wrap Cloth Cover around bottom of Utility Head, so that string-ties are positioned around rear connection of Head (FIGURE 5-A). 2. Tie string-ties together to secure Cloth to Head (FIGURE 5-B). FIGURE 5 CONNECTING THE SHOULDER STRAP 1.
- Page 11 SING THE ORTABLE OWER TEAM LEANER FILLING BOILER WITH WATER 1. Place Portable Power Steam Cleaner on a flat, level surface. 2. Make sure electrical cord is unplugged from outlet. 3. If unit has been in use, press and hold Steam Trigger to ensure that any remaining steam has been released.
- Page 12 SING THE ORTABLE OWER TEAM LEANER OPERATING THE PORTABLE POWER STEAM CLEANER NOTE: Be sure that Boiler has already been filled and that all desired accessories are connected before following these steps. 1. Plug electrical cord into a convenient electrical outlet. CAUTION: This unit uses a grounded (3-prong) electrical plug.
-
Page 13: Proper Storage
& S TORAGE UIDELINES PROPER STORAGE Preparing your Portable Power Steam Cleaner for storage is quick and simple. When you have finished your steaming tasks, follow the steps listed below. 1. Unplug electrical cord from outlet. 2. Allow unit to cool completely (at least 30 minutes). 3. -
Page 14: Customer Support
& C ROUBLESHOOTING USTOMER UPPORT PROBLEM POSSIBLE CAUSE SOLUTION Unit fails to steam. Heating Unit is not plugged in. Plug electrical cord into outlet. Indicator Light does not illuminate. Household Circuit Breaker / Reset Circuit Breaker / Ground Ground Fault Interrupter has Fault Interrupter, or replace fuse. -
Page 15: One-Year Limited Warranty
ARRANTY NFORMATION You must call Top Innovations Warranty Service at (800) 711-6617 and obtain a Return Authorization Number before returning any product for any reason. 30-DAY MONEY BACK POLICY If this item does not meet your expectations, it may be returned within 30 days of the date of purchase for either a replacement or full refund of the purchase price less any shipping charges. -
Page 16: Product Serial Number
Top Innovations, Inc. 6655 Troost Ave. Kansas City, MO 64131 Tel: (800) 711-6617 (816) 584-9700 www.topinnovations.com customerservice@topinnovations.com Printed in China PRODUCT SERIAL NUMBER For your convenience, space has been provided below for you to record the serial number of your unit (located on the back or bottom of the unit) for easy reference when contacting our Customer Service Department.


Need help?
Do you have a question about the MC1246 and is the answer not in the manual?
Questions and answers