
Related Manuals for Emerson Liebert OpenComms SL-19534


Summary of Contents for Emerson Liebert OpenComms SL-19534
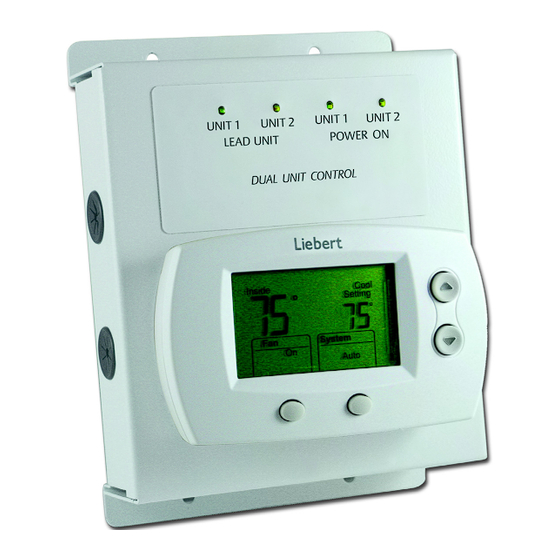
- Page 1 Liebert Dual Unit Control for InteleCool User Manual Precision Cooling For Business-Critical Continuity™ and InteleCool2 ® ®...
-
Page 2: Table Of Contents
............1 NSTALLATION Connecting the Dual Unit Controller to an Electronic Thermostat . -
Page 3: I Nstallation
NSTALLATION The optional Dual Unit Control is designed to control two InteleCool or two InteleCool2® units in a lead/lag fashion. The control contains an electronic timer for switching the operating sequence of two units at intervals of one, two, four or eight days. It also contains a two-stage heat/two-stage cool electronic thermostat with individual heat and cool setpoints. -
Page 4: Connecting The Dual Unit Controller To The Intelecool
1.1.2 Connecting the Dual Unit Controller to the InteleCool 1. Install and level the Dual Unit Control.Leveling is not critical because the electronic thermostat does not contain mercury-filled limit switches. 2. Wire the InteleCool units to the Dual Unit Control using industry-standard thermostat cable. Each InteleCool will need at least 4 conductor, 20 gauge, Class 2 copper wire for distances up to 50 feet (15.2m). -
Page 5: C Ontrol S Tartup
ONTROL TARTUP Start the Dual Unit Control 1. Turn the thermostat Off. 2. Turn on power to both InteleCool2 units. 3. Turn on circuit breakers in each InteleCool2. Both green “POWER ON” LED’s and 1 of the green “LEAD UNIT” LED’s of the Dual Unit Control will be lit if the unit has been properly connected. 4. -
Page 6: Figure 1 Dual Unit Control Board
Figure 1 Dual Unit Control Board DRAWING IS NOT TO SCALE WARNING InteleCool and InteleCool2 units contain potentially lethal voltage. Shut off power before performing any service work. During service, the P2 jumper should be placed on the pins that identify the unit NOT being serviced. -
Page 7: Disposal Of Dual Unit Control
Disposal of Dual Unit Control ISPOSAL OF ONTROL Some thermostats used on this control may contain mercury in a sealed tube. Do not place the control in the trash at the end of its useful life. If this control is replacing a control that contains mercury in a sealed tube, do not place the old con- trol in the trash. - Page 8 Embedded Computing Connectivity Embedded Power DC Power Monitoring Business-Critical Continuity, Emerson Network Power and the Emerson Network Power logo are trademarks and service marks of Emerson Electric Co. ©2007 Emerson Electric Co. Technical Support / Service monitoring@emersonnetworkpower.com Outside the US: 614-841-6755 upstech@emersonnetworkpower.com...
Need help?
Do you have a question about the Liebert OpenComms SL-19534 and is the answer not in the manual?
Questions and answers