Table of Contents
Advertisement
Quick Links
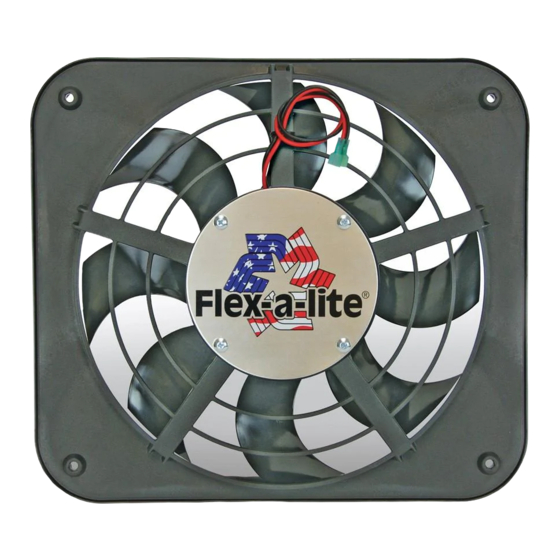
Electric Cooling Fan
Models 111, 123,
133, 143
Installation Instructions
Radiator Support Channel Or Frame Installation
1. Attach frame mounting brackets to fan using the 4 3/4'' self tapping screw.
2. Position fan to desired location, Mark holes on radiator channels or frame.
3. Rotate fan blades to ensure that they are free of obstructions.
4. On the marked hole locations, drill 13/64" holes.
5. Secure the fan to radiator using 1/4" self tapping screws.
6. Check again to be sure the fan blades rotate freely.
"Dual Fan Shown"
rev. 05-19-08
98111
Page 1 of 3
Advertisement
Table of Contents

Related Manuals for Flex-a-Lite 111


Summary of Contents for Flex-a-Lite 111
-
Page 1: Installation Instructions
Electric Cooling Fan Models 111, 123, 133, 143 Installation Instructions Radiator Support Channel Or Frame Installation 1. Attach frame mounting brackets to fan using the 4 3/4’’ self tapping screw. 2. Position fan to desired location, Mark holes on radiator channels or frame. 3. - Page 2 Wiring Instructions Model 111&133 NOTE: Models 123 & 143 do not include a fan control unit; skip to page 3 of instructions. FOLLOW THESE INSTRUCTIONS CAREFULLY TO AVOID DAMAGING THE CONTROL UNIT, FAN MOTORS, AND YOUR VEHICLE! WHEN CRIMPING WIRES, ALWAYS USE A QUALITY CRIMPING TOOL (DO NOT USE PLIERS OR OTHER DEVICES).
- Page 3 Flex-a-lite Consolidated, 7213-45th St. Ct. E. Fife, WA 98424, Telephone No. 253-922-2700, warrants to the original purchasing user, that all Flex-a-lite products to be free of defects in material and workmanship for a period of 365 days (1 year) from date of purchase. Flex-a-lite products failing within 365 days (1 year) from date of purchase may be returned to the factory through the point of purchase, transportation charges prepaid.
Need help?
Do you have a question about the 111 and is the answer not in the manual?
Questions and answers