Table of Contents
Advertisement
Quick Links
INSTALLATION INSTRUCTIONS
Step 1: Remove Existing Fan & Shroud
Separate radiator overflow bottle from shroud and set aside. This will be installed with a new
shroud.
Step 2: Mount overflow bottle
Mount bracket number 35234 to left side of shroud.
Step 3: Mount bottom brackets
Mount spacer and bottom bracket number 35235 to the bottom of the shroud. Leave brackets loose for
adjustment. Use the 2 long hex head screws provided.
Step 4: Mount top bracket with inserts
Mount bracket number 35233 to top of shroud.
Step 5: Mount top bracket
Mount top bracket number 35232 to inserts of bracket 35233.
Leave loose for adjustment.
Step 6: Locate mounting point for control
Locate a mounting point for control near passenger side of radiator.
Control needs to be placed within 18" of radiator inlet hose on
passenger side. You may want to mount next to radiator on
fender well or the corner of the fan shroud. Mount control using
screws provided
Step 7: Wire fan
Route motor wires through shroud, you may drill a 1/4" hole
and pass the wires through.
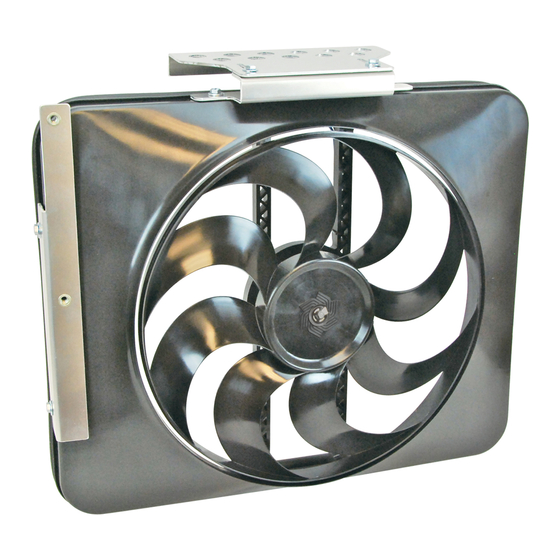
Step 8: Mount fan assembly
Mount fan assembly and tighten brackets. Adjust brackets to seal shroud to radiator core.
Put the fan into place. Before tightening the
brackets, adjust the fan so that the rubber
seal is contacting the radiator core and
compress the seal about 50%. It may help
to have a friend hold the fan against the
core while tightening brackets.
#185
Mustang 5.0
21
17
/
"
1
2
4
/
" DEPTH
1
8
06-04-09
99185
/
"
3
8
Page 1 of 3
Advertisement
Table of Contents

Subscribe to Our Youtube Channel
Related Manuals for Flex-a-Lite Black Magic Extreme 185


Summary of Contents for Flex-a-Lite Black Magic Extreme 185
-
Page 1: Installation Instructions
" " #185 " DEPTH Mustang 5.0 INSTALLATION INSTRUCTIONS Step 1: Remove Existing Fan & Shroud Separate radiator overflow bottle from shroud and set aside. This will be installed with a new shroud. Step 2: Mount overflow bottle Mount bracket number 35234 to left side of shroud. Step 3: Mount bottom brackets Mount spacer and bottom bracket number 35235 to the bottom of the shroud. - Page 2 Step 9: Mount overflow bottle Mount overflow bottle to bracket using bolts and large washers provided. Step 10: Wire the fan motors (refer to Wiring Diagram, below) Using the yellow butt connectors provided, attach a length of the large diameter (10 AWG) red wire to the blue motor wire.
- Page 3 Flex-a-lite Consolidated, 7213-45th St. Ct. E. Fife, WA 98424, Telephone No. 253-922-2700, warrants to the original purchasing user, that all Flex-a-lite products to be free of defects in material and workmanship for a period of 365 days (1 year) from date of purchase. Flex-a-lite products failing within 365 days (1 year) from date of purchase may be returned to the factory through the point of purchase, transportation charges prepaid.
Need help?
Do you have a question about the Black Magic Extreme 185 and is the answer not in the manual?
Questions and answers