Advertisement
Quick Links
Advertisement

Related Manuals for Antec Dark Fleet DF-30


Summary of Contents for Antec Dark Fleet DF-30
- Page 4 ECTION NTRODUCTION...
-
Page 5: Getting To Know Your Case
ETTING TO KNOW YOUR CASE... -
Page 6: Case Specifications
PECIFICATIONS OLOR ″ ″ ″ IMENSIONS EIGHT OOLING RIVE ″ ″ ″ XPANSION LOTS OTHERBOARD I/O P RONT ANEL... - Page 7 EFORE EGIN • • • • • • • •...
-
Page 8: Your Computer
OCATING OSITIONING OMPUTER The DF-30 comes with a top 2.5” Hot Swap drive bay. While it’s in a handy location, we do not recommend that users put any liquid-containing items (drinks, ice cream, coffee, perfume, etc.) on the drive bay. It was not designed for storage purposes. - Page 9 ECTION ARDWARE NSTALLATION...
- Page 10 ETTING...
- Page 11 A – Power supply mounts B – 5.25” drive bay area C – 3.5” drive bay area D – Front panel wiring E – I/O panel...
- Page 12 OTHERBOARD NSTALLATION Make sure you have the correct I/O panel. This mismatched I/O panel can cause difficulties down the road. Installing the motherboard, step 2. Note that not all motherboards will match with all the provided holes; this is normal and won’t affect functionality.
- Page 13 Lift your motherboard out to install the standoffs. Step 5: Screwing in the motherboard after standoffs are installed...
-
Page 14: Standard Atx Power Supply Installation
Note: The DF-30 comes with a CPU cutout on the motherboard tray, which will allow you to change your CPU heatsink without removing the motherboard. ATX P TANDARD OWER UPPLY NSTALLATION PSU resting on the standard PSU mount. - Page 15 Use these screws to secure your power supply to the case. ABLE ANAGEMENT...
- Page 16 3.5” D NTERNAL EVICE NSTALLATION ™ Opening the Fleet-Release™ access door by gently pressing the left side to release it, and then swing it open.
- Page 17 Installing a 3.5” internal device Make sure to install screws on the left side… …as well as the right side.
- Page 18 3.5” D XTERNAL EVICE NSTALLATION Remove this drive bay cover. Insert your drive as shown.
- Page 19 2.5” H SING Using the top 2.5” hot-swap drive bay...
- Page 20 5.25” D XTERNAL EVICE NSTALLATION The plastic drive bay faceplate should pop free. A screwdriver may be needed to remove the metal cover plate. 5.25” device installation...
- Page 21 2. 5” D NTERNAL EVICE NSTALLATION The 2.5” mounting location Secure your 2.5” device from the bottom.
- Page 22 ECTION RONT ORTS...
- Page 23 USB 2.0 Signal Names Signal Names 9 10 AC’97 / HD A UDIO ORTS Signal Names Signal Names (HDA) (AC’97)
- Page 24 LED C OWER WITCH ESET WITCH RIVE ONNECTORS Front Panel switch leads EWIRING OTHERBOARD EADER ONNECTIONS Front panel headers...
- Page 25 ECTION OOLING YSTEM...
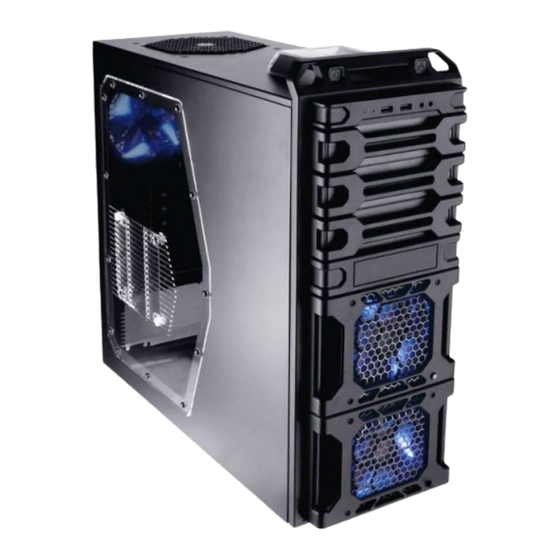
- Page 26 NCLUDED FANS Standard fans on the DF-30: A – 1 x 120 mm rear TwoCool™ LED fan B – 1 x 140 mm top TwoCool™ fan C – 2 x Fleet-Release access door modules w/front variable-speed 120 mm blue LED fans Rear fan control panel...
- Page 27 ™ F LED F RONT Turn this knob to adjust the fan.
- Page 28 ™ F XHAUST PTIONAL...
- Page 29 ASHABLE ILTERS Removing the washable air filter. Note the filter tabs.
Need help?
Do you have a question about the Dark Fleet DF-30 and is the answer not in the manual?
Questions and answers