Table of Contents
Advertisement
Quick Links
Advertisement
Table of Contents

Related Manuals for AEG HK654200IB


Summary of Contents for AEG HK654200IB
- Page 1 EN INDUCTION HOB HK654200IB USER MANUAL...
- Page 2 FOR PERFECT RESULTS Thank you for choosing this AEG product. We have created it to give you impeccable performance for many years, with innovative technologies that help make life simpler – features you might not find on ordinary appliances. Please spend a few minutes reading to get the very best from it.
-
Page 3: Table Of Contents
Contents CONTENTS 4 Safety information 5 Installation instructions 8 Product description 9 Operating instructions 13 Helpful hints and tips 15 Care and cleaning 15 What to do if… 16 Environment concerns The following symbols are used in this user manual: Important information concerning your personal safety and information on how to avoid damaging the appliance. -
Page 4: Safety Information
Safety information SAFETY INFORMATION For your safety and correct operation of the appliance, read this manual carefully before the installation and use. Always keep these instructions with the appliance also if you move or sell it. The users must fully know the operation and safety functions of the appliance. Children and vulnerable people safety WARNING! Do not let persons, children included, with reduced physical sensory, reduced mental func-... -
Page 5: Installation Instructions
Installation instructions • Do not let cookware boil dry to prevent the damage to cookware and glass . • Do not use the cooking zones with empty cookware or without cookware. • Do not put the aluminium foil on the appliance. •... - Page 6 Installation instructions WARNING! Risk of injury from electrical current. Carefully obey the instructions for electrical connec- tions. • The electrical mains terminal is live. • Make electrical mains terminal free of voltage. • Install correctly to give shock protection. • Loose and incorrect plug and socket connections can make the terminal become too hot. •...
- Page 7 Installation instructions min. 25 mm min. min. 20 mm 5 mm min. 600 +1 mm +1 mm +1 mm +1 mm min. 38 mm min. 5 mm If you use a protection box (the additional acces- sory ), the front airflow space of 5 mm and pro- tective floor directly below the appliance are not necessary.
-
Page 8: Product Description
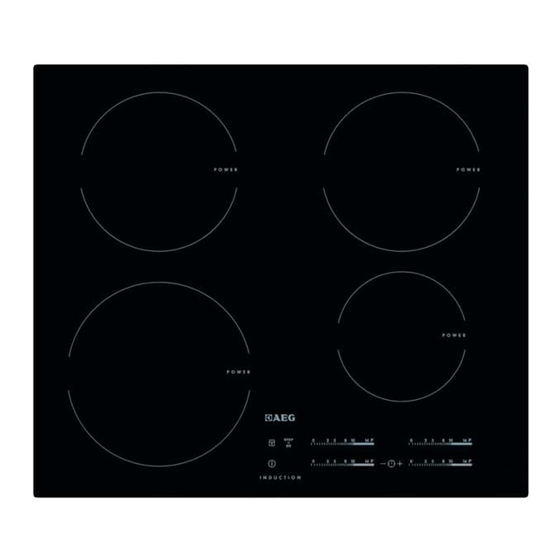
Product description PRODUCT DESCRIPTION General overview Induction cooking zone 1800 W, with Power function 2800 W (minimum cookware diameter =145mm). Induction cooking zone 1800 W, with Power function 2800 W (minimum cookware diameter =145mm). Induction cooking zone 1400 W, with Power function 2500 W (minimum cookware diameter =125mm). -
Page 9: Operating Instructions
Operating instructions sensor field function It activates and deactivates STOP+GO Heat setting displays Display Description The cooking zone is deactivated. The cooking zone operates. function operates. The Automatic Heat Up function operates. Power function operates. There is a malfunction. + digit OptiHeat Control (3 step Residual heat indicator) : continue cook / stay warm / residual heat. -
Page 10: The Heat Setting
Operating instructions • You use not correct cookware. The symbol comes on and the cooking zone deacti- vates automatically after 2 minutes. • You do not deactivate a cooking zone or change the heat setting. After some time, comes on and the appliance deactivates. See the table. The times of Automatic Switch Off Heat setting The cooking zone... -
Page 11: Power Management
Operating instructions Power management The power management divides the power be- tween two cooking zones in a pair (see the illus- tration). The power function increases the power to the maximum level for one cooking zone in the pair. Automatically decreases the power in the second cooking zone to a lower level. -
Page 12: The Child Safety Device
Operating instructions • To deactivate the CountUp Timer: set the cooking zone with and touch deactivate the timer. The indicator of the cooking zone goes out. Minute Minder You can use the timer as a Minute Minder while the cooking zones do not operate. Touch . -
Page 13: Helpful Hints And Tips
Helpful hints and tips Touch for 3 seconds. The displays come on and go out. Touch for 3 seconds. comes on, the sound is on. Touch comes on, the sound is off. When this function operates, you can hear the sounds only when: •... -
Page 14: Energy Saving
Helpful hints and tips Energy saving • If it is possible, always put the lids on the cookware. • Put cookware on a cooking zone before you start it. Öko Timer (Eco Timer) To save the energy, the heater of the cooking zone deactivates before the count down timer signal. -
Page 15: Care And Cleaning
Care and cleaning CARE AND CLEANING Clean the appliance after each use. Always use cookware with clean bottom. WARNING! The sharp objects and abrasive cleaning agents can cause damage to the appliance. For your safety, do not clean the appliance with steam cleaners or high-pressure cleaners. Scratches or dark stains on the glass-ceramic cause no effect on how the appliance oper- ates. -
Page 16: Environment Concerns
Environment concerns Problem Possible cause and remedy The Automatic Heat Up func- • There is still residual heat on the cooking zone. Let the cooking tion does not operate. zone become sufficiently cool. • The highest heat setting is set. The highest heat setting has the same power as the Automatic Heat Up function. -
Page 17: Packaging Material
environment and human health, which could otherwise be caused by inappropriate waste handling of this product. For more detailed information about recycling of this product, please contact your local council, your household waste disposal service or the shop where you purchased the product. Packaging material The packaging materials are friendly to the environment and can be recycled. - Page 20 892934768-C-352011...
Need help?
Do you have a question about the HK654200IB and is the answer not in the manual?
Questions and answers