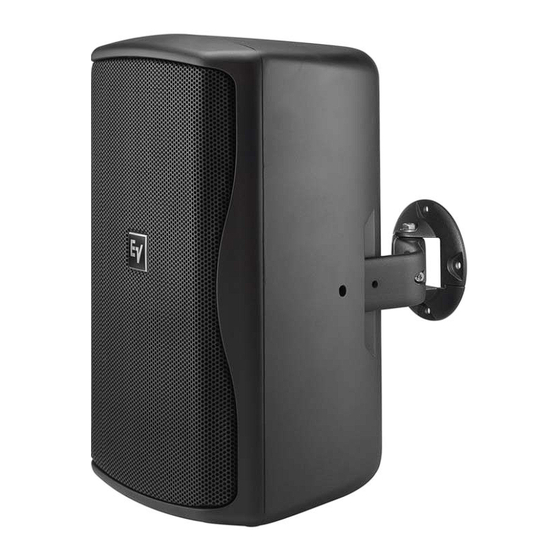
Electro-Voice Zx1i-100 Owner's Manual
Zx1i series
Hide thumbs
Also See for Zx1i-100:
- Installation manual (24 pages) ,
- Owner's manual (12 pages) ,
- Technical specifications (4 pages)
Table of Contents
Advertisement
Advertisement
Table of Contents

Subscribe to Our Youtube Channel
Summary of Contents for Electro-Voice Zx1i-100
- Page 1 Zx1i Series Loudspeaker Owner’s Manual Zx1i-90 Zx1i-100 Zx1i-100T...
-
Page 2: Table Of Contents
Table of Contents Model Summary ... 3 Zx1i-90 ... 3 Zx1i-100 ... 3 Zx1i-100T ... 3 Packing List: Zx1i Install ... 3 Product Feature Identification ... 4 QuickSAM™ (Strong-Arm-Mount™) System ... 4 Step-by-Step Installation and Wiring ... 5 Step 1: Mount the SAM™ Bracket ... 5 Step 2: Select Voltage Tap (Zx1i-100T Model Only) ... -
Page 3: Model Summary
High Sensitivity, y y 123 dB Maxim um SPL General Description: The Electro-Voice® ZX1i is the new standard of no compromise audio performance and versatility in an easy to install, compact sound reinforcement package. The high-tech enclosure uses injection-molded high-impact polypropylene to make T T c the ZX1i extremely durable. -
Page 4: Product Feature Identification
Zx1i™ enclosure onto the bracket, aim the enclosure and tighten both bolts. WARNING: Bolt “B” in Figure 2 must be tightened. Failure to tighten Bolt “B” may allow the speaker to disengage from the QuickSAM Figure 2: Zx1 Features Bracket, possibly resulting in serious injury. Electro-Voice ® Zx1i Owner’s Manual... -
Page 5: Step-By-Step Installation And Wiring
(as in Figure 4) is easiest, allowing the speaker to be mounted closer to the ceiling. Figure 3: Vertical Mounting 70° Figure 5: 70° Rotation Range ® Electro-Voice Zx1i Owner’s Manual Figure 4: Horizontal Mounting 90° Figure 6: 90° Sweep Range... -
Page 6: Step 2: Select Voltage Tap (Zx1I-100T Model Only)
A guide on the back of each speaker shows which switch positions to use for the power settings at 70V and 100V. Figure 7 below illustrates the settings. Voltage Tap Selector Voltage Tap Detail Figure 7: Voltage Tap Selector (Zx1i-100T Model Only) ® Electro-Voice Zx1i Owner’s Manual... -
Page 7: Step 3: Select The Horn Dispersion Orientation
Secure the grille assembly to the baffle with grille mounting screws. Secure the logo badge back onto the grille. 90° x 50° Horn Logo Badge Figure 8: Horn Rotation (90° x 50° Models Only) ® Electro-Voice Zx1i Owner’s Manual Horn Mount Screws Grille Assembly Grille Mount... -
Page 8: Step 4: Mount The Speaker To The Quicksam™ Bracket
(from Step 1) to the desired surface, attach the bracket by inserting the QuickSAM Bracket. It is the installer’s responsibility to Bracket, possibly resulting in serious injury. Use Electro-Voice into slot on the side of Socket Head QuickSAM Assembly... -
Page 9: Step 5: Wire The Speaker
Your Zx1™ system has been designed and manufactured to provide years of durability and reliable service. No routine maintenance is necessary. Units may be cleaned by wiping with a soft, damp cloth. Never use solvents or harsh cleaning agents of any kind. ® Electro-Voice Zx1i Owner’s Manual Seismic Security Cable... -
Page 10: Detaching Speaker From Quicksam™ Bracket
Electro-Voice Figure 12: Detaching Speaker from QuickSAM l l a l e l . t i c i t . -
Page 11: Tm Speakers
" " T Half Space Measurement. IEC Pink Noise, 6 dB Crest Factor. ® Electro-Voice Zx1i Owner’s Manual v i t y t i : ) ° : ) ° : ) ° : ) °... - Page 12 For technical assistance, contact Technical Support at: 866/78 AUDIO Specifications subject to change without notice. All Locations: 952-884-4051 www.electrovoice.com Printed in U.S.A © Telex Communications, Inc. 7/2005 Part Number 38110-478 Rev A Fax: 800/955-6831 Fax: 952-884-0043 Telex Communications, Inc. Electro-Voice www.telex.com ® Zx1i Owner’s Manual...


Need help?
Do you have a question about the Zx1i-100 and is the answer not in the manual?
Questions and answers