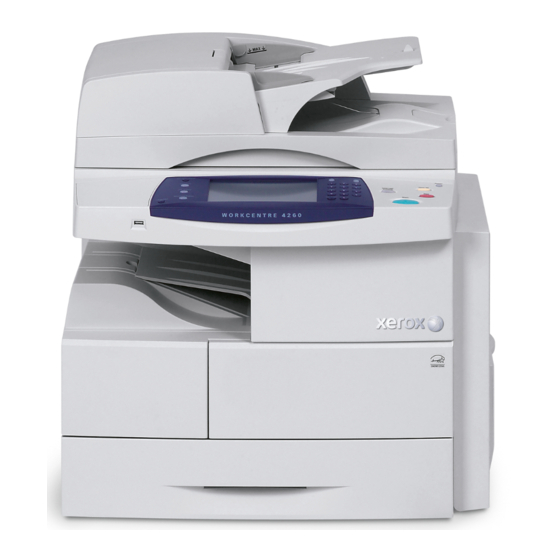
Xerox WorkCentre 4260 Function Manual
Touch screen navigation
Hide thumbs
Also See for WorkCentre 4260:
- System administration manual (210 pages) ,
- Installation instructions manual (38 pages) ,
- Specifications (8 pages)
Advertisement
Quick Links
WorkCentre
®
4260
Touch Screen
Navigation
1.
Press Services Home
Services Home
Services
Job Status
Machine Status
2.
Select function, then desired
options on screen
3.
Press Start
Start
700N00191f1 Rev A
Copyright © 2008 Xerox Corporation. All rights reserved.
Copy
Copy and Store
Place originals face up in the document feeder, or face down on
the glass.
Verify defaults (shown above) or change as desired.
Select the number of copies with the numeric keypad.
For more information, see "Making Copies" in the Quick Use
Guide.
To store a job, select the Output Format tab, then select Store Job.
Select a save option, then select Save.
Network Scanning
1
GHI
4
PQRS
7
Dial Pause
2
1
Place originals face up in the document feeder, or face down on
the glass.
Select a scanning template
1
and confirm the destination
required.
To set up a template or for more information, see "Network
Scanning" in the Quick Use Guide.
Fax
1
Fax is an optional feature which may not be available on your
machine.
Place originals face up in the document feeder, or face down on the
glass.
Enter the recipient's number
1
or select from an address book 2.
To set up an address book or for more information, see "Sending a
Fax" in the Quick Use Guide.
Store to USB
Print from USB
1
Store to USB:
Place originals face up in the document feeder, or face down on
2
as
the glass.
Connect a USB drive.
Select Store to USB 1.
Confirm the file destination and select OK.
Confirm the file name and other options as desired.
For more information, see "Store to USB" in the
User Guide.
Print from USB:
Connect a USB drive.
Select Print from USB 2.
Select Add, then the USB Drive tab.
Select the file to print, select Add, then Done.
Confirm or change the number of copies for each file with the
numeric keypad.
For more information see "Print Files from the USB Drive" in the
User Guide.
E-mail
2
1
2
Place originals face up in the document feeder, or face down on the
glass.
Enter the recipient's address
To set up an address book or for more information, see "E-mail
Setup" in the Quick Use Guide.
Print Files
2
Select Add.
Select the file to print, select Add, then Done.
Confirm or change the number of copies for each file with the
numeric keypad.
For more information, see "Print Files from the Internal Drive" in
the User Guide.
1
or select from an address book 2.
Advertisement


Need help?
Do you have a question about the WorkCentre 4260 and is the answer not in the manual?
Questions and answers