Table of Contents
Advertisement
Owner's Manual
2/09.
#59156542-R0
réservés.
droits
Tous
Ltd.
Investments,
Gain
Healthy
©2009
Operating and Servicing Instructions
produit.
Hoover
MD
appareil
votre
d'utiliser
avant
guide
ce
attentivement
Lire
www.hoover.com
www.hoover.com
Please review this manual before operating your Hoover® product.
d'entretien
et
d'utilisation
Instructions
d'utilisation
Guide
©2009 Healthy Gain Investments, Ltd. All rights reserved. #59156542-R0 2/09.
Advertisement
Table of Contents

Related Manuals for Hoover UH70055 - Turbo Cyclonic Upright


Summary of Contents for Hoover UH70055 - Turbo Cyclonic Upright
- Page 1 ©2009 Operating and Servicing Instructions produit. Hoover appareil votre d’utiliser avant guide attentivement Lire www.hoover.com www.hoover.com Please review this manual before operating your Hoover® product. d’entretien d’utilisation Instructions d’utilisation Guide ©2009 Healthy Gain Investments, Ltd. All rights reserved. #59156542-R0 2/09.
-
Page 2: Table Of Contents
Table Visit our website at hoover.com. Follow the authorized dealer locator link to find the Hoover® authorized dealer nearest you or call 1-800-944-9200 for an automated referral of Hoover® authorized dealer locations (u.S. Only) or to speak with a customer service representative;... -
Page 3: Important Safeguards
INSTRUCTIONS CONSERVER VEUILLEZ THIS CLEANER IS INTENDED FOR HOUSEHOLD USE ONLY. IMPORTANT SAFETY INSTRUCTIONS place. sont réservoirs quand utiliser • chaudes. encore cendres allumettes cigarettes, comme brûle, When using an electrical appliance, basic precautions should always be fol- fumée dégage matière toute ramasser... - Page 4 WARNING: To reduce the risk of electric shock, this appliance has a polarized plug (one blade is wider than the other). This plug will fit in a polarized outlet only one way. If the plug does not fit fully in the outlet, reverse the plug. If it still does not fit, contact a quali- fied electrician to install the proper outlet.
-
Page 5: Features
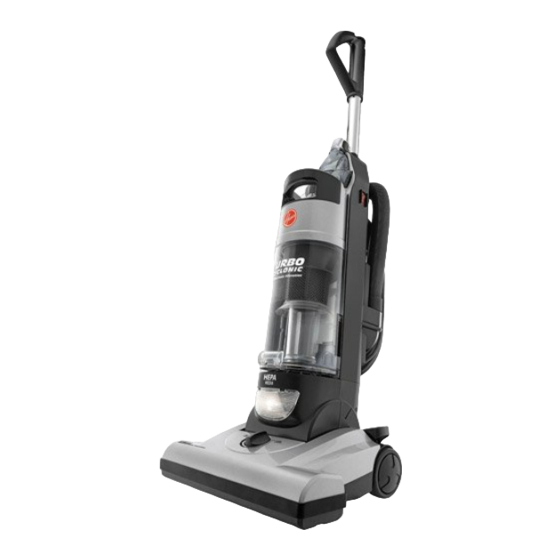
1. Features Cleaner description FRONT Operate cleaner only at voltage specified on data plate on bottom of cleaner. The assembled cleaner will look like the drawing. Guide Hose FRONT Release Cord 1. Handle Grip Quick With Wrap Cord Upper 2. Handle/Extension Wand Tool Crevice 3. -
Page 6: How To Assemble
2. How to Assemble sol. au-des- nettoyer rotative brosse lever pouvoir pour verticale position être doit L’aspirateur Handle Assembly Tool Storage marche. l’aspirateur lorsque brosse zone l’écart à corps partie toute amples, vêtements cheveux, Gardez fonctionne. l’aspirateur lorsque temps tout marche enlevé... -
Page 7: Floor/Carpet Cleaning
Floor/Carpet Cleaning l’autre. à pièce d’une l’aspirateur porter Move the handle and adjust it to the desired position for (a) trans- pour vide-poussière couvercle storing the upright, (b) operating the cleaner, and (c) de- haut située transport poignée Utilisez press the handle release pedal again to clean under furni- transport ture. -
Page 8: Maintenance
à godet Remettez WARNING - To reduce the risk of electric shock - Unplug before cleaning or servicing. For filter replacement, please visit our website at www.hoover.com to buy online or call customer service at 1-800-263-6376. Empty Dirt Cup cyclone plissé... - Page 9 Clean Foam Filter Wash Foam Filter filtre. moins plus nettoyer nécessaire sera cas, certains Dans saleté. conditions selon varier peuvent nettoyage instructions filtre. Tap the foam filter brossez rendement.) n’altérera ceci utilisation, après décolorera filtre per. Hold foam filter échap- s’en cesse poussière...
-
Page 10: Belt Or Brushroll: Removal & Replacement
WARNING: To reduce the risk of injury from moving parts - Unplug cleaner before changing place remettre belt or brushroll. pour suceur protection For Belt Style 20 replacement, please visit our website at www.hoover.com to buy online or call dispositif Tournez customer service at 1-800-263-6376. (illustration To Remove Belt base... -
Page 11: Lightbulb: Removal & Replacement
Lightbulb: Removal & Replacement TOOL REQUIRED: Flathead screwdriver. WARNING: TO REDUCE THE RISK OF ELECTRIC SHOCK - UNPLUG CLEANER BEFORE REMOVING OR REPLACING LIGHTBULB. This cleaner uses a common automotive lamp #906, 13.0 volts. For bulb replacement call 1-800-263-6376 or your local auto parts store. 4.24 4.25 4.26... -
Page 12: If You Have A Problem
Debris Removal from Power Brush Tool CLIENTÈLE SERVICE AUTORISÉ REPRÉSENTANT EFFECTUÉ ÊTRE DOIT ENTRETIEN AUTRE TOUT To reassemble, d’avancer refuse 4.28 2.29 4.30 nettoyer. à tapis pousser à ficile be sure tabs are dif- L’aspirateur l’épaisseur pour l’appareil hauteur Régler l’appareil. -
Page 13: Service
Follow the service center link to find the service outlet nearest you. • For an automated referral of authorized service outlet locations call 1-800-944-9200. Do not send your cleaner to Hoover®, Inc., Company in Glenwillow for service. This will only result in delay. -
Page 14: Warranty
However, if inadéquat entretien matériel); tion Manual, your HOOVER® product is warrant- conséquent, consécutifs; dommages you mail your product to a Hoover Sales and loca- conciergerie domestiques, ed against original defects in material and l’exclusion permettent États Certains...
Need help?
Do you have a question about the UH70055 - Turbo Cyclonic Upright and is the answer not in the manual?
Questions and answers