Table of Contents
Advertisement
Advertisement
Table of Contents

Related Manuals for Timex T436B - Clock Radio With Time Projector


Summary of Contents for Timex T436B - Clock Radio With Time Projector
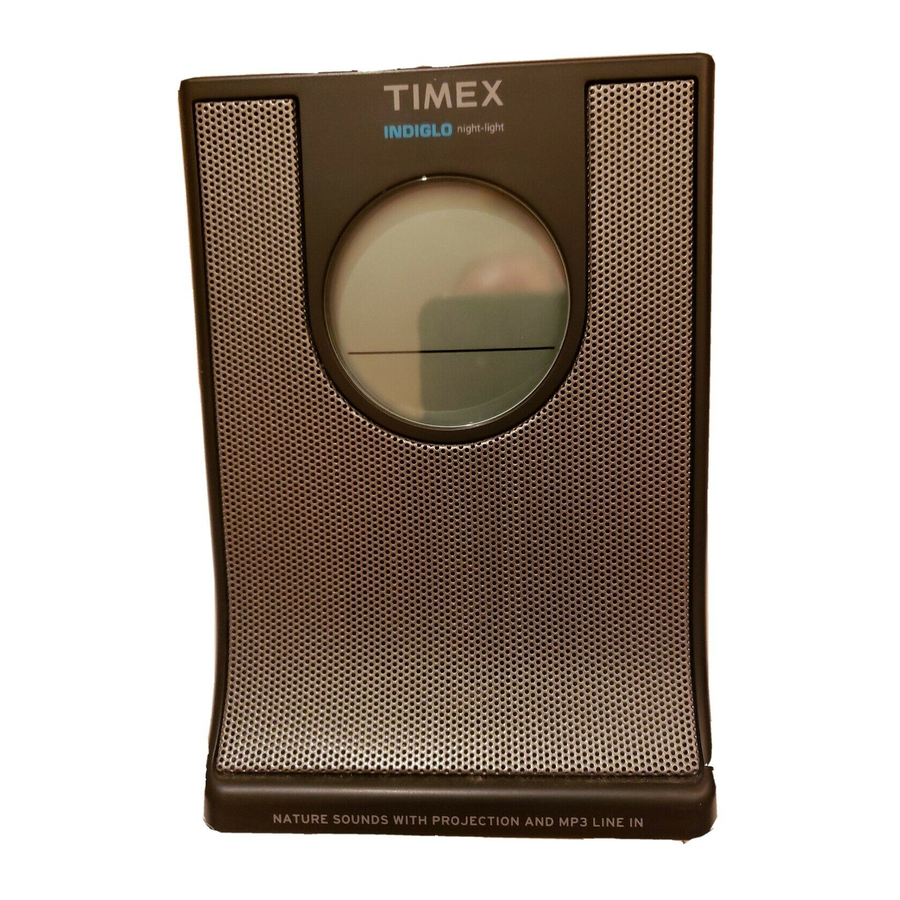
- Page 1 Model T436 Projection Alarm Clock Radio With Nature Sounds For additional information, online registration, and exclusive special offers visit our website: www.timexaudio.com For questions or comments regarding this or other products, please call our toll-free number 1-800-888-4491.
- Page 2 CAUTION RISK OF ELECTRIC SHOCK. DO NOT OPEN CAUTION: TO REDUCE THE RISK OF ELECTRIC SHOCK, DO NOT REMOVE COVER (OR BACK). NO USER-SERVICEABLE PARTS INSIDE. REFER SERVICING TO QUALIFIED SERVICE PERSONNEL. WARNING: TO REDUCE THE RISK OF FIRE OR ELECTRIC SHOCK, DO NOT EXPOSE THIS APPLIANCE TO RAIN OR MOISTURE.
-
Page 3: Table Of Contents
Table of Contents FCC Information ................................1 A Consumer Guide to Product Safety..........................2 Installation and Maintenance............................3 Preparation for Use ................................3 Clock Backup Battery Installtion Battery Low Indicator Controls and Indicators..............................4 Display with Indicators..............................5 Maintenance ..................................6 Daylight-Saving Time ...............................6 Setting Time and Date ..............................6 Alarm Operation ................................7 Listening to Radio, Nature Sound or AUX device ...................... -
Page 4: A Consumer Guide To Product Safety
If you have any questions, call SDI Technologies Inc. Timex Audio Products Division Customer Service, 1-800-888-4491. 17. Safety Check — Upon completion of any service or repairs to this product, ask the service technician to perform safety... -
Page 5: Installation And Maintenance
Preparation for Use Note: Read through the Maintenance section then plug the AC line cord correctly into a wall outlet. When the unit is connected to AC power the display back-lit will be lighted up. Clock Backup Battery If the backup batteries have been installed and a power failure occurs or the AC cord is accidentally disconnected, the current time and alarm time settings will be maintained. -
Page 6: Controls And Indicators
Controls and Indicators Back View... -
Page 7: Display With Indicators
Display with Indicators Alarm-2 Indicator Daylight Saving MP3 Indicator Time Indicator Alarm-1 Indicator PM Indicator Battery Low Indicator Sleep Display Time Display Radio Band Indicator Alarm Indicator Radio Frequency or Alarm Time Display Year Indicator Date Indicator... -
Page 8: Maintenance
Maintenance • Place the unit on a level surface away from sources of direct sunlight or excessive heat. • Protect your furniture when placing your unit on a natural wood or lacquered finish. A cloth or other protective material should be placed between it and the furniture. •... -
Page 9: Alarm Operation
Alarm Operation This clock radio features two alarms that can be set and used independently. You can set both alarms to wake two people at different times, set one alarm as a back-up to the other in case you shut off the first alarm and go back to sleep, or use one alarm for weekdays and the other for weekend wake up times. -
Page 10: Listening To Radio, Nature Sound Or Aux Device
Listening to Radio, Nature Sounds or AUX device Note: Extend the FM wire antenna fully for best FM reception. Rotate the unit as needed for best AM reception. 1. Press the Alarm Reset/Power Button to turn on the unit. 2. To listen to the radio, set the Function Switch on the right side of the unit to the desired AM or FM band. The current radio frequency will appear in the lower part of the display. -
Page 11: Back Light Dimmer
Back Light Dimmer During normal operation, press the Snooze/Dimmer Button to adjust the display brightness. Snooze Operation 1. Press and hold the Snooze/Dimmer Button to adjust snooze timer from 1 to 30 minutes. 2. After the alarm sounds, press the Snooze/Dimmer Button. The alarm will go off and will come on again after the set snooze time. -
Page 12: Warranty Information
Limited 90-Day Warranty Information Timex Audio Products, a division of SDI Technologies Inc. (hereafter referred to as SDI Technologies), warrants this product to be free from defects in workmanship and materials, under normal use and conditions, for a period of 90 days from the date of original purchase.
Need help?
Do you have a question about the T436B - Clock Radio With Time Projector and is the answer not in the manual?
Questions and answers
Cannot get any sound from the unit.
The Timex T436B Clock Radio With Time Projector may produce no sound if the unit is turned off. Press the Alarm Reset/Power On/Off Button to turn it on. If the unit is in Sleep Mode, it may have shut off automatically after the selected time. Other possible reasons not directly stated but implied by the manual include improper use, damage due to heat, moisture exposure, or blocked ventilation, which could affect internal components.
This answer is automatically generated
My dad bought the T436B 06Jan2023. He passed away the day before Mother's day. I have it now. The projector does not work. What can you do to help me get this fixed?
To fix the projector on the Timex T436B Clock Radio, follow these steps:
1. Check the Projection Switch – Ensure the Projection Switch on the right side of the unit is set to "Time" to project the time or "Time/Alarm" to project both the time and the earliest set alarm time. If it is set to "Off," the projection function will not work.
2. Adjust the Projector Arm – Tilt the projector arm to aim the projected display for the best viewing angle.
3. Focus the Image – Turn the Focus Dial to adjust the sharpness of the projected image.
4. Flip the Image – If needed, press the Flip Image Button to rotate the projection vertically.
If the projector still does not work, check that the clock radio is properly powered and that there are no obstructions blocking the projection lens.
This answer is automatically generated