
Subscribe to Our Youtube Channel
Related Manuals for Timex T124


Summary of Contents for Timex T124
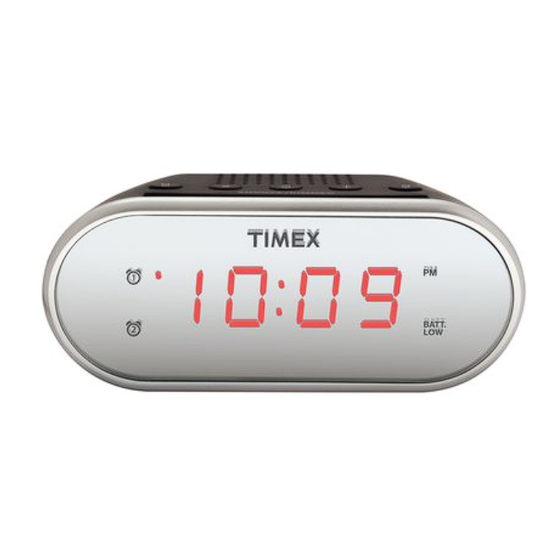
- Page 1 Model: T124 Dual Alarm Clock For additional information, online registration, and exclusive special offers visit our website: Questions? Contact Customer Service at 1-800-888-4491...
-
Page 2: Table Of Contents
Warranty Information ........................................11 What’s in the Box This product ships with the following items. Make sure all are present. 1. T124 Alarm Clock 2. Instruction book Product Care • Place the unit on a level surface away from sources of direct sunlight or excessive heat. -
Page 3: Controls Overview
Controls Overview Top Panel Clock/Alarm Reset Button Minus Plus Button Button Alarm 1 Alarm 2 Button Button ALM RESET SNOOZE/DIMMER Snooze/ Display Dimmer Button Rear Panel ALARM AlarmVolume Selector Switch SOFT LOUD... -
Page 4: Display
Time display Installing and Replacing Backup Batteries Your new Timex Alarm Clock includes a battery backup system that will maintain the time and alarm settings during a temporary power interruption. Press 1. Keep unit connected to AC power when changing batteries to avoid losing your settings. -
Page 5: Set Up
Set Up Connecting to Power Source Plug the AC cable on the back of the unit into a working wall outlet that is not controlled by a wall switch. The unit does not operate on batteries (the battery back up system maintains clock settings during power failures). -
Page 6: Setting And Using Alarms
PM indicator Press and release the MINUS or PLUS Buttons to adjust the time (press and hold for rapid setting). NOTE: The PM indicator will light when the hour is set for PM. There is no AM indicator. ALM RESET Press and release the Clock/Alarm Reset Button to complete clock setting. - Page 7 Press and release the MINUS or PLUS Buttons to adjust the Alarm 1 alarm time (press and hold for rapid setting). NOTE: The PM indicator will light when the hour is set for PM. There is no AM indicator. Press and release the Alarm 1 Button to complete setting Alarm 1. PREVEWING ALARM, TURNING ALARM ON OR OFF &...
-
Page 8: Snooze/Dimmer/Alarm Volume
SNOOZE/DIMMER • Press and release the Snooze/Dimmer Button when the alarm sounds to silence it for 9 minutes. Snooze can be used several times during 1 hour alarm cycle. • During normal operaton (alarm is NOT sounding), press and hold the Snooze/Dimmer Button to toggle between high and low display brightness settings. -
Page 9: Battery Information
Battery Cautions and Tips • Only use the recommended/supplied batteries or equivalent. • Use alkaline batteries for longer life. • Do not mix old and new batteries, and do not mix alkaline, carbon-zinc or rechargeable nickel-cadmium batteries. • Insert batteries with proper polarity (+/–) as indicated. •... -
Page 10: Safety Information
CAUTION RISK OF ELECTRIC SHOCK. DO NOT OPEN CAUTION: TO REDUCE THE RISK OF ELECTRIC SHOCK, DO NOT REMOVE COVER (OR BACK). NO USER-SERVICEABLE PARTS INSIDE. REFER SERVICING TO QUALIFIED SERVICE PERSONNEL. WARNING: TO REDUCE THE RISK OF FIRE OR ELECTRIC SHOCK, DO NOT EXPOSE THIS APPLIANCE TO RAIN OR MOISTURE. AVERTISSEMENT: POUR RÉDUIRE LE RISQUE D’INCENDIE OU DE CHOC ÉLECTRIQUE, NE PAS EXPOSER CET APPAREIL SOUS LA PLUIE ET L’HUMIDITÉ... -
Page 11: Troubleshooting
Troubleshooting 1. The unit does not power ON. The unit is not connected to AC outlet, the AC outlet has no power, or is controlled by a wall switch that is “OFF”. Check AC outlet and wall switch. 2. Alarm does not come on. The alarm time AM or PM incorrectly set, Alarm was OFF, etc. -
Page 12: Warranty Information
Limited 90 Day Warranty Information Timex Audio Products, a division of SDI Technologies Inc. (hereafter referred to as SDI), warrants this product to be free from defects in workmanship and materials, under normal use and conditions, for a period of ninety (90) days from the date of original purchase.
Need help?
Do you have a question about the T124 and is the answer not in the manual?
Questions and answers