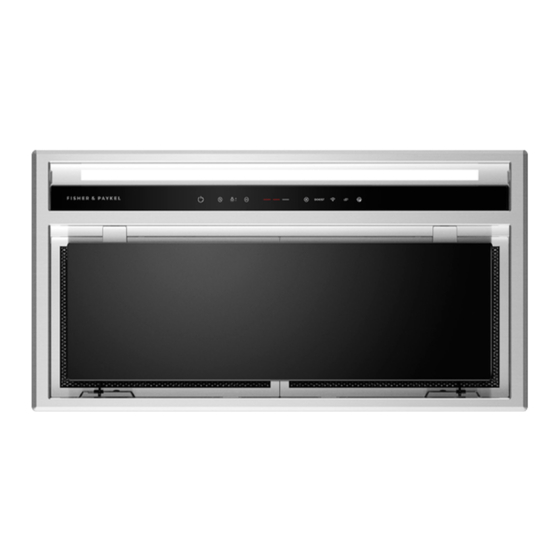
Summarization of Contents
Safety and Warnings
Electric Shock Hazard
Hazards and precautions related to electrical shock during installation and maintenance.
Weight Hazard
Risks of damage or injury due to the appliance's weight during installation.
Cut Hazard
Precautions against cuts from sharp edges during handling and installation.
General Safety Precautions
Basic safety measures to follow when using the appliance, including electrical safety.
Components Required
Supplied Components
List of parts provided with the rangehood for installation.
Not Supplied Components
List of parts and accessories not included but required for installation.
Tools Required
List of tools necessary for the installation of the rangehood.
Product Dimensions
HP60IDCHX4 Product Dimensions
Detailed measurements of the rangehood for the HP60IDCHX4 model.
Cavity Dimensions Standard Installation
Required cutout sizes for standard installation of the rangehood.
Minimum Distance Above Cooktops
Specifies the minimum safe height from the cooktop to the rangehood.
Product Dimensions
HP90IDCHX4 Product Dimensions
Detailed measurements for the HP90IDCHX4 model, including product and cavity dimensions.
Cavity Dimensions Standard Installation
Required cutout sizes for standard installation of the rangehood.
Minimum Distance Above Cooktops
Specifies the minimum safe height from the cooktop to the rangehood for HP90 model.
Cutout Dimensions
60CM Models Cutout Dimensions
Specifies the required cutout dimensions for the 60cm rangehood models.
90CM Models Cutout Dimensions
Specifies the required cutout dimensions for the 90cm rangehood models.
Installation Height
Induction Cooktop Considerations
Factors affecting condensation when used with induction cooktops.
Height Dimensions & Installation
Minimum installation height requirements and guidance for optimal performance.
Venting Requirements
Vent Installation Types
Illustrates different methods for venting the rangehood exhaust air.
Electrical Requirements
Electrical Specifications
Details voltage and frequency specifications for connecting the rangehood.
Install Preparation / Considerations
Recirculation Installations
Necessary accessories and steps for recirculating air installations.
Ducting Options
Various ways to route and connect the exhaust ducting.
Cavity Setup and Power Access
Ensuring the cabinet is prepared and power connection is accessible.
Install Preparation / Considerations
Cabinetry Accessibility
Ensuring access to the top of the rangehood within the cavity during installation.
Cooktop Clearance Checks
Verifying that adequate clearances are maintained with the cooktop.
Unpack Product
Unpacking and Initial Inspection
Steps for safely unpacking the product and checking for damage.
Check Materials and Parts
Ducting Compatibility
Ensuring the ducting is the correct length and compatible with the rangehood.
Prepare Cabinetry
Non Precut Cabinetry
Steps for preparing cabinetry that does not have pre-cut holes.
Precut Cabinetry
Steps for preparing cabinetry that already has pre-cut holes for installation.
Recirculation Installation
Vent Placement and Cutout
Determining vent location and creating cutouts in cabinetry for recirculation.
Ducting to Vent Connection
Connecting the blower outlet to the cabinetry vent with ducting.
Install Ducting
Rigid Ducting Installation
Steps for cutting, routing, and sealing rigid ducting for external venting.
External Venting Types
Guidance on installing external vents for soffit, wall, or roof configurations.
Install Ducting
Rigid Ducting to External Vent
Securing rigid ducting to the external vent.
Semi-Rigid Ducting Installation
Steps for extending, routing, and securing semi-rigid ducting.
Semi-Rigid Ducting to External Outlet
Sealing semi-rigid ducting to the external outlet.
Install Ducting
Semi-Rigid Ducting Securing
Securing semi-rigid ducting within the ceiling and to the external vent.
Prepare Hood
Non-Return Valve and Adapter Installation
Installing non-return valves and the duct adapter onto the rangehood.
Mounting Bracket Air Gap
Ensuring an air gap between mounting brackets and the hood chassis.
Install Hood
Lifting and Securing Rangehood
Steps for lifting the rangehood into the cavity and securing it with brackets.
Filter Orientation
Ensuring rangehood filters are correctly oriented before reinstallation.
Perimeter Plate and Bracket Screws
Instructions for refitting the perimeter plate and securing brackets with screws.
Secure Ducting
Ducting to Adapter Attachment
Attaching ducting to the adapter and securing it with tape or ties.
Carbon Filter Installation (Recirculation)
Installing carbon filters onto the blower for recirculation installations.
Connect Power
Power Connection and Activation
Plugging in the appliance and turning on the power.
After Power Connection
Film Removal
Removing protective film from all surfaces of the rangehood after installation.
Installer Checklist
Installation Verification
Checklist for installers to confirm correct installation and operation.
Record Keeping
Information to be completed and kept for future reference by the installer.


Need help?
Do you have a question about the HP90IDCHX4 and is the answer not in the manual?
Questions and answers