Table of Contents
Advertisement
Quick Links
Installation Instructions
Contents of Packaging
150mm ducting adapter wi
flap
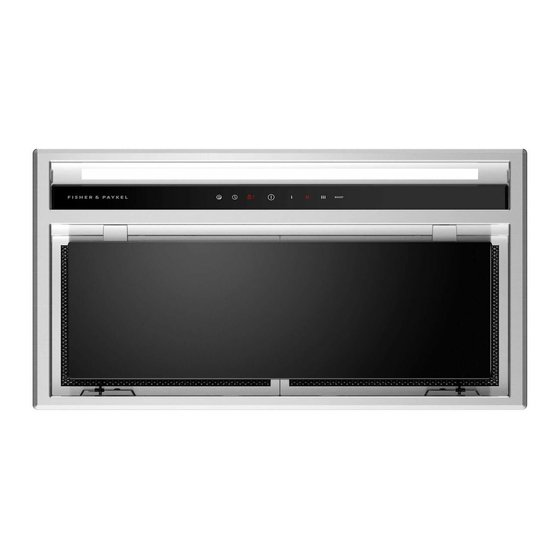
Cooker hood (1)
Installation Instructions User
Guide Manual (1)
13mm screw (2)
125mm ducting adapter (1)
https://producthelp.fisherpaykel.com/eu/Cook/Cooker_Hoods/Built-in_Integrated/HP90IHCB3/User_Guide_HP90IHCB3/03_in...
Updated: Sun, 02 Jan 2022 12:41:57 GMT
Powered by
1
Advertisement
Table of Contents

Related Manuals for Fisher & Paykel HP90


Summarization of Contents
Installation Instructions
Contents of Packaging
Lists all items included in the cooker hood package for installation.
Product and Cabinetry Dimensions
Product Dimensions
Details the physical measurements of the cooker hood itself, including width, depth, and height.
Cabinetry Cutout Dimensions
Specifies the required dimensions for the cabinet opening where the cooker hood will be installed.
Installation Clearances and Considerations
Height Above Hob
Specifies the minimum and maximum vertical distance required between the hob and the cooker hood base.
Induction Cooking Considerations
Discusses factors affecting condensation and performance with induction hobs.
Venting Options
Explains the choice between external ducting and internal recirculation for exhaust air.
Installation Procedure
Prepare for Installation
Steps to prepare before installing the cooker hood, including safety checks and surface protection.
Fit Ducting Adapter
Attaching the 150mm ducting adapter with a non-return flap to the cooker hood.
Provide Cabinet Opening
Creating the necessary opening on the underside of the cupboard for installation.
Mount Cooker Hood
Lifting and securing the cooker hood into the cupboard opening using spring-loaded brackets.
Connect Duct and Power
Connecting the ductwork and plugging in the cooker hood to complete the installation.
Need help?
Do you have a question about the HP90 and is the answer not in the manual?
Questions and answers