Table of Contents
Advertisement
Quick Links
Installation Instructions
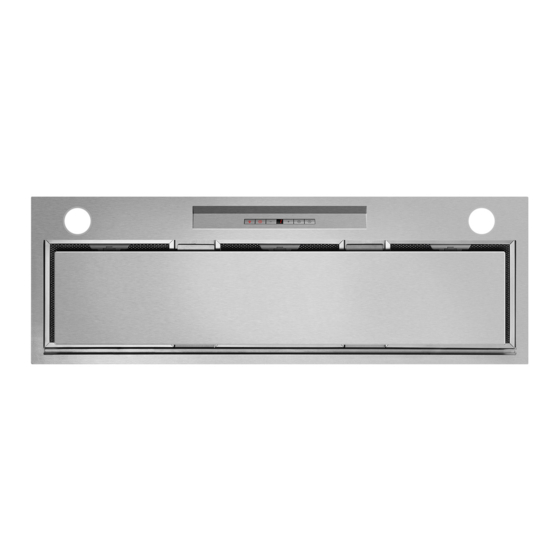
Contents of Packaging
6" (152mm) diameter
Ducting adapter with back
Installation
Ventilation hood (1)
Power
draft damper (1)
instructions User
connection
guide manual (1)
box (1)
3/8" (10mm) Self tapping screw (4)
https://producthelp.fisherpaykel.com/us/Cook/Ventilation/Built-In_Integrated/HP36ILTX1/User_Guide_HP36ILTX1/03_installati...
Updated: Thu, 02 Apr 2020 06:40:38 GMT
Powered by
1
Advertisement
Table of Contents

Subscribe to Our Youtube Channel
Related Manuals for Fisher & Paykel HP36ILTX1


Summary of Contents for Fisher & Paykel HP36ILTX1
- Page 1 Contents of Packaging 6” (152mm) diameter Ducting adapter with back Installation Ventilation hood (1) Power draft damper (1) instructions User connection guide manual (1) box (1) 3/8” (10mm) Self tapping screw (4) https://producthelp.fisherpaykel.com/us/Cook/Ventilation/Built-In_Integrated/HP36ILTX1/User_Guide_HP36ILTX1/03_installati… Updated: Thu, 02 Apr 2020 06:40:38 GMT Powered by...
-
Page 2: Product And Cabinetry Cutout Dimensions
Product and Cabinetry Cutout Dimensions HP24 HP36 Product Dimensions inches (mm) inches (mm) 13 3/4” (350) 13 3/4” (350) A. Overall height of product https://producthelp.fisherpaykel.com/us/Cook/Ventilation/Built-In_Integrated/HP36ILTX1/User_Guide_HP36ILTX1/03_installati… Updated: Thu, 02 Apr 2020 06:40:38 GMT Powered by... - Page 3 M. Diameter of ducting outlet 14 3/4” (375) 26 9/16” (675) N. Distance between center of lights 1 9/16” (40) 1 9/16” (40) O. Distance from center of light to front of product https://producthelp.fisherpaykel.com/us/Cook/Ventilation/Built-In_Integrated/HP36ILTX1/User_Guide_HP36ILTX1/03_installati… Updated: Thu, 02 Apr 2020 06:40:38 GMT Powered by...
-
Page 4: Height Of Ventilation Hood
40) max. 40) • Actual product dimensions may vary by ± 1/16” (2 mm). • Please read the entire instructions before installing the ventilation hood. Height of Ventilation Hood https://producthelp.fisherpaykel.com/us/Cook/Ventilation/Built-In_Integrated/HP36ILTX1/User_Guide_HP36ILTX1/03_installati… Updated: Thu, 02 Apr 2020 06:40:38 GMT Powered by... - Page 5 Installation at the minimum height will improve the efficiency of capturing cooking odors, grease and smoke. Installation at the maximum height improves user ergonomics by offering increased head room. https://producthelp.fisherpaykel.com/us/Cook/Ventilation/Built-In_Integrated/HP36ILTX1/User_Guide_HP36ILTX1/03_installati… Updated: Thu, 02 Apr 2020 06:40:38 GMT Powered by...
-
Page 6: Venting Options
Failure to install the screws or fixing device in accordance with these instructions may • result in electrical hazards Wear gloves to protect against sharp edges. The manufacturer is not liable for any damage caused by not following these instructions. Installation https://producthelp.fisherpaykel.com/us/Cook/Ventilation/Built-In_Integrated/HP36ILTX1/User_Guide_HP36ILTX1/03_installati… Updated: Thu, 02 Apr 2020 06:40:38 GMT Powered by... -
Page 7: Prepare For Installation
• Place the power connection box onto the ventilation hood and screw it in place using 3/8” (10 mm) screws. • Follow wiring instructions described in the ‘Electrical connection’ section. https://producthelp.fisherpaykel.com/us/Cook/Ventilation/Built-In_Integrated/HP36ILTX1/User_Guide_HP36ILTX1/03_installati… Updated: Thu, 02 Apr 2020 06:40:38 GMT Powered by... - Page 8 • It is also recommended that the cupboard has a door or service panel that can be easily opened to access the power connection 4. Remove the filters and face plate of the ventilation hood. https://producthelp.fisherpaykel.com/us/Cook/Ventilation/Built-In_Integrated/HP36ILTX1/User_Guide_HP36ILTX1/03_installati… Updated: Thu, 02 Apr 2020 06:40:38 GMT Powered by...
- Page 9 5. Lift the ventilation hood and fit through the opening of the cupboard till the spring loaded brackets / clips hold the product in place. https://producthelp.fisherpaykel.com/us/Cook/Ventilation/Built-In_Integrated/HP36ILTX1/User_Guide_HP36ILTX1/03_installati… Updated: Thu, 02 Apr 2020 06:40:38 GMT Powered by...
-
Page 10: Electrical Connection
• Connect the grounding wire (green or bare) to the ground conductor (green) of the ventilation hood power connection box. • Secure all the connections with cULus listed wire nuts. • Replace the power connection box cover. https://producthelp.fisherpaykel.com/us/Cook/Ventilation/Built-In_Integrated/HP36ILTX1/User_Guide_HP36ILTX1/03_installati… Updated: Thu, 02 Apr 2020 06:40:38 GMT Powered by...
Need help?
Do you have a question about the HP36ILTX1 and is the answer not in the manual?
Questions and answers