
Related Manuals for Lonza AAF-1003X


Summarization of Contents
2.1 Restrictions
2.1.1 Medical use restrictions
Specifies limitations on using the system for human diagnostics, testing, or treatment.
2.1.2 License statement
Outlines the limited non-transferable license for research use and commercial application terms.
2.7 General use instructions
2.7.1 Turning on the 4D-Nucleofector® System
Instructions for powering on the system and navigating the initial user interface.
2.7.2 Operating software
Overview of the touch screen interface and basic software functions for system operation.
2.8 General instructions for running a Nucleofection® Experiment
2.8.1 Overview
Provides a general workflow for performing a Nucleofection® experiment, applicable across units.
2.8.2 Unit and vessel selection
Guides the user on selecting the appropriate unit and vessel type for an experiment.
2.8.3 Experiment parameters - overview
Explains how to define experiment parameters for selected wells or samples.
2.8.4 Using a predefined experiment
Describes how to load and utilize pre-installed or user-saved experiments.
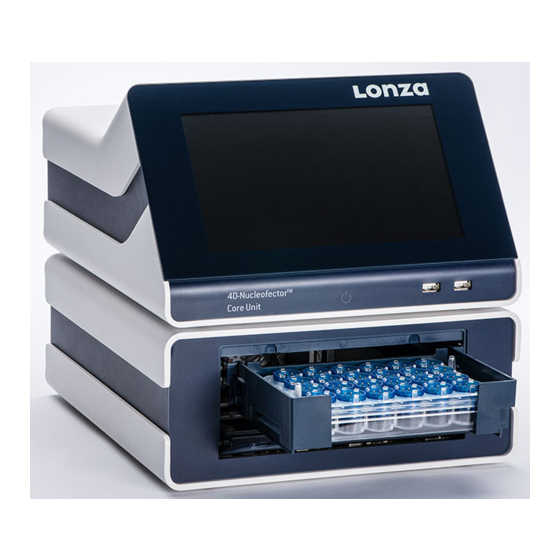
2.9 4D-Nucleofector® X Unit
2.9.1 Defining a new experiment
Details the process of creating a new experiment for the X Unit, including naming and setup.
2.9.2 Loading samples
Instructions for correctly loading samples into the X Unit's sample tray and vessels.
2.9.3 Running the experiment
Steps for initiating and monitoring the execution of an experiment on the X Unit.
2.10 4D-Nucleofector® Y Unit
2.10.1 Defining a new experiment
Guides on setting up a new experiment for the Y Unit, covering sample type and cell codes.
2.10.2 Loading samples
Instructions for loading samples into the Y Unit's 24-well dipping electrode array.
2.10.3 Running the experiment
Steps to start and monitor an experiment using the Y Unit.
2.11 4D-Nucleofector® 96-well Unit
2.11.1 Defining a new experiment
Process for defining a new experiment on the 96-well Unit, including well selection and parameter input.
2.11.2 Loading samples
Instructions for loading the 96-well Nucleocuvette® Plate into the sample tray.
2.11.3 Running the experiment
Steps to start and monitor an experiment using the 96-well Unit.
2.12 4D-Nucleofector® LV Unit
2.12.1 Using the 1 mL Nucleocuvette® Cartridge (Fixed volume)
Details on using the fixed volume 1 mL cartridge for experiments with the LV Unit.
2.12.2 Using the LV Nucleocuvette® Cartridge (Scalable volume)
Explains the procedure for using the scalable volume LV Nucleocuvette® Cartridge.
3 Troubleshooting
3.1 Suboptimal transfection results
Provides common issues and solutions for low survival rate and low efficiency during transfection.
3.2 Rescue of samples (X and Y Unit)
Describes methods to recover samples in case of system malfunction or power failure.
4 Error codes of the 4D-Nucleofector® System
4.1 Color coding of wells
Explains the visual indicators for experiment results and their meanings.
4.2 Error codes
Directs users to resources for understanding and resolving system error codes.
4.3 Arc discharge correction
Addresses issues related to arc discharges during experiments and their correction.
5 Purchaser notification
Representations and warranties
Outlines the terms, representations, and warranties provided by Lonza for the purchased system.
Need help?
Do you have a question about the AAF-1003X and is the answer not in the manual?
Questions and answers