Advertisement
Introduction
You must install the App, activate your KickScooter, and obtain the latest updates and safety instructions.
The KickScooter is a fashionable transportation device with mobile app, allowing you to connect with other riders.


Always use both electric brake and foot brake for emergency stopping. Otherwise you risk fails and/or collisions from not achieving the max. braking capability.
Package Contents


Accessories
When unboxing your KickScooter, please verify that the above items are included in the package. If you are missing any components, please contact your dealer/distributor or nearest service center (see contacts in the user manual). After verifying that all components ai present and in good condition, you can assemble your new KickScooter.
Please retain the box and packaging materials in case you need to ship your KickScooter in the future.
Remember to power off your KickScooter and unplug the charge cable before assembling, mounting accessories, or cleaning the mainframe.
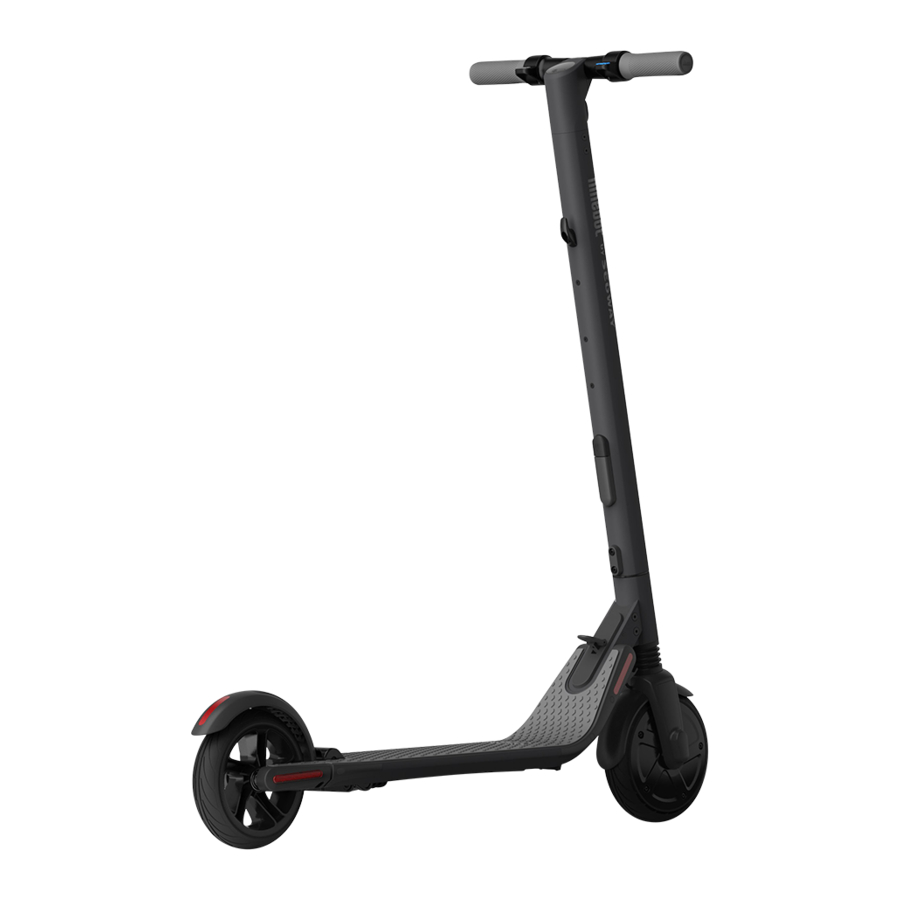
Product Overview

Dashboard & Power Button
Speedometer: Indicates the current speed. Also displays error codes when faults are detected.
Power level: Indicates the remaining battery level with 5 bars.
Each bar equates to approximately 20% power level.
Power mode (double click the power button to switch the mode):
- Red "S" icon: Sport mode (maximum power/speed and reduced range).
- White "S" icon: Standard mode (moderate power/speed and range).
- No "S" icon: Speed limit mode (minimum power/speed and increased range).
Bluetooth: A blinking Bluetooth icon indicates that the vehicle is ready to connect. A solid Bluetooth icon indicates that the vehicle is connected to a mobile device,
Power button: Short press to power on. Long press to power off. When powered on, single click to turn on/off the headlight. Double-click to change power mode.
Assembling Your Product
- Unfold the stem and push it until you hear a click. Then unfold the kickstand to support the scooter.
![]()
- Firmly connect the wires inside the handle and the stem. Slide the handle onto the stem. Be aware of the correct orientation.

- Install four screws (two on each side) with the included hex wrench.

- Verify that your KickScooter powers on and off.
![]()


Installing a Second Battery Pack
Follow these steps when installing a second battery pack:
- Remove the three screws on the stem, as shown. Then remove the cover near the charge port.
![]()
- Install the support bracket and fasten securely with three screws, as shown.
![]()
- Install the battery pack onto the support bracket and tighten the screws securely.
![]()
- Verify that your KickScooter powers on and off.
![]()


First Ride
 There are safety risks when learning to ride the KickScooter. You must read the Safety Instructions via the App before your first ride.
For your safety, your new KickScooter is not activated and will beep occasionally after Power ON.
Until activated, the KickScooter maintains a very low riding speed, and can not be ridden With full function. Install the App on your mobile device (with Bluetooth 4.0 or above), connect to the KickScooter with Bluetooth, and follow the App instructions to activate your KickScooter and enjoy the full performance.

Scan the QR code to download the App (iOS 8.0 or above, Android 4.3 or above).
- Install the App and register/login.

- Power on the KickScooter. A blinking Bluetooth icon indicates the KickScooter is waiting for a connection.
![]()
- Click "Vehicle" → "Search device" to connect to your KickScooter.
The KickScooter will beep when the connection is successful. The Bluetooth icon will stop blinking and remain illuminated.

- Follow the App instructions to active the KickScooter and learn how to ride safely. You can now start to use your KickScooter, check the status with App, and interact with other users. Have fun!


Charging

Charging step tips

Open the charge port cover.

Insert the charge plug.

Close the charge port cover when finished.
Do not connect the charger if the charge port or charge cable is wet.
Your KickScooter is fully charged when the LED on the charger changes from red (charging) to green (trickle charge). Close the charge port cover when not charging.
Learning to Ride

Wear an approved helmet and other protective gear to minimize any possible injury.
- Power on the scooter and check the indicator lamp power level. Charge the scooter if the battery level is low.
![]()
- Stand on the footrest with one foot and push off with your foot to start gliding.
![]()
- Put your other foot on the footrest to keep both feet stable. Press the throttle on right hand to speed up when you are balanced.
Note, For your safety, the motor will not engage until the scooter reaches 1.8 mph (3 km/h).
![]()
- Slow down by releasing the throttle: stir the brake handle thumb shifter quickly and stamp the fender with foot at the same time to trigger mechanical braking in order to make a sharp brake.

- To turn, shift your body weight and turn the handle slightly.


When braking rapidly you risk serious injury due to loss of traction and falls. Maintain a moderate speed and look out for potential hazards.
Folding and Carrying

Folding
Step on the folding pedal while pushing the handlebar forward slightly. Then fold the handlebar down until it locks into the rear fender.

Carrying
When your KickScooter is folded up, simply lift it by the stem to carry.
Specifications
| Item | ES2 | |
| Dimensions | Unfold: Length x Width x Height | 40x17x45 in (102x43x113 cm) |
| Fold: Length x Width x Height | 45x17x16 in (113x43x4D cm) | |
| Weight | Net | 27.6lbs (12.5 kg) |
| Rider | Payload | 55-220 lbs (25-100 kg) |
| Recommended Age | 14+ years | |
| Required Height | 3' 11"-6' 6" (120-200 cm) | |
| Machine Parameters | Max. Speed | 15.5 mph (25 km/h) |
| Typical Range[1] | 15.5 miles (25 km) | |
| Max. Slope | 10% | |
| Traversable Terrain | asphalt/flat pavement; obstacles < 0.4 in (1cm); gaps < 1.2in (3 cm) | |
| Operating Temperature | 14-104°F(-10-40°C) | |
| Storage Temperature | -4-122°F(-20-50°C) | |
| IP Rating | IP54 | |
| Battery | Nominal Voltage | 36 VDC |
| Max. Charging Voltage | 42 VDC | |
| Charging Temperature | 32-104°F(0-40°C) | |
| Nominal Capacity | 187 Wh | |
| Battery Management System | Over-heating, short circuit, over-current and over-charge protection | |
| Number Of Batteries[2] | 1 | |
| Motor | Max. Power | 250 W |
| Charger | Output Power | 71 W |
| Input Voltage | 100-240 VAC | |
| Output Voltage | 42 VDC | |
| Output Current | 1.7 A | |
| Duration of Charging | 3.5 h | |
| Features | Shock Absorber | front & rear |
| Brake Light | LED rear light | |
| Atmosphere Light | Customizable colour | |
| Riding Modes | Speed limit mode, Standard mode and Sport mode |
[1] Typical Range: tested while riding under full power, 165 lbs (75 kg) load, 77°F(2500), 60% of max. speed on average on pavement.
[2] All KickScooter models could install the second battery. Some of the parameters would change in this case.
Warnings
Failure to follow these instructions could lead to serious injury.

DO NOT ride the scooter in the rain.

DO NOT ride over speed bumps, thresholds, or other bumps at HIGH SPEED.

Watch your head when passing through doorways.

Watch your speed when traveling downhill. Use both brakes together when traveling at high speed.

DO NOT press the throttle when walking with the scooter.

Avoid contacting obstacles with the tire/wheel.

DO NOT carry heavy objects on the handlebar.

DO NOT ride the scooter with only one foot.

DO NOT ride on public roads, motorways, or highways.

DO NOT rotate the handle violently while driving at high speed.

DO NOT ride through puddles or. other bodies of water deeper than 1 inch (2 cm).

The KickScooter is for one rider only. Do not ride double or carry any passengers. Do not carry a child.

DO NOT step on the folding pedal while riding.

DO NOT touch the hub motor after riding because it can get hot.

DO NOT take your hands off the handlebar while riding. Do not ride with one hand only.

DO NOT ride up and down stairs or jump over obstacles.
Always keep both hands on the handlebar or you risk serious injury due to loss of balance and falls.
09-9508158
www.shikko.co.il
Documents / Resources
References
Download manual
Here you can download full pdf version of manual, it may contain additional safety instructions, warranty information, FCC rules, etc.
Advertisement


Need help?
Do you have a question about the ES2 and is the answer not in the manual?
Questions and answers