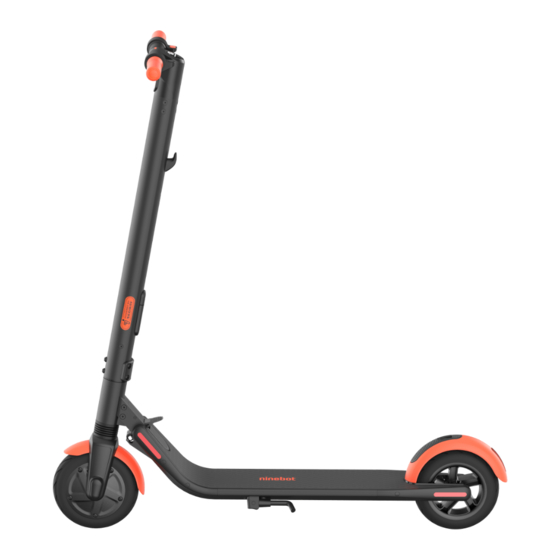
Summary of Contents for Ninebot ES1L
- Page 1 User Manual of Product 1: Safariland 6360RDS Level Three Retention Duty Holster, Red Dot Sight Compatible, STX Plain Black, Right Hand, Fits: Glock 17/22 Streamlight TLR 2...
- Page 2 Ninebot KickScooter EN The pictures shown are for illustration purposes only. Actual product may vary. F R La photo est pour référence seulement. Veuillez vous référer au produit réel pour plus de détails. DE Das Bild dient nur als Referenz. Bitte beziehen Sie sich auf das aktuelle Produkt für weitere Details.
- Page 3 Packing List / Liste d'emballage / Packliste / Lista imballaggio / Contenido del paquete / Zawartość opakowania / 제품 구성 / 同封物リ スト / / 包裝清單 EN Mainframe EN Screws EN Hex Wrench Mainframe Clé hexagonale Hauptgestell Schrauben Sechskantschlüssel Struttura principale Viti Chiave esagonale Bastidor principal...
- Page 4 Assembly / Assemblage / Montage / Montaggio / Ensamblaje / Montaż / 조립 / 組み立て / / 組裝 EN Unfold the stem. Confirm that the latching axis EN Flip up the folding pedal (For ES1LD). EN Firmly connect the wires inside the handlebar and the EN Install six screws in order (two on each side) with secured.
- Page 5 How to Ride / Comment conduire / Wie man fährt / Come guidare / Cómo conducir / Jak jeździć / 타는 방법 / 乗り方 / 如何騎乘 V ≥ 2.5 mph (4 km/h) EN Warning: Always wear a helmet, elbow pads and knee EN Power on the KickScooter.
- Page 6 Charging / Charge / Aufladen / Ricarica / Cargar la batería / Ładowanie / 충전 / 充電 / / 充電器連接 EN Your KickScooter is fully charged when the LED on the charger changes from red (charging) to green (trickle charge). Votre KickScooter est complètement chargée lorsque la LED du chargeur passe du rouge (charge) au vert (charge lente).
- Page 7 WARNINGS / AVERTISSMENT / WARNHINWEIS / ATTENZIONE / Failure to follow these instructions could lead to serious injury. / Le fait de ne pas suivre ces instructions peut entraîner des blessures graves. / Die Nichteinhaltung dieser Hinweise kann schwerwiegende Verletzungen nach sich ziehen. / La mancata osservanza di queste istruzioni può causare gravi lesioni. / No respetar estas instrucciones puede ocasionar lesiones graves.
- Page 8 EN DO NOT step on the folding pedal while riding. EN DO NOT ride up and down stairs or jump over EN DO NOT ride the scooter in the rain. DO NOT EN DO NOT ride the scooter with only one foot or one obstacles.
- Page 9 EN DO NOT overtake. EN Keep your speed between 3.1–6.2 mph (5–10 km/h) when you ride EN Watch your head when passing through EN Avoid contacting obstacles with the tire/wheel. through speed bumps, or other uneven surfaces. doorways. NE dépassez PAS. Évitez de heurter des obstacles avec le pneu/roue.
- Page 10 Folding / Repliement / Zusammenklappen / Piegatura / Plegado / Karabińczyk / 접기 해제 / 展開 / / 展開 EN DO NOT carry heavy objects on the handlebar. EN DO NOT touch the hub motor after riding because it EN Flip down the folding EN Step on the folding pedal while pushing the EN Fold the handlebar down until it can get hot.
- Page 11 Unfolding / Dépliage / Aufklappen / Apertura / Despliegue / Carrying / Transport / Durchführung / Trasporto / Transporte / Rozkładanie / 접기 / 折りたたみ / / 折疊 Przenoszenie / 운송 / 持ち運び / / 搬運 EN Lift by the stem to carry. Soulevez par la tige pour porter.
- Page 12 140mm EN The pictures shown are for illustration purposes only. Actual product may vary. Ninebot KickScooter Packing List / Liste d'emballage / Packliste / Lista imballaggio / F R La photo est pour référence seulement. Veuillez vous référer au produit réel pour plus de détails.
- Page 13 8114D Operating instructions: This lock is preset to open at 0-0-0-0. To set your own combination: 1. Set the combination dials to 0-0-0-0 and withdraw the cable. 2. Turn the knob 90 degrees in a clockwise direction to the designated position (fig. 1). 3.


Need help?
Do you have a question about the ES1L and is the answer not in the manual?
Questions and answers