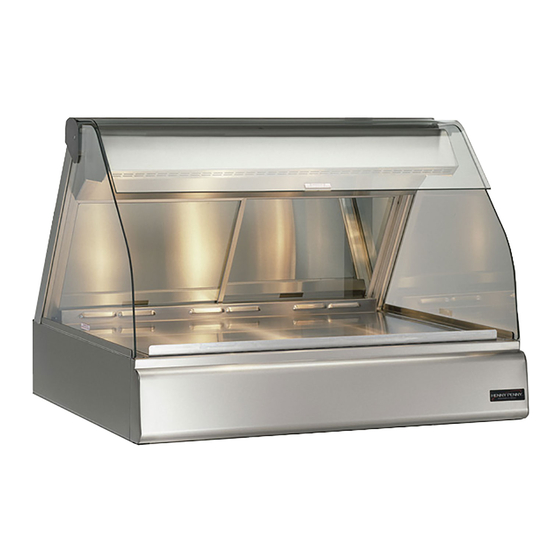
Page 1
OPERATOR’S M A N U A L HEATED MERCHANDISERS MODEL HMR-103 HMR-104 HMR-105 HMR-106 HMR-107 R E G I S T E R W A R R A N T Y O N L I N E AT W W W. H E N N Y P E N N Y. C O M...
Model HMR-103,104,105,106,107 SECTION 1. INTRODUCTION 1-1. HEATED The Henny Penny Heated Merchandiser is a basic unit of food MERCHANDISER processing equipment used to display the food product and maintain the temperature of hot foods in a commercial food service operation.
Model HMR-103,104,105,106,107 1-4. SAFETY The only way to ensure safe operation of the Henny Penny Heated Merchandisers is to fully understand the proper installation, operation, and maintenance procedures. The instructions in this manual have been prepared to aid you in learning the proper procedures. Where information is of particular importance or is safety related, the words, NOTICE, CAUTION, or WARNING are used.
Do not puncture the heated merchandiser with any objects such as drills or screws as component damage or electrical shock could result. The Henny Penny Heated Merchandiser is tested, inspected and 2-2. UNPACKING expertly packed to ensure arrival at its destination in the best possible condition.
Model HMR-103,104,105,106,107 2-3. ELECTRICAL The heated merchandiser is available from the factory, wired for CONNECTION 120/208-240 volts, single or three phase, (includes neutral), 220-240 volts, or 380-415 volts. Refer to the table at left, and bottom, for proper NEMA NUMBERS: power connection.
Model HMR-103,104,105,106,107 2-6. CENTER GLASS These are the instructions for installing the center glass on units INSTALLATION that are combination, self-serve and standard merchandisers. 1. Notice the location of the bracket on unit, as indicated. 2. Using a 3/8” socket, or nut driver, loosen the 2 acorn nuts securing the bracket, but do not remove.
Page 12
Model HMR-103,104,105,106,107 2-6. CENTER GLASS INSTALLATION (Continued) 4. Place glass in divider track as shown. 5. Slide bracket onto glass and align to its original position around the 2 acorn nuts. 6. Retighten the 2 acorn nuts. 1202...
Model HMR-103,104,105,106,107 2-7. SIDE GLASS Install the side panel glass, on both sides of the unit, as follows: INSTALLATION 1. Pull out plunger on retainer and turn clockwise to lock open. 2. Slide the glass into the channel on the side rail, making sure the glass seats into the groove on the upright.
Model HMR-103,104,105,106,107 SECTION 3. OPERATION 3-1. INTRODUCTION This section provides the daily operating procedure for the heated merchandiser. Read this section thoroughly before operating the merchandiser. 3-2. START-UP 1. Turn the POWER and HEAT switches to the ON position. 2. Fill water pan assembly (inside the well area) with about 1.5 gallons (5.7 liters) of water.
Model HMR-103,104,105,106,107 3-2. START-UP 7. The water (humidity) temperature controls are located above the (Continued) water pan of each full serve section. If humidity is desired in the merchandiser, press the button marked ON to activate the water pan heater. If “Add H2O” flashes in the display, water needs to be added to the water pan.
Model HMR-103,104,105,106,107 3-3. OPERATION WITH 6. To keep hot foods from drying too fast, keep a clean misting PRODUCT (Continued) bottle (such as you find in a garden supply store) with a mixture of 1/3 vegetable oil and 2/3 water on hand. Set the nozzle for a fine mist.
Page 17
Model HMR-103,104,105,106,107 3-4. SHUT DOWN AND 6. Clean around electrical controls and components with a CLEAN UP (Continued) damp cloth. 7. Clean doors and glass with a non-streaking liquid glass cleaner. Do not use abrasive cleaners or scratches to the glass may occur.
Model HMR-103,104,105,106,107 3-5. LIGHT BULB REPLACEMENT To avoid electrical shock or property damage, move the POWER switch to OFF and disconnect main circuit breaker, or unplug cord at wall receptacle. Light bulbs and glass may be hot. Severe burns could result.
Model HMR-103,104,105,106,107 3-6. SPECIAL PROGRAMMING All three controls have the same capability to access the Special Program Mode. This mode includes; choosing between Fahrenheit and Celsius, reinitialize the controls, calibrating the food probe, and output tests. To access the Special Program Mode: Press and hold the temperature button, then turn the power switch on.
Model HMR-103,104,105,106,107 SECTION 4. TROUBLESHOOTING 4-1. TROUBLESHOOTING GUIDE Problem Cause Correction Power switch ON but unit • Open Circuit • Plug unit in completely inoperative • Check breaker or fuse at wall • Check 15 amp fuses • Check cord and plug for loose connection •...
Model HMR-103,104,105,106,107 G L O S S A R Y HENNY PENNY HOLDING CABINETS air temperature probe a round device located inside the cabinet that measures the inside air temperature and sends that information to the control panel concentration ring assembly...
Page 22
Model HMR-103,104,105,106,107 probe clip a metal holder that attaches to the outside of the control panel to hold the food probe when not in use; the clip is an optional accessory product load capacity the highest recommended number of pounds/kilograms of food product that...
Need help?
Do you have a question about the HMR-103 and is the answer not in the manual?
Questions and answers
does the hmr105 have the same doors as the hmr106?