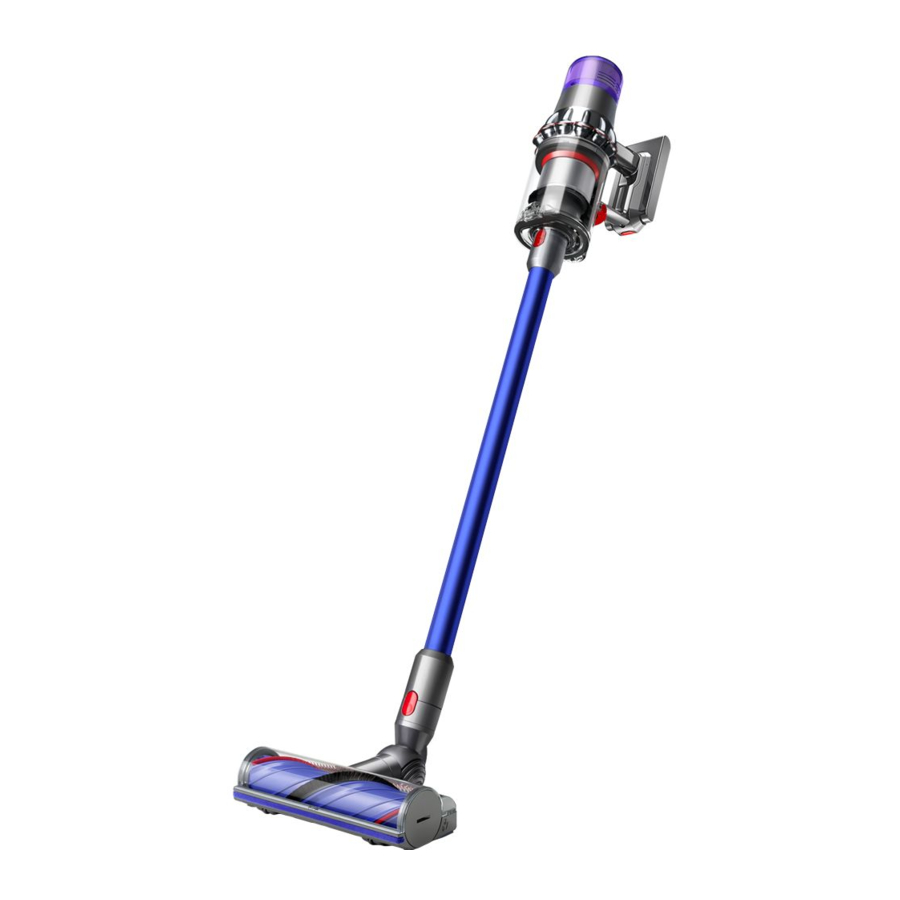
Dyson V11, V11 Extra, SV14 Manual
- User manual ,
- Operating manual (144 pages) ,
- User manual (13 pages)
- Also fits for
- V11 extra
- Sv14
Advertisement
- 1 Assembly
- 2 Quick start
- 3 Charging
- 4 Registration
- 5 Display
- 6 Emptying the clear bin
- 7 Charging
- 8 Looking for blockages
- 9 Cleaning the filter
- 10 High torque cleaner head maintenance
-
11
Additional information
- 11.1 Docking station installation
- 11.2 Vacuuming
- 11.3 High torque cleaner head and suction control slider
- 11.4 Emptying the clear bin
- 11.5 Cleaning the clear bin
- 11.6 Filter and blockage indicator LEDS
- 11.7 Washing the filter unit
- 11.8 High torque cleaner head
- 11.9 Quick-release mini motorhead tool
- 11.10 Blockages and automatic cut-out
- 11.11 Looking for blockages
- 11.12 Charging and storage
- 12 IMPORTANT SAFETY INSTRUCTIONS
- 13 Dyson Customer Care
- 14 Documents / Resources
Assembly

Quick start
Power modes
Your machine has three power modes for different tasks. Change cleaning modes quickly using a single button.
Eco
Maximum run time, for longer cleans.

Auto
The optimum balance to clean all floors. Attach your High torque cleaner head to activate Auto/Med mode, which automatically adapts power between carpets and hard floors.

Boost
Intensive cleaning for ground-in dirt.

Charging
Your machine will need to be fully charged before first use.

Registration
After registering your free 2 year warranty, your Dyson machine will be covered for parts and labor (excluding filters) for 2 years from the date of purchase, subject to the terms of the warranty.
If you have any questions regarding your Dyson machine, visit www.dyson.com for online help, support videos, general tips and useful information about Dyson.
Alternatively, you can call the Dyson Helpline with your serial number and details of where and when you bought the machine.
Your serial number can be found on your rating plate which is on the base of the machine.
Note your serial number for future reference.

This illustration is for example purposes only.
Online
Convenient and instant.
www.dyson.com/register
Phone
Dyson Helpline: 1-855-533-1098
(Mon-Fri 8am to 8pm CT; Sat 9am to 6pm CT).
Display

Emptying the clear bin

- Be careful not to pull the 'ON' trigger while the clear bin is open for emptying.
![]()
- Close the clear bin by pushing the bin base upwards until the clear bin and bin base click into place.
![]()
![]()


Charging

Connect to charger either directly or in the docking station.
The blue LEDs – one on each side of the battery – will flash on and off during charging.
When the battery is charged, both LEDs will light for 5 seconds, then go out.

Battery is charged when display shows battery at 100%.

Battery empty and needs charging.
Looking for blockages

Cleaning the filter

High torque cleaner head maintenance

Additional information
Please read the 'Important Safety Instructions' in this Dyson Operating Manual before proceeding.
Docking station installation
- Unpack the docking station, charger and installation leaflet.
- Select the location for the docking station and ensure that there is no pipework (gas, water or air), electrical cables, wires or ductwork directly behind the mounting location.
- Follow the instructions in the installation leaflet.
- Click the attachments into place.
- Place the machine in the docking station.
- Plug the charger into the mains electricity supply. Switch on (if necessary) to charge the battery.
- Your machine will need to be fully charged before first use.
The docking station must be mounted in accordance with regulations and applicable codes/ standards (state and local laws may apply).
Dyson recommends the use of protective clothing, eyewear and materials when installing the docking station.
Vacuuming
- Remove the machine from the docking station.
- Check that the underside of the cleaner head or tool is clean and free from foreign objects that may cause damage.
Before vacuuming your flooring, rugs and carpets, check the manufacturer's recommended cleaning instructions. The brush bar on the machine can damage certain carpet types and floors. Some carpets will fuzz if a rotating brush bar is used when vacuuming. If this happens, we recommend vacuuming without the motorized floor tool and consulting with your flooring manufacturer.
High torque cleaner head and suction control slider
Your High torque cleaner head has a slider control to adjust the suction of the cleaner head. To select the suction required, move the suction control slider on top of the cleaner head. Maximum suction for ground in dust and debris (+)
- For vacuuming durable floor coverings, hard floors and heavily soiled carpets and rugs. Suction for dust and debris ( ▲ )
- For vacuuming of lightly soiled carpets, rugs and hard flooring.
- For vacuuming of large debris such as peanuts or rice. Suction for deep pile carpets and delicate flooring (-)
- For vacuuming deep pile carpets or rugs and any flooring on which you may experience greater resistance.
- For vacuuming of lightly soiled floors, including delicate flooring such as vinyl, parquet and lino.
Emptying the clear bin
- Empty as soon as the dirt reaches the level of the MAX mark – do not overfill.
- Be careful not to pull the 'ON' trigger while the clear bin is open for emptying.
- Remove the wand by pressing the red wand release button and pulling away from the bin.
- To release the dirt:
- Hold the machine with the bin in a downwards position.
- Firmly push the red bin release button.
- The bin will slide down, cleaning the shroud as it goes.
- The bin base will then open.
- The bin base will not open if the red button is not pushed down fully.
To minimize dust/allergen contact when emptying, encase the clear bin tightly in a dust proof bag and empty. Remove the clear bin carefully from the bag. Seal the bag tightly, dispose as normal.
Cleaning the clear bin
(optional)
If it is necessary to clean the clear bin:
- Follow the instructions in the 'Emptying the clear bin' section.
- Press the red button located on the bin runner to release the bin and slide the bin off the runner.
- Clean the clear bin with a damp cloth only.
- Ensure that the clear bin and seals are completely dry before replacing.
To refit the clear bin:
- Insert the spine on to the bin runner.
- Close the clear bin by pushing the bin base upwards until the clear bin and bin base click into place.
The clear bin is not dishwasher safe and the use of detergents, polishes or air fresheners to clean the clear bin is not recommended as this may damage your machine.
Filter and blockage indicator LEDS
The display of your machine will alert you when simple maintenance steps are needed.
- The filter indicator will show when the filter unit is not fitted correctly. Follow the instructions on how to refit the filter unit in the 'Washing the filter unit' section.
- The filter indicator will show when the filter unit needs washing. Follow the instructions on how to wash the filter unit in the 'Washing the filter unit' section.
- The blockage indicator will show if there is a blockage. Follow the instructions on how to clear blockages in the 'Looking for blockages' section.
Washing the filter unit
Wash the filter unit at least once every month, or whenever the filter maintenance indicator lights.
Check and wash the filter unit, according to the instructions, to maintain performance.
- Remove the filter unit by twisting it counterclockwise. Gently pull away from the machine.
- Gently tap the filter unit to remove any excess dust and debris before washing it.
- Wash the filter unit in cold water only: do not use detergent, or wash it in a dishwasher or washing machine.
- Wash the pleated paper element of the filter unit first; hold the filter unit under a cold water tap with the foam element downwards and run cold water over the pleated paper.
- Continue washing until the water runs clear.
- Wash the foam element of the filter unit next; hold the filter unit under a cold water tap with the foam element downwards so that dirty water does not contaminate the pleated paper element. Run cold water over the inside and outside of the foam element and squeeze the foam gently to expel the dirt.
- Continue washing until the water runs clear.
- Wash the outside of the filter unit. Then fill the unit with cold water, place your hands over the open ends and shake gently.
- Repeat washing the elements and outside of the filter unit until the water runs clear.
- Gently shake the filter unit to remove any excess water and leave to drain with the foam element end facing up.
- Leave the filter unit to dry completely in a dry environment with good airflow, for a minimum of 24 hours.
- Check that the filter unit is completely dry.
- To refit, return the filter unit to the main body and twist clockwise until it clicks into place.
The filter unit may require more frequent washing if vacuuming fine dust or if use is mainly in Boost mode.
Do not put any part of your machine in a dishwasher, washing machine, tumble dryer, oven, microwave or near a naked flame.
High torque cleaner head
The brush bar of a motorized cleaner head is not washable.
Quick-release mini motorhead tool
The brush bar of a motorized cleaner head is not washable.
Blockages and automatic cut-out
- This machine is fitted with an automatic cut-out.
- If any part becomes blocked, the machine may automatically cut out.
- This will happen after the motor pulses a number of times (i.e switches on and off in quick succession) and the blockage indicator will light.
- Leave to cool down before looking for blockages.
- Be careful not to pull the 'ON' trigger while looking for blockages. Operating the machine while it is partially dismantled could result in personal injury.
- Clear any blockage before restarting.
- Refit all parts securely before using.
- Clearing blockages is not covered by your warranty.
Looking for blockages
The motor will pulse and the blockage indicator will show when there is a blockage. Please follow the instructions below to locate the blockage:
- Be careful not to pull the 'ON' trigger while looking for blockages. Operating the machine while it is partially dismantled could result in personal injury.
- Beware of sharp objects when checking for blockages.
- To check for blockages in the main body of the machine, remove the clear bin following the instructions in the 'Cleaning the clear bin' section and remove the blockage.
- If you cannot clear an obstruction from the cleaner head, you may need to remove the brush bar. Use a coin to unlock the fastener, slide the brush bar out of the cleaner head and remove the obstruction. Replace the brush bar and secure it by tightening the fastener. Ensure it is fixed firmly before operating the machine.
- This machine has carbon fiber brushes. Take care if coming into contact with them, as they may cause minor skin irritation. Wash your hands after handling the brushes.
- Refit all parts securely before using.
- Clearing blockages is not covered by your warranty.
Charging and storage
- This machine will switch 'OFF' if the battery temperature is below 50°F (10°C). This is designed to protect the motor and battery. Do not charge the machine and then move it to an area with a temperature below 50°F (10°C) for storage purposes.
- To help prolong battery life, avoid recharging immediately after a full discharge. Allow to cool for a few minutes.
- Avoid using the machine with the battery flush to a surface. This will help it run cooler and prolong battery run time and life.
IMPORTANT SAFETY INSTRUCTIONS
BEFORE USING THIS MACHINE READ ALL INSTRUCTIONS AND CAUTIONARY MARKINGS IN THIS MANUAL AND ON THE MACHINE
When using an electrical appliance, basic precautions should always be followed, including the following:


These warnings apply to the machine, and also where applicable, to all tools, accessories, chargers or mains adaptors.
TO REDUCE THE RISK OF FIRE, ELECTRIC SHOCK OR INJURY:
- This Dyson machine is not intended for use by persons (including children) with reduced physical, sensory or reasoning capabilities, or lack of experience and knowledge, unless they have been given supervision or instruction concerning use of the machine by a person responsible for their safety.
- Do not allow to be used as a toy. Close attention is necessary when used by or near children. Children should be supervised to ensure that they do not play with the machine.
- Use only as described in this Dyson Operating Manual. Do not carry out any maintenance other than that shown in this manual, or advised by the Dyson Helpline.
- Suitable for dry locations ONLY. Do not use outdoors or on wet surfaces.
- Do not handle any part of the charger or machine with wet hands.
- Do not use with a damaged charger or cord.
- If the machine is not working as it should, if it has received a sharp blow, if it has been dropped, damaged, left outdoors, or dropped into water, do not use and contact the Dyson Helpline.
![burn hazard]()
![shock hazard]()
Contact the Dyson Helpline when a service or repair is required. Do not disassemble the machine as incorrect reassembly may result in an electric shock or fire.- Do not stretch the cord or place the cord under strain. Keep the cord away from heated surfaces. Do not close a door on the cord, or pull the cord around sharp edges or corners. Arrange the cord away from traffic areas and where it will not be stepped on or tripped over. Do not run over the cord.
- Do not use to pick up water.
- Do not use to pick up flammable or combustible liquids, such as gasoline, or use in areas where they or their vapors may be present.
- Do not pick up anything that is burning or smoking, such as cigarettes, matches, or hot ashes.
- Keep hair, loose clothing, fingers, and all parts of the body away from openings and moving parts. Do not point the hose, wand or tools at your eyes or ears or put them in your mouth.
- Do not put any object into openings. Do not use with any opening blocked; keep free of dust, lint, hair and anything that may reduce airflow.
- Use only Dyson recommended accessories and replacement parts.
- Do not use without the clear bin and filter(s) in place.
- Unplug the charger when not in use for extended periods.
- Use extra care when cleaning on stairs.
- To prevent unintentional starting, be careful to keep your hands and fingers away from the 'ON' trigger until you are ready to begin vacuuming, especially when picking up or carrying the machine. Carrying the machine with your finger on the 'ON' trigger invites accidents.
- Do not install, charge or use this machine outdoors, in a bathroom or within 10 feet (3 meters) of a pool. Do not use on wet surfaces and do not expose to moisture, rain or snow.
- Use only the Dyson charger Part Number 217160 for charging this Dyson machine. Use only Dyson batteries: other types of batteries may explode, causing injury to persons and damage.
- When removing or replacing a motorized brush bar, be careful not to pull the 'ON' trigger until the cleaner head has been reassembled.
![burn hazard]() Do not use a battery pack or machine that is damaged or modified. Damaged or modified batteries may exhibit unpredictable behavior resulting in fire, explosion or risk of injury. Do not expose battery pack or machine to fire or excessive temperatures. Exposure to fire or temperatures above 140°F (60°C) may cause explosion.
Do not use a battery pack or machine that is damaged or modified. Damaged or modified batteries may exhibit unpredictable behavior resulting in fire, explosion or risk of injury. Do not expose battery pack or machine to fire or excessive temperatures. Exposure to fire or temperatures above 140°F (60°C) may cause explosion.![]()
The battery is a sealed unit and under normal circumstances poses no safety concerns. In the unlikely event that liquid leaks from the battery, do not touch the liquid as it may cause irritation or burns, and observe the following precautions:- Skin contact – can cause irritation. Wash with soap and water.
- Inhalation – can cause respiratory irritation. Expose to fresh air and seek medical advice.
- Eye contact – can cause irritation. Immediately flush eyes thoroughly with water for at least 15 minutes. Seek medical attention.
- Disposal – wear gloves to handle the battery and dispose of immediately, following local ordinances or regulations.
![burn hazard]() Follow all charging instructions and do not charge the battery pack or the machine outside of the temperature range specified in the instructions. Charging improperly or at a temperature outside of the specified range may damage the battery and increase the risk of fire. To ensure maximum battery life, Dyson recommends the following:
Follow all charging instructions and do not charge the battery pack or the machine outside of the temperature range specified in the instructions. Charging improperly or at a temperature outside of the specified range may damage the battery and increase the risk of fire. To ensure maximum battery life, Dyson recommends the following: - When not in use the machine should be stored at room temperature. Recommended range: 64°F (18°C) to 82°F (28°C).
- The ambient temperature range for operation and charging should be 50°F (10°C) to 86°F (30°C).
![]()
Do not place this machine on or near a cooker or any other hot surface and do not incinerate this machine even if it is severely damaged. The battery might catch fire or explode.![]()
Do not apply any fragrance or scented product to the filter(s) of this machine. The chemicals in such products are known to be flammable and can cause the machine to catch fire.


READ AND SAVE THESE INSTRUCTIONS
This Dyson machine is intended for household use only.

Do not use near open flames.

Do not store near heat sources.

Do not pick up water or liquids.

Do not pick up burning objects.

Do not put hands near the brush bar when the machine is in use.

Do not place on or near the cooker.
Dyson Customer Care
If you have any questions regarding your Dyson machine, visit www.dyson.com for online help, general tips and useful information about Dyson.
Alternatively, you can call the Dyson Helpline with your serial number and details of where and when you bought the machine.
Please call the Dyson Helpline on 1-855-533-1098 for more information.
Please register as a Dyson machine owner
To help us ensure that you receive a prompt and efficient service, please register as a Dyson machine owner. There are three ways to do this:
- Online at www.dyson.com
- Telephone the Dyson Helpline on 1-855-533-1098.
- Complete the enclosed Warranty Form and mail it to us.
This will confirm ownership of your Dyson machine in the event of an insurance loss, and enable us to contact you if necessary.
Warranty service
If your machine is not functioning properly, please call the Dyson Helpline on 1-855-533-1098. Most issues can be rectified over the telephone by our trained Helpline staff.
Watch helpful videos on getting the most from your vacuum.
Quick-start video guides
For easy cord-free cleaning
Warranty activation
2-years of free parts and labour from Dyson
Lifetime support
From experts at Dyson or visit www.dyson.com/MyV11

Requires Apple IOS 11 or later, or Android OS 5.0.
Documents / ResourcesDownload manual
Here you can download full pdf version of manual, it may contain additional safety instructions, warranty information, FCC rules, etc.
Advertisement


Need help?
Do you have a question about the V11 and is the answer not in the manual?
Questions and answers