Advertisement
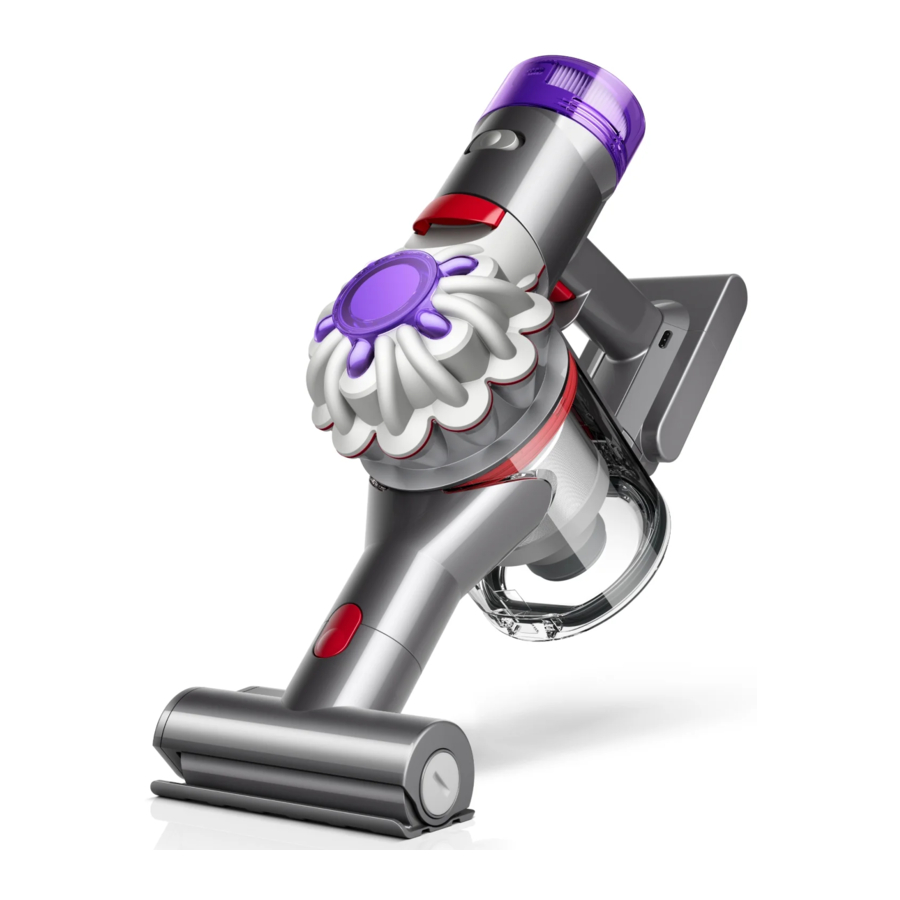
In the box
Your machine will come with these tools.

Getting started

Pull trigger to start cleaning
Two power modes
Toggle between Powerful mode – for longer suction – and MAX mode, for stronger suction. Just hold down the trigger and slide the control back and forth.


Switch accessories quickly
The quick-release tools click into place, and release in moments by simply depressing the release switch.

Charging your machine
Connect your machine to the charger and fully charge before first use.
A full charge will take approximately 4.5 hours. While your battery is charging, the LEDs will flash with the current level of charge.
These lights will turn off once your machine is fully charged.

Insert the charging cable into the charging point at the back of the vacuum, at the bottom of the handle. Plug the cable into a wall socket to begin charging.
Battery LEDs
| During use, high charge. | All LEDs lit with a solid blue light |  |
| During use, medium charge. | Two LEDs lit with a solid blue light |  |
| During use, low charge. | One LED lit with a solid blue light |  |
| Empty. | One blue LED flashing. |  |
Charging LEDs
| Charging, low charge. | One flashing blue light on the side of the battery. |  |
| Charging, medium charge. | Two flashing blue lights on the side of the battery. |  |
| Charging, nearly full. | Three flashing blue lights on the side of the battery. |  |
| Fully charged. | No lights illuminated on the side of the battery. |  |
| Battery fault. | One flashing red LED. |  |
| Charger fault. | One light flashing alternately red and blue. |  |
The LED lights are located on the side of the battery unit.

Emptying your bin
Empty as soon as the dirt reaches the MAX level – don't overfill. Using your machine when the dirt is above the MAX line may affect the performance and require more frequent filter washing.

The MAX mark on the bin of the machine, showing that the dirt should not be filled over the Max mark when the machine is at the angle of normal use.
Release the dirt
Hold your machine over the bin and pull the bin release catch upwards.
The cyclone will slide up and the bin base will open.

The bin release catch is located on the top of the cyclone where it joins the main body of your machine.
Minimise dust contact
Cover your bin tightly in a dustproof bag while you empty.
Remove the bin carefully, seal the bag tightly and dispose.
Close the bin
Push down on the cyclone until it slides into position.
Push the bin base upwards until it closes securely.

Cleaning your bin
Empty your bin as soon as the dirt reaches the MAX mark. You may need to clean the filter more often if you use your machine with a full bin.
Empty your bin
Remove any tools from your machine.
Hold your machine over a bin and pull the bin release catch upwards.
The cyclone will slide up and the bin base will open.

Remove the cyclone
Pull the bin release catch upwards. The cyclone will slide up and the bin base will open.
Locate the cyclone release button behind the cyclone and push to remove the cyclone from your machine.

The cyclone release button is located on the main body and is visible once the bin release button has been activated. The button to remove the bin is located on the bottom of the handle.
Remove the bin
Pull back on the red catch located on the base, slide the bin down and pull it off your machine.

Clean the bin
Wipe your bin with a damp, lint-free cloth. Don't put the bin in a dishwasher or use detergents, polishes or air fresheners.
Make sure the bin is completely dry before replacing.
Replace the bin
Align the tabs on the bin with the grooves on the main body and slide it upwards until it clicks into place.
Replace the cyclone
Slide the cyclone into the grooves of the main body and push down until it is in position.
Push the bin base up until it clicks firmly shut.
Clearing blockages
Your machine is fitted with an automatic cut-out. If any part of it is blocked, your machine's motor will pulse and won't function until the blockage has been cleared.
Disconnect your machine from the charger before looking for blockages. Be careful not to touch the trigger and be aware of sharp objects.
Leave your machine to cool down before looking for blockages.
Don't use your machine when looking for blockages as this could cause injury.

Washing filter A
Remove your filter
Lift the filter out of the top of the cyclone.
Tap to remove excess dust and debris.

Wash your filter
Hold the filter under a running tap, until the water runs clear.
Tap the filter to remove excess water.
Squeeze and twist with both hands to make sure the excess water is removed.

Dry your filter
Leave your filter to dry completely, for at least 24 hours in a well-ventilated, warm place.
Do not dry your filter in a tumble-dryer or near a naked flame.

your filter must be completely dry before you put it back into the machine. Your machine could be damaged if used with a damp filter.

Refit your filter
Align the arrow on the top of the filter with the bin release button.
Push down to fit securely in place.

Washing filter B
Twist off your filter
Twist your filter anti-clockwise and pull it away from your machine.

Wash your filter
Wash the inside of the filter under cold, running water, rotating the filter to make sure all the inside is clean.
Repeat until the water runs clear.

Shake out the water
Empty the filter and shake firmly to remove excess water.
Keep shaking it until there's no water coming from the filter.
Dry your filter
Place your filter, with the open end facing up, to dry.
Leave your filter to dry completely, for at least 24 hours in a well-ventilated, warm place.
Do not dry your filter in a tumble-dryer or near a naked flame.
your filter must be completely dry before you put it back into the machine. Your machine could be damaged if used with a damp filter.

Replace your filter
Place your filter on your machine, aligned in the open position. Twist clockwise until it clicks securely into position.

Clearing blockages from your Mini motorised tool
Your Mini motorised tool doesn't have a washable brush bar. To maintain optimum performance, check your brush bar regularly and clear any obstructions.
Make sure your machine is disconnected from the charger and take care not to touch the trigger.
Remove your brush bar
Don't put any part of your machine in a dishwasher or use detergents, polishes or air fresheners.
Use a coin to unlock the end cap.
Twist the end cap and remove it from your brush bar. Don't wash the end cap.
Slide your brush bar out of the cleaner head.

The removal of the brush bars showing the lock in a horizontal position and the unlock symbol at 90° anticlockwise and lock symbol at 90° clockwise.
Look for obstructions
Clear any debris from your brush bar.
Check inside the cleaner head and remove any debris or blockages.
Your Mini motorised tool and brush bar aren't washable. Wipe over with a damp lint-free cloth and ensure completely dry before refitting.

Remove any hair or fibres that have been wrapped around the brush bar.
Replace your brush bar
Push the end cap back on to your brush bar and slide it back into the cleaner head.
Turn the end cap into the locked position.
Your cleaner head isn't washable and should only be wiped over with a damp lint-free cloth.

The brush bar reinserted into the cleaner head and the end cap rotated to the locked position.
Cleaning your tools
Don't put any part of your machine in a dishwasher or use detergents, polishes or air fresheners.
Wipe with a damp, lint-free cloth, without touching the connector end.
Make sure your tools are completely dry before using.

Looking after your machine
To always get the best performance from your machine, it's important to clean it regularly and check for blockages.
Look after your machine
If your machine is dusty, wipe with a damp lint-free cloth.
Check for blockages in the cleaner head, tools and main body of your machine.
Wash your filter regularly and leave to dry completely.
Don't use detergents or polishes to clean your machine.
Look after your battery
To get the best performance and life from your battery, use Powerful suction mode.
Your machine won't operate or charge if the ambient temperature is below 5°C (41°F). This is designed to protect both the motor and battery.
Your serial numbers
You can register your machine using the serial number found on the bottom of your machine.
You can find your serial numbers on your machine, battery and charger. Use your serial number to register.
Documents / ResourcesDownload manual
Here you can download full pdf version of manual, it may contain additional safety instructions, warranty information, FCC rules, etc.
Advertisement


Need help?
Do you have a question about the car+boat and is the answer not in the manual?
Questions and answers