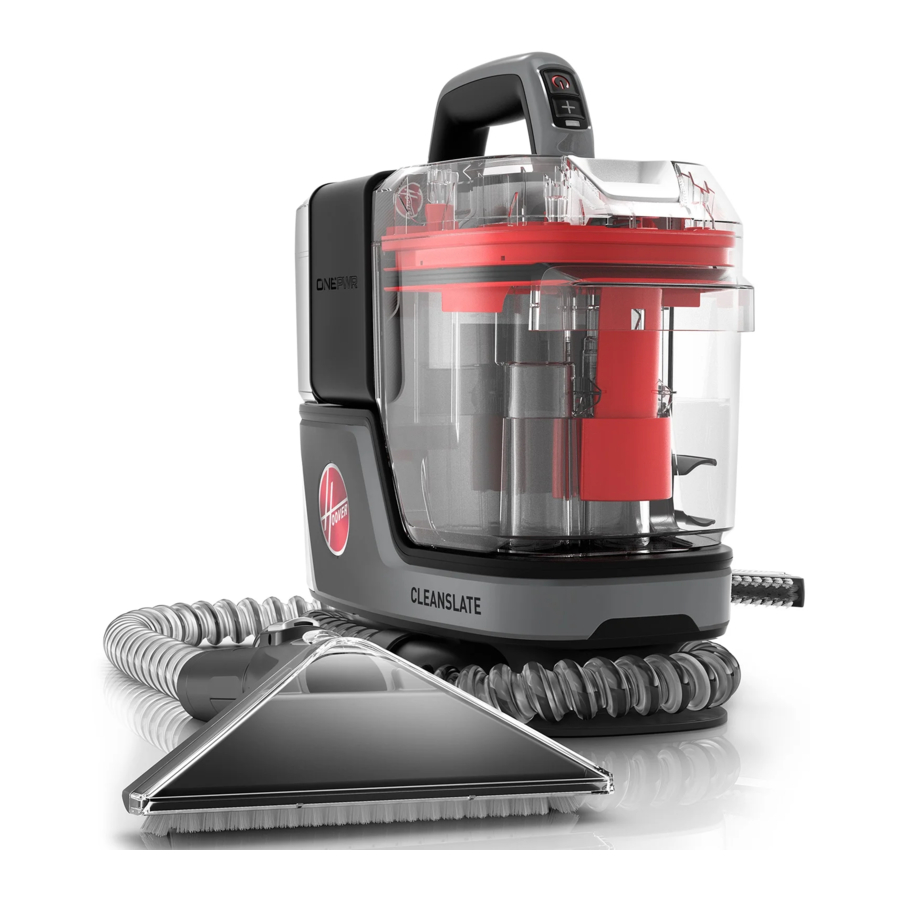
Hoover ONEPWR CLEANSLATE Manual
- User manual (13 pages) ,
- Quick start manual (2 pages) ,
- User manual (17 pages)
Advertisement
GETTING STARTED
The charger included with your Clean Slate may differ from what is shown in this user manual. Please reference the Accessories section of this manual or contact us at Hoover.com for more information of your specific charger.

Not to be used for grooming a pet.
- Place battery into unit, remove Solution Tank from the side of the unit, then remove the cap.

- Follow the formula ratio chart and use the included measuring cup to add cleaning formula in the Solution Tank.
CLEANING FLUID: SEE THE HOOVER SOLUTION GUIDE insert or visit Hoover.com/cleaningsolutions.
![]()
- Replace and tighten cap. Slide the Solution Tank back into the unit to secure the tank.
![]()
- Unwrap hose from unit. Select preferred tool and make sure it is attached securely.
![]()


OPERATION
BEFORE YOU BEGIN CLEANING
Use your Hoover upholstery and spot cleaner only if upholstery fabric is marked with a "W" (for "wet" clean) or "S/W" (for "solvent/dry" or "wet" clean). Don't clean fabric marked "S" ("solvent/ dry" clean only).
Test for colorfastness in a small, hidden area. Gently rub surface with a dampened white cloth. Wait ten minutes and check for color removal or bleed with a white paper towel.
NOTE: To prevent staining, use plastic or aluminum foil to protect wood or metal surfaces from possible water spray.
NOTE: To avoid damage to wood floors underneath area rugs or carpet, place waterproof material (e.g. plastic) underneath them before cleaning.
DO NOT USE THIS EXTRACTOR ON HARD FLOORS. USING THIS PRODUCT ON HARD FLOORS MAY SCRATCH OR DAMAGE YOUR FLOOR.
Do not clean over floor electrical outlets. Water will drip from the tool after use and may puddle. To avoid damage to wood and laminate flooring and to avoid potential slip hazard, after use (a)do not leave the product on wood and laminate surfaces and move to a hard surface and (b) place unit on an absorbent material (such as a towel) to soak up drips.
- Press Red Power button on the handle to turn ON.
![]()
- When cleaning tough stains, use boost mode for more power. Press the (+) sign located under the power button. To turn off boost mode, press the (+) sign again. Using boost mode reduces run time to up to 15 min.
![]()
- First, remove any large debris before using the machine. Use preferred tool to suction up any excess liquid from the stain.
Hold tool about 5 inches over the spot or stain. Spray a generous amount of cleaning solution over the soiled area by pressing the trigger behind the tool and scrub the stain in a backand-forth motion.
![]()
- To lift the stain, suction up the dirt and cleaning solution by applying downward pressure on the front of the cleaning tool and pulling towards you. Repeat as needed.
![]()
Empty the Recovery Tank when it reaches the MAX fill line. There will be an audible change, lights will flash and the unit will turn off. Ensure the tank is secured before cleaning.
![]()


MAINTENANCE

To reduce the risk from moving parts, remove the battery before servicing.

To reduce risk of fire and electric shock due to internal component damage, use only HOOVER® cleaning products intended for use with the appliance as noted.
HOW TO CLEAN RECOVERY TANK
Leave the battery in machine. Press TANK RELEASE button. Then lift lid off for emptying and rinsing. Clean water will help remove dirt & debris from the tank. Let air dry before reinstalling.

HOW TO CLEAN TOOLS
- Remove the tool from the hose. Rinse hand tool under faucet. Remove nozzle cover by unlatching from the top.
![]()
- Pull the release tab to remove the insert and rinse under faucet.
![]()


HOW TO CLEAN HOSE
- Remove the solution tank and fill with warm water (max 140˚F (60˚C)) to the small area fill line.
![]()
- Remove any cleaning tool or attachment from the 2 hose and attach the Hose Rinse Tool to the hose.
![]()
- Ensure both the solution and recovery tank are secured on unit. Turn unit on and press the trigger for 5-10 seconds. The clean water will rush through the hose, effectively cleaning and removing dirt and debris left in the hose.

- Empty the excess water from the dirty water tank and rinse. Let air dry before reinstalling
![]()
STORAGE: Allow product to fully dry prior to storing it.


BATTERY CARE
- First turn off product. Remove battery from the machine by pinching the gray buttons on the sides. Pull upward.
![]()
- Plug charger into an outlet and slide the battery onto the charger. Store battery and charger in a secure location.
NOTE: During charging, the pack and ambient temperature should be between 41° to 86°F (5° and 30°C). The charger will sense if the pack, or ambient temperature, is too cold or too hot, and will return error code (red LED will be on) and not charge the pack.

The battery life is indicated by the four lights on the battery. If four dots are illuminated the battery is fully charged
![]()
Low battery indicator will turn red when the battery power is low
![]()


ACCESSORIES
Look for these accessories on Hoover.com or Hoover.ca or call 1-800-406-2005.
| EVERY ONEPWR™ BATTERY WORKS WITH EVERY ONEPWR™ PRODUCT. | |
| Battery: | Model # |
| 2.0 Ah | BH15020; BH19020; BH19020V |
| 4.0 Ah | BH15240; BH19240; BH19240V; BH25040; BH29040; BH29040V |
| 8.0 Ah | BH25280; BH29280; BH29280V |
| PARTS AND ACCESSORIES: | |
| 1.5A Charger | BH05000 |
| Dual Bay Charger | BH05200; BH05200V |
| 0.5A Compact Charger | 440014514 |
| 0.5A Compact Charger | 440014913 |
| 1.5A Compact Charger | 440014513 |
| 1.5A Compact Charger | 440014914 |
| Fast Charger | BH05140 |
| ONEPWR Tower for Emerge Cordless Stick Vacuum | BH35200; BH35200V |
To register your product, go to the URL below and follow the steps until complete.
Hoover.com/product-registration
| FORMULA RATIO CHART | SMALL AREA (20 OZ) | LARGE AREA (40 OZ) |
| IF USING HOOVER CONCENTRATE | ||
 | ||
| Water | Fill water Small Area Line (20 oz) | Fill water Large Area Line (39 oz) |
| HOOVER 2X Concentrated Formula | 0.5 oz | 1 oz |
| IF USING HOOVER READY-TO-USE PREMIX | ||
| Premixed Formula | Fill premix Small Area Line | Fill premix Large Area Line |
TROUBLESHOOTING
To reduce the risk from moving parts, remove the battery before servicing.
Replacement parts and accessories such as solutions available at Hoover.com.
If appliance is not working as it should, has been dropped, damaged, left outdoors, or dropped into water, call customer service at 1-800-944-9200 prior to continuing use. Always identify your cleaner by the complete model number. (The model number appears on the bottom of the cleaner.)
This product contains no serviceable parts.
| PROBLEM | POSSIBLE CAUSE | POSSIBLE SOLUTION |
| Cleaner won't run |
|
|
| Cleaner won't pick up or low suction |
|
|
| Water escaping from Cleaner |
|
|
| Cleaner won't dispense |
|
|
| Hose nozzle will not spray after filling the Clean Water Tank or Solution Tank Container |
|
|
| Motor noise becomes high-pitched |
|
|
| Cleaner lights are flashing |
|
|
IMPORTANT SAFETY INSTRUCTIONS
READ ALL SAFETY WARNINGS AND INSTRUCTIONS BEFORE USING THIS PRODUCT.
TO REDUCE THE RISK OF FIRE, ELECTRIC SHOCK, DAMAGE OR INJURY:
WHEN USING AN ELECTRICAL PRODUCT, BASIC PRECAUTIONS SHOULD ALWAYS BE FOLLOWED TO AVOID ELECTRIC SHOCK, FIRE, AND/OR SERIOUS INJURY, INCLUDING THE FOLLOWING:
- Fully assemble product prior to use.
- Do not store or charge battery outdoors or on wet surfaces.
- Do not allow charger to get wet.
- Do not expose to rain, store indoors.
- Do not immerse. Use only on surfaces moistened by cleaning process.
- To Reduce the Risk of Fire and Electric Shock due to internal component damage, use only HOOVER® Cleaning Fluids intended for use with this appliance. See the Cleaning Fluid section of this manual.
- Do not allow to be used as a toy. Not intended for use by children age 12 and under. Close supervision is necessary when used by or near children. To avoid injury or damage, keep children away from product, and do not allow children to place fingers or other objects into any openings.
- Use only as described in this manual. Use only manufacturer's recommended attachments and products.
- Do not use charger with damaged cord or plug. If product is not working as it should, has been dropped, damaged, left outdoors, or dropped into water, contact www.refurbproductsupport.com prior to continuing use.
- Do not pull or carry charger cord, use cord as a handle, close a door on cord, or pull cord around sharp edges or corners. Do not place product on cord. Do not run appliance over cord. Keep cord away from heated surfaces.
- Do not unplug by pulling on charger cord. To unplug, grasp the plug, not the cord.
- Do not handle charger plug or appliance with wet hands.
- Do not put any object into openings. Do not use with any opening blocked; keep free of dust, lint, hair, and anything that may reduce air flow.
- Keep hair, loose clothing, fingers, and all parts of body away from openings and moving parts.
- Do not use to pick up flammable or combustible liquids, such as gasoline, or fine wood sandings, or use in areas where they may be present.
- Do not pick up anything that is burning or smoking, such as cigarettes, matches, or hot ashes.
- Use extra care when cleaning on stairs. To avoid personal injury or damage, and to prevent the products from falling, always place product at bottom of stairs or on floor. Do not place product on stairs or furniture.
- Have servicing performed by a qualified repair person using only identical replacement parts. This will ensure that the safety of the product is maintained.
- Do not use without filters and tanks in place.
- Do not clean over floor electrical outlets.
- Put product away after use to prevent tripping accidents.
RISK OF FIRE, PROPERTY DAMAGE, AND INJURY. NEVER EXPOSE YOUR BATTERY PACK OR CHARGER TO WATER, MOISTURE, OR FLUIDS, INCLUDING BUT
NOT LIMITED TO CORROSIVE OR CONDUCTIVE FLUIDS, OR ALLOW FLUIDS TO FLOW INSIDE THESE ITEMS.
- Corrosive or conductive fluids, such as salt water, chlorine, certain industrial chemicals, and bleach or bleach containing products, etc., can cause a short circuit in the battery pack.
- If your battery pack is exposed to a corrosive or conductive fluid, do not attempt to use or charge the battery pack and immediately perform the following steps:
- Wear appropriate personal protective equipment, including eye protection and rubber gloves.
- Place your exposed battery pack in a large bucket, such as a 5 gallon or similar bucket, and fill the bucket with regular tap water. Do not place more than two packs in the bucket.
- Locate the bucket outdoors in an area inaccessible to children and pets and away from all buildings, garages/ sheds, structures, vehicles, and combustible/flammable materials.
- Leave the battery pack(s) in the bucket filled with tap water and contact Customer Service at www.refurbproductsupport.com for additional instructions on the proper disposal of the exposed battery pack(s). [boxed end]
- Prevent unintentional starting. Ensure the switch is in the off-position before connecting to battery pack, picking up or carrying the appliance. Carrying the appliance with your finger on the switch or energizing appliance that has the switch on invites accidents.
- Recharge only with the charger specified by the manufacturer. A charger that is suitable for one type of battery pack may create a risk of injury and fire when used with another battery pack.
- Use appliance only with specifically designated battery packs. Use of any other packs may create a risk of injury and fire.
- Use battery only with charger listed. For use with Hoover® ONEPWR Lithium-ion Batteries.
- The charger is for indoor use only. Be sure to always keep the battery and charger in a dry place.
- Unplug the charger from the outlet before any routine cleaning or maintenance.
- Disconnect the battery pack from the appliance before making any adjustments, changing accessories, or storing appliance. Such preventative safety measures reduce the risk of starting the appliance accidentally.
- When battery pack is not in use, keep it away from other metal objects, like paper clips, coins, keys, nails, screws or other small metal objects, that can make a connection from one terminal to another. Shorting the battery terminals together may cause burns or a fire.
- Under abusive conditions, liquid may be ejected from the battery; avoid contact. If contact accidentally occurs, flush with water. If liquid contacts eyes, additionally seek medical help. Liquid ejected from battery may cause irritation or burns.
- Do not use a battery pack or appliance that is damaged or modified. Damaged or modified batteries may exhibit unpredictable behavior resulting in fire, explosion or risk of injury.
- Do not expose a battery pack or appliance to fire or excessive temperatures. Exposure to fire or temperature above 265°F may cause explosion.
- During charging, the pack and ambient temperature should be between 41° to 86°F (5° and 30°C).
- Do not charge battery in a damp or wet location. Do not use, store, or charge battery packs or products in locations where the temperature is less than 50°F or more than 100°F. Do not store outside or in vehicles.
- Follow all charging instructions and do not charge the battery pack or appliance outside of the temperature range specified in the instructions. Charging improperly or at temperatures outside of the specified range may damage the battery and increase the risk of fire.
- Do not modify or attempt to repair the appliance or the battery pack except as indicated in the instructions for use and care.
TO REDUCE THE RISK OF DAMAGE:
- Avoid picking up hard, sharp objects with this product, as they may cause damage.
- Store appropriately indoors in a dry place. Do not expose machine to freezing temperatures.
- Do not use sharp objects to clean out hose as they can cause damage.
- To assist in reducing drying time, be certain the area is well ventilated when using detergents and other cleaners with this machine.
- To help prevent matting and resoiling, avoid contact with carpets until they are dry. Keep children and pets away from carpets until they are completely dry.
- Do not store extractor with solution in tanks.
- DO NOT USE THIS EXTRACTOR ON HARD FLOORS UNLESS YOU HAVE THE PROPER HARD FLOOR ATTACHMENT. USING THIS PRODUCT ON HARD FLOORS MAY SCRATCH OR DAMAGE YOUR FLOOR.
- Water will drip from the tool after use and may puddle. To avoid damage to wood and laminate flooring and to avoid potential slip hazard, after use (a) do not leave the product on wood and laminate surfaces and remove to a hard surface and (b) place unit on absorbent material (such as a towel) to soak up drips.
Documents / Resources
References
![hoover.com]() Vacuum Cleaners | Carpet Cleaners | Hard Floor Cleaners | Hoover
Vacuum Cleaners | Carpet Cleaners | Hard Floor Cleaners | Hoover![hoover.ca]() Hoover Canada
Hoover Canada![hoover.com]() Product Registration – Hoover
Product Registration – Hoover![www.hoover.com]() Vacuum Cleaners | Carpet Cleaners | Hard Floor Cleaners | Hoover
Vacuum Cleaners | Carpet Cleaners | Hard Floor Cleaners | Hoover![www.refurbproductsupport.com]() Refurb Product Support | Support for Your Refurbished Products!
Refurb Product Support | Support for Your Refurbished Products!
Download manual
Here you can download full pdf version of manual, it may contain additional safety instructions, warranty information, FCC rules, etc.
Advertisement


Need help?
Do you have a question about the ONEPWR CLEANSLATE and is the answer not in the manual?
Questions and answers