Advertisement
- 1 Features
- 2 Specifications
- 3 Visor(Shield) Removal
- 4 Visor(Shield) Installation
- 5 Cheek Pad Removal
- 6 Cheek Pad Installation
- 7 Crown Pad Removal
- 8 Crown Pad Installation
- 9 Chin Strap Cover Removal
- 10 Chin Strap Cover Installation
- 11 Sun shield Operation
- 12 Sun shield Removal
- 13 Sun shield Installation
- 14 Breath Deflector Removal
- 15 Breath Deflector Installation
- 16 Lower Vent Operation
- 17 Chin Curtain Removal
- 18 Chin Curtain Installation
- 19 Emergency Kit
- 20 How to install speaker pocket cover
- 21 HJC Intercom Placement Guide
- 22 Documents / Resources
Features
 | PIM EVO Shell |  | Removable and washable interior |
 | Advanced Channeling Ventilation System |  | Inerchangeable cheek pads throughout all sizes |
 | Pinlock ready HJ-40 visor(shield) |  | Double D-ring |
 | Provides 99% UV protection |  | Emergency Kit (Cheek Pads) |
 | HJ-V12 Internal sun shield |  | ECE R22.06 APPROVED |
 | Anti-fog sun shield |  | Smart HJC 21B & 50B Install ready |
Please visit www.hjchelmets.com for more information about HJC helmets.
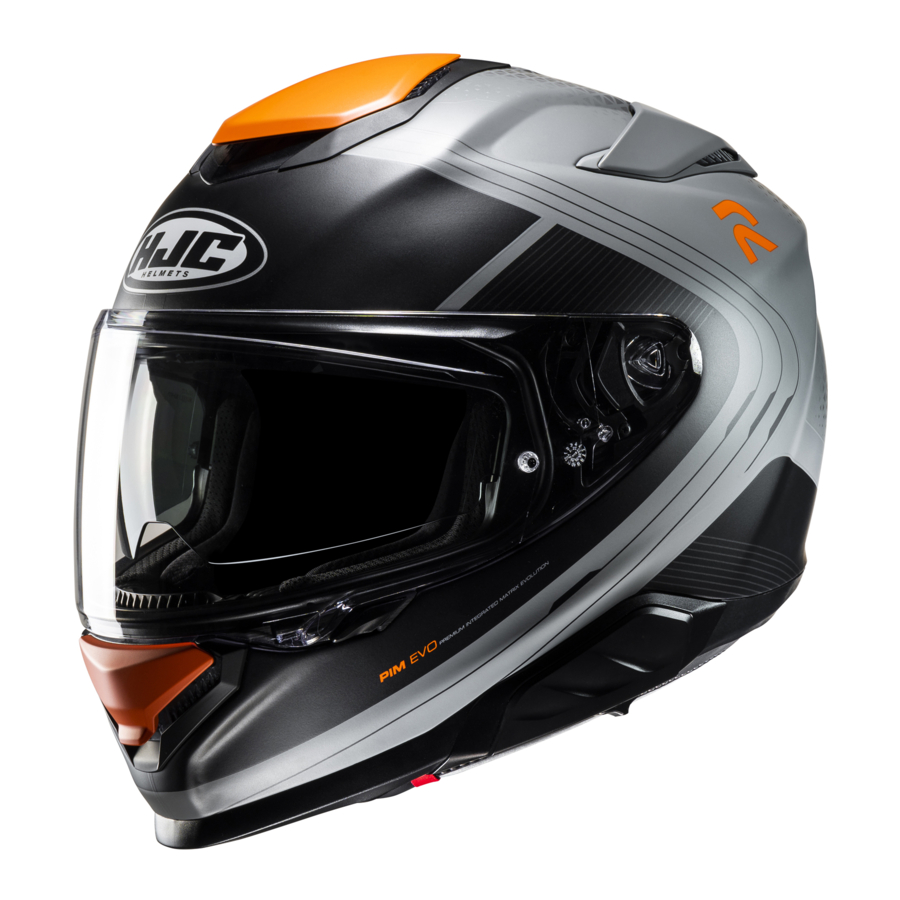
Specifications

- Outer shell
- Rear venturi exhausts
- Impact absorbent liner
- Comfort liner
- Rubber edge trim
- Bluetooth Cover
- Sun shield lever
- Chin strap
- Chin strap snap
- Double "D" ring
- Bluetooth UI cover
- Shield locking system
- Front chin vent
- Breath deflector
- Anti-fog lens pins
- HJ-40 Visor(Shield)
- HJ-V12 Sun shield
- Eyeport Gasket
- Shield Ratchet
- Top Front Vent
Visor(Shield) Removal
- Press the visor(shield) locker, then lift the visor(shield) tab up.
 Removal - Step 1")
- Open visor(shield) to the maximum open position.
 Removal - Step 2")
- Pull the handle-locker to the open position, then pull out the visor(shield) from ratchet mechanism.
 Removal - Step 3")
 Removal - Step 1")
 Removal - Step 2")
 Removal - Step 3")
Visor(Shield) Installation
- Ensure that the handle-locker is in the open position.
 Installation - Step 1")
- Align and insert the top of the shield guide into the plate-gear guide.
![]()
- With the guides properly aligned, press the lower section of the shield into the plate-gear mechanism. The locking tab should pop into position, locking the shield into place.
 Installation - Step 3")
 Installation - Step 1")

 Installation - Step 3")

Always check to make sure helmet pads are installed before using the helmet. A helmet with missing or improperly installed pads may increase your risk of serious injury or death in an accident.
Cheek Pad Removal
There are 3 snaps holding the cheek pad in place.
- Gently pry the cheek pad away from the interior, releasing the snaps.
![]()
- Grasp the cheek pad near its center and gently pull it free from the chin strap.


Cheek Pad Installation
- Align and fully slide the cheek pad plastic plate between shell and EPS.

- Clip the cheek pad's 3 small male snaps to the 3 female snaps fixed on the shell interior.
![]()


※Slide tab 'A' from the cheek pad into the holder 'B'.(Repeat same on opposite side)
Crown Pad Removal
- Grasp the crown pad fabric as close as possible to its plastic base and pull/pry away from the helmet. Notice how the crown pad plastic section aligns with the shell plastic sleeve. This will help orient you with the reinstallation.

- Repeat same at rear.


Crown Pad Installation
- Install the front section first by aligning the plastic shell base and the crown pad plastic sleeve, ensuring that the center and side holes are properly aligned. Press the crown pad plastic sleeve (center portion) into the center of the channel which is built into the plasticshell base, working your way outward to each side.

- Align and snap the two rear snaps into place.


Chin Strap Cover Removal
- Grasp the end of the chin strap cover and pull/pry away from the helmet.


Chin Strap Cover Installation
- Insert the chin strap into the chin strap cover and push the chin strap all the way in.


- Try not to operate the sun shield while riding as this may impair your vision and may lead to an accident.
- DO NOT pull on the sun shield when it is already down. The sun shield may be ejected and this will increase the risk of serious injury or death in the event of an accident.
- DO NOT attempt to adjust the sun shield itself with your hands. Always use the sun shield lever.
- DO NOT use sun shield at night time. The sun shield is only for day time use. The sun shield does not provide eye protection. When you use the sun shield be sure that the clear visor is also in closed position.
Sun shield Operation
Above illustration shows raised sun shield position.

There are three positions for the sun shield sliding lever.
Stage 1 - Standard position
Stage 2 - Lower position
Stage 3 - Lowest position
Sun shield Removal
- Place the stopper in stage 3.

- Push the sun shield lever in the direction of the arrow to lower the sun shield as much as possible.

- Gently pull one side of the sun shield as arrow indicates (repeat same for other side).


Sun shield Installation
- Insert sun shield tab 'A' into 'B' position.(Repeat same on opposite side)
※When installing the sun shield, be sure to have it slided behind the tap 'B' holder.


Breath Deflector Removal
- To remove the breath deflector, pull in the direction of the arrow.


Breath Deflector Installation
- To attach the Breath Deflector, insert into the slot and push it in the direction of the arrow.


Lower Vent Operation
*Lower Vents open in two ways, and the amount of intake and exhaust can be adjusted.

- Press the bottom of the lower vent door once to open the first stage.
![]()
- The 1st position will allow minimum air flow, while the 2nd position will allow maximum air flow.
![]()


Chin Curtain Removal
- Pull the chin curtain away from the helmet as arrow indicates.


Chin Curtain Installation
- Align the center of the chin curtain with the center of the helmet. Push into place as arrows indicate. (Please assemble in order from 1 to 3.)
Slide tab 'A' from the cheek pad into the holder 'B'.


Emergency Kit
In an emergency, you may remove the cheek pads as indicated in the illustration. Pull the red line pocket with your fingers.
- Please use Emergency Kit only in emergency situation.


How to install speaker pocket cover
If you install communication system speakers, please do not use the speaker pocket cover.

HJC Intercom Placement Guide
Mounting the Intercom
Unscrew and remove the base cover at the back of the helmet to begin mounting process of the intercom. Please refer to the manual of the current intercom you are using for directions on mounting and unmounting the intercom unit.
Base Cover Detachment
- Remove the screws from the base cover. (picture1)
![]()
- While lifting the base cover(direction A) detach it by pushing toward direction B. (Picture 2)
![]()


Mounting the Base Cover
Push the base cover underneath the gasket at the bottom of the helmet until the base cover and the bracket screw holes match. Using the screw, fixate the base cover onto the helmet.
Bluetooth UI Cover Detachment
- Push the Bluetooth UI cover in the direction of the arrow while pressing down on A.
![]()

Mounting the Bluetooth UI Cover
- After aligning the hook of the Bluetooth UI cover with the groove of the body, and push and attach.
![]()

Documents / Resources
References
Download manual
Here you can download full pdf version of manual, it may contain additional safety instructions, warranty information, FCC rules, etc.
Advertisement


Need help?
Do you have a question about the RPHA 71 and is the answer not in the manual?
Questions and answers