Table of Contents
Advertisement
Quick Links
Advertisement
Table of Contents

Related Manuals for HJC RPHA 31


Summary of Contents for HJC RPHA 31
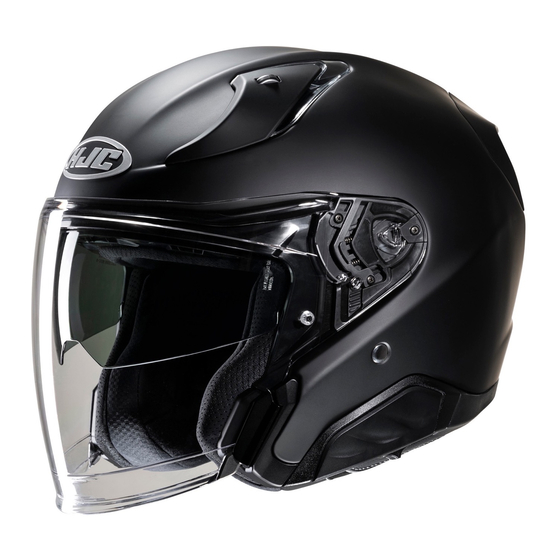
- Page 2 Smart HJC 21B & 50B 5. Comfort liner 11. Double "D" ring 17. Eyeport gasket Install ready 6. Bluetooth cover 12. Bluetooth UI cover 18. Visor(Shield) ratchet 19. Top vents Anti-fog sunshield ※ Please visit www.hjchelmets.com for more information about HJC helmets.
- Page 3 Visor(Shield) Removal Visor(Shield) Deflector Operation 1. After pushing the lower left part of the visor(shield) outward, lift the visor(shield) to the top. When lowered, the Visor(Shield) Deflector reduces the wind coming under the chin. 2. Pull the handle-locker to the open position, then pull out the visor(shield) from ratchet mechanism. Visor(Shield) Deflector Raised Position Visor(Shield) Deflector Lowered Position Handle-locker...
- Page 4 Warning! Crown Pad Installation ■ Try not to operate the sun shield while riding as this may impair your vision and may lead to an accident. ■ 1. Install the front section first by aligning the plastic shell base and the crown pad plastic sleeve, ensuring DO NOT pull on the sun shield when it is already down.
- Page 5 Sun shield Removal Chin Strap Cover Removal 1. Grasp the end of the chin strap cover and pull/pry away from the helmet. 1. Place the stopper in stage 3. 2. Push the sun shield lever in the direction of the arrow to lower the sun shield as much as possible. 3.
- Page 6 HJC Intercom Placement Guide Mounting the Intercom Unscrew and remove the base cover at the back of the helmet to begin mounting process of the intercom. Please refer to the manual of the current intercom you are using for directions on mounting and unmounting the intercom unit.
Need help?
Do you have a question about the RPHA 31 and is the answer not in the manual?
Questions and answers