Table of Contents
Advertisement
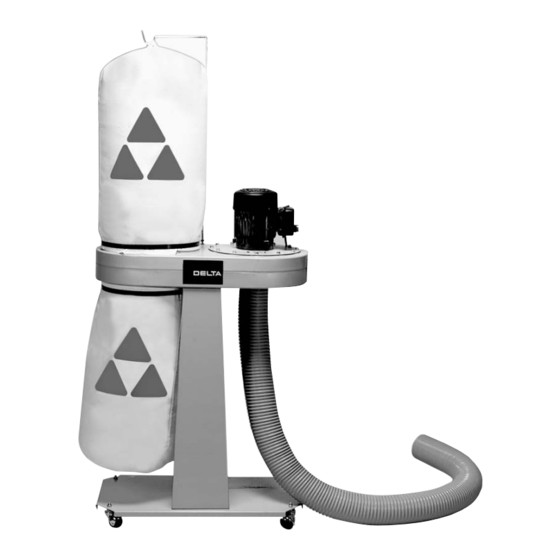
One H.P. Single-Stage
Dust Collector
(Model 50-775)
PART NO. 902116 (015)
Copyright © 2001 Delta Machinery
To learn more about DELTA MACHINERY
SPANISH: PAGE 13
visit our website at: www.deltamachinery.com.
For Parts, Service, Warranty or other Assistance,
1-800-223-7278 (
1-800-463-3582).
please call
In Canada call
Advertisement
Table of Contents

Related Manuals for Delta 50-775


Summary of Contents for Delta 50-775
- Page 1 One H.P. Single-Stage Dust Collector (Model 50-775) PART NO. 902116 (015) Copyright © 2001 Delta Machinery To learn more about DELTA MACHINERY SPANISH: PAGE 13 visit our website at: www.deltamachinery.com. For Parts, Service, Warranty or other Assistance, 1-800-223-7278 ( 1-800-463-3582).
-
Page 2: General Safety Rules
If you have any questions relative to a particular application, DO NOT use the machine until you have first contacted Delta to determine if it can or should be performed on the product. -
Page 3: Important Safety Rules For Dust Collectors
11. REPLACE a damaged cord immediately. DO NOT use a damaged cord or plug. If the dust collector is not operating properly, or has been damaged, left outdoors or has been in contact with water, take it to an Authorized Service Center for service. -
Page 4: Unpacking And Cleaning
UNPACKING AND CLEANING Carefully unpack the tool and all loose items from the shipping container(s). Remove the protective coating from all unpainted surfaces. This coating may be removed with a soft cloth moistened with kerosene (do not use acetone, gasoline or lacquer thinner for this purpose). - Page 5 2. Place the dust collector on its side. 2. Insert bolt from wheel caster through the four holes (A) Fig. 3 in the base of the dust collector (three are not shown). 3. Place a lockwasher (A) Fig. 4 onto each bolt.
- Page 6 ATTACHING MOTOR AND BLOWER ASSEMBLY TO FRAME 1. Place motor assembly and base assembly on their side. 2. Align the four holes, two shown at (C), on the top of the side supports (A) Fig. 8, with the four holes in the motor assembly (B).
- Page 7 ASSEMBLING FILTER AND DUST COLLECTION BAGS TO DRUM 1. Thread a 5/16" hex nut (A) Fig. 13, onto the end of bag support rod (B). Thread rod into hole (E) and tighten nut (A) against motor assembly to hold support rod (B) upright.
-
Page 8: Grounding Instructions
Check with a qualified electrician or service person if you are in doubt as to whether the outlet is properly grounded. Do not modify the plug provided with the dust collector. If it will not fit the outlet, have a proper outlet installed by a qualified electrician. - Page 9 Should you desire to have your dust collector converted for 240 volts, take your dust collector to your local Authorized Delta Service Center. Call 1-800-223-7278 for the location of the nearest Authorized Service Center. The Service Center will be able to convert your dust collector for 240 volts by (a) re-wiring the motor for 240 volts;...
-
Page 10: Extension Cords
The on/off switch is located on the side of the motor. To turn the dust collector “ON,” push switch toggle (A) Fig. 24, toward the “ON” mark. To turn the dust collector “OFF,” push switch toggle (A) toward the “OFF” mark. -
Page 11: Motor Maintenance
1-800-223-7278 (In Canada call 1-800-463-3582). Delta will repair or replace, at its expense and at its option, any Delta machine, machine part, or machine accessory which in normal use has proven to be defective in workmanship or material, provided that the customer returns the product prepaid to a Delta factory service center or authorized service station with proof of purchase of the product within two years and provides Delta with reasonable opportunity to verify the alleged defect by inspection. - Page 12 NOTES...
Need help?
Do you have a question about the 50-775 and is the answer not in the manual?
Questions and answers