LUND Genesis Manual
- Installation instructions manual (19 pages) ,
- Installation instructions (5 pages) ,
- Installation instructions manual (9 pages)
Advertisement
Contents

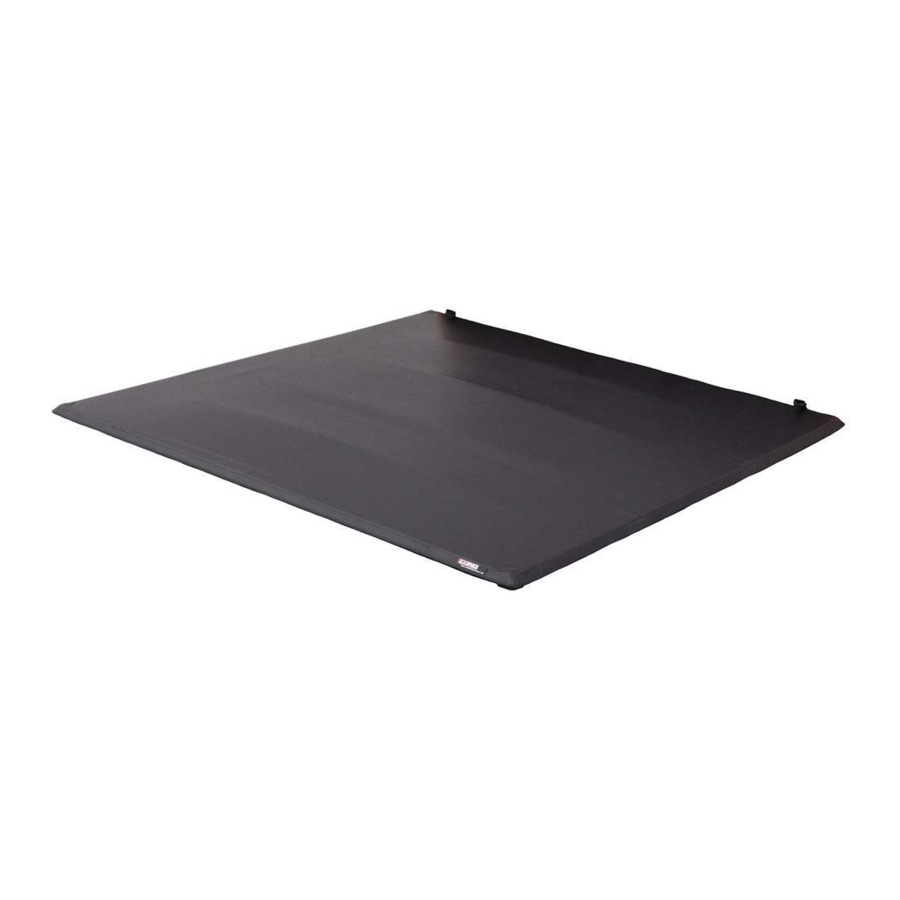
 NOTE: Actual product may vary from illustration.
Tools Required

Preparation Before Installation
- Wash the upper rail surfaces of the truck bed.
- Be sure to completely dry the upper surfaces of your truck bed before installing the tonneau cover.
Installation Steps
NOTE: Actual application may vary slightly from illustrations.
STEP 1

Place the cover assembly on the top of the truck bed next to the cab.

STEP 2
If a gap exists between the cover and the bulkhead, proceed to Step 3. If not proceed to Step 5.

STEP 3

Make sure there is no dust or debris on the front rail. Turn cover over, apply supplied foam tape to front rail of cover and trim to fit. Flip cover over and place on truck as show in Step 1, then proceed to Step 5.

STEP 4
Apply to trucks WITH bedliner. Will not work with over the rail bedliners.

STEP 5
Line up to front of bed first. Center the cover assembly on the truck. Position the cover assembly so the gaps on all sides are equal.

STEP 6
The cover has retaining straps with quick-release buckles to keep it from being damaged when bulk hauling or when it is not on the vehicle.

STEP 7
Unfold second section of cover.

STEP 8
Unfold third section of cover.

STEP 9
Pre-load clamps prior to installation of Tonneau cover to avoid unnecessary adjustment. Measure from top of rod to base of clamp as depicted in graphic.

Securing Front Clamps - Fold Cover Forward
STEP 10

STEP 11
Rotate each clamp down from its storage position.

STEP 12
Adjust clamps to proper height. Make sure that the inner bedwall structure and clamp lid are aligned as shown by dashed line. Handle height should be adjusted, such that, the clamp contacts the bed rail flange while the handle is in the 4 o'clock (LH) or 8 o'clock (RH) position.

STEP 13
Rotate handles back up and slide clamps to edge of truck bed as shown. For ease of sliding outward, the latch handle should be in this position until the clamp engages the bed flange.

STEP 14
Rotate clamps to locking position. Repeat for opposite side.
NOTE: A light to moderate force should be felt when latching to the truck bed. The latches should NOT be loose when in the LOCKED POSITION.

STEP 15
After clamping Tonneau inspect clamps to make sure the pinch weld is seated properly in the notch on the clamp. Trim the bed cap at the clamp location if it extends down past the metal.
If traveling with the Tonneau in the folded position it is recommended to use a safety pin or lock in the front clamps.

Securing Rear Clamps - Fold Cover Rearward
STEP 16
Repeat Step 11 thru Step 14

Unlatching and Securing Latches for Folding and Stowing Cover
STEP 17

STE8 18
Rotate latch handle up to disengage truck side rail.

STEP 19
- Slide latch towards the inside of the truck bed,
- Return latch handle to vertical position. Latch handle should be as far into truck bed as possible before proceeding to next step.


STEP 20
Rotate clamp up from its install position into its storage position as shown left. Make sure that latch handle matches illustration on bow caution label.

STEP 21

Care and Cleaning
- Wash only with mild soap & dry with a clean cloth.
Contact Information
Visit us at lundinternational.com
800-241-7219
Important Safety Information
For proper installation and best possible fit, please read all instructions BEFORE you begin.
For technical assistance or to obtain missing parts, please call Customer Relations at 1-800-328-5863.
- Serious personal injury and property damage can occur if vehicle is driven without both black buckles at the front of cover fastened.
- Prior to vehicle operation, clamps must be secured such that the clamp lips tightly grip the inner bedwall structure.
- Only release buckles when fully installing cover.
- After a setting period (1 week) it may be necessary to readjust the clamp load after foam isolators take a set to maintain the uniform gap between the Genesis™ Tri-Fold Tonneau cover and bed rails.
- Check the bracket clamp loads every 3 months or 5,000 miles.
- The Genesis™ Tri-Fold Tonneau cover must be closed or secured with straps while the vehicle is in motion.
Documents / Resources
References

Download manual
Here you can download full pdf version of manual, it may contain additional safety instructions, warranty information, FCC rules, etc.
Advertisement


Need help?
Do you have a question about the Genesis and is the answer not in the manual?
Questions and answers