Table of Contents
Advertisement
Available languages
Available languages
Quick Links
For proper installation and best possible fit, please read all instructions BEFORE you begin.
For technical assistance or to obtain missing parts, please call Customer Relations at 1-800-241-7219.
Important Safety Information
• CAUTION - Before driving, ensure that the Aeroskin is properly secured to vehicle.
• Do not use automatic "brush-style" car washes.
• Do not use cleaning solvents of any kind.
• Periodically check all components for tightness.
Contents
NOTE: Actual product may vary from illustration.
Tools Required
Preparation Before Painting / Installation
• A trial fit is recommended to ensure proper positioning and fit.
• Check fit of parts before painting as we will not accept the return of modified or painted parts.
• Wash and dry your vehicle to remove any debris and/or dirt from the installation area.
NOTE: Ensure vehicle surface and part are between 60°F and 80°F (15°C and 27°C) prior to
installation.
Do not drive vehicle for 24 hours after installation.
Installation Instructions
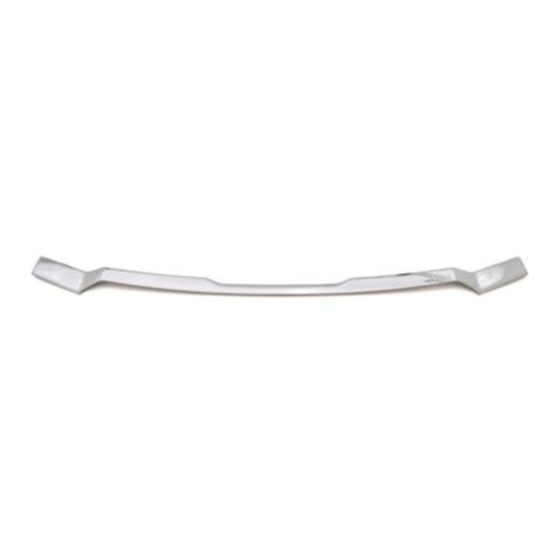
Aeroskin
Aeroskin
Car Wash Supplies
Page 1 of 4
I - Sheet Number ASK01 Rev.G
™
Alcohol
Pad x2
Clean Towel
Masking Tape
Do not wash vehicle for 72 hours after installation.
Surface Prep
Pad x1
27°C
80°F
15°C
60°F
Advertisement
Table of Contents

Related Manuals for Lund AVS Aeroskin 322113


Summary of Contents for Lund AVS Aeroskin 322113
- Page 1 Installation Instructions I - Sheet Number ASK01 Rev.G ™ Aeroskin For proper installation and best possible fit, please read all instructions BEFORE you begin. For technical assistance or to obtain missing parts, please call Customer Relations at 1-800-241-7219. Important Safety Information •...
-
Page 2: Installation Steps
Installation Steps NOTE: Actual application may vary slightly from illustrations. Prior to installation, wash the hood of vehicle and Lay Aeroskin in place on vehicle and mask off the dry with a clean cloth. surrounding areas with tape. Use alcohol pads to clean the entire LEADING EDGE Apply surface prep to painted surface where of the hood. - Page 3 Installation Steps NOTE: Actual application may vary slightly from illustrations. Center the Aeroskin on the hood. Begin removing remaining tape liner, beginning with the drivers side CENTER TOP . Grasping the free end, pull tape gently in 6” (15 cm) sections, while applying even pressure with hand to Aeroskin.
-
Page 4: Care And Cleaning
Congratulations! You have purchased one of the many quality Auto Ventshade™ branded products offered by Lund International. We take the utmost pride in our products and want you to enjoy years of satisfaction from your investment. We have made every effort to ensure that your product is top quality in terms of fit, durability, finish and ease of installation. -
Page 5: Instructions D'installation
Instructions d’installation I – Numéro de feuille ASK01 Rev.G ™ Aeroskin Lire l’ensemble des instructions AVANT d’installer le produit pour une installation adéquate et un ajustement optimal. Pour joindre l’assistance technique ou commander des pièces manquantes, prière d’appeler le service à la clientèle au 1 800 241-7219. -
Page 6: Étapes D'installation
Étapes d’installation REMARQUE : L’installation peut différer légèrement des illustrations. Avant l'installation, lavez la capot du véhicule et Posez Aeroskin sur le véhicule et couvrez les séchez-le à l'aide d'un linge propre. alentours avec du ruban-cache. Utilisez des tampons d'alcool pour nettoyer entièrement Appliquez la préparation de surface sur la zone peinte le BORD D'ATTAQUE du capot. - Page 7 Étapes d’installation REMARQUE : L’installation peut différer légèrement des illustrations. Centrez la structure Aeroskin sur le capot. Commencez à retirer la bande autocollante restante, en débutant par le CENTRE SUPÉRIEUR du côté chauffeur. Tout en agrippant l'extrémité décollée, tirez doucement en sections de 15 cm (6 po), en même temps que vous appliquez une pression avec vos mains sur l'Aeroskin. Répétez les étapes pour le côté...
-
Page 8: Entretien Et Nettoyage
Lund International 800-241-7219 • Visitez notre site lundinternational.com © 2018 Lund, Inc. Tous droits réservés. Auto Ventshade™, le logo Auto Ventshade™ et le logo AVS™ sont des marques déposées Lund, Inc. ™ Page 4 de 4... -
Page 9: Instrucciones De Instalación
Instrucciones de instalación I - Número de hoja ASK01 Rev.G ™ Aeroskin Para obtener una instalación correcta y el mejor ajuste posible, lea las instrucciones ANTES de comenzar. Para pedir asistencia técnica u obtener piezas que falten, llame a Atención al Cliente al 1-800-241-7219. Información importante sobre seguridad •... -
Page 10: Pasos Para La Instalación
Pasos para la instalación NOTA: La aplicación real puede ser levemente diferente de las ilustraciones. Antes de la instalación, lave el capó del vehículo y Coloque Aeroskin en el vehículo y enmascare el seque con un paño limpio. área circundante con cinta. Use paños con alcohol para limpiar todo el BORDE Aplique la preparación de superficie en la superficie ANTERIOR del capó. - Page 11 Pasos para la instalación NOTA: La aplicación real puede ser levemente diferente de las ilustraciones. Centre Aeroskin sobre el capó. Comience a despegar el resto de cinta protectora desde la posición CENTRO SUPERIOR del lado del conductor. Sujete el extremo suelto y jale suavemente en secciones de 6”...
-
Page 12: Cuidado Y Limpieza
¡Felicitaciones! Usted ha comprado uno de los tantos artículos de calidad de Auto Ventshade™ ofrecidos por Lund International. Nuestros productos son nuestro mayor orgullo. Deseamos que disfrute de años de satisfacción con su inversión.
Need help?
Do you have a question about the AVS Aeroskin 322113 and is the answer not in the manual?
Questions and answers