Table of Contents
Advertisement
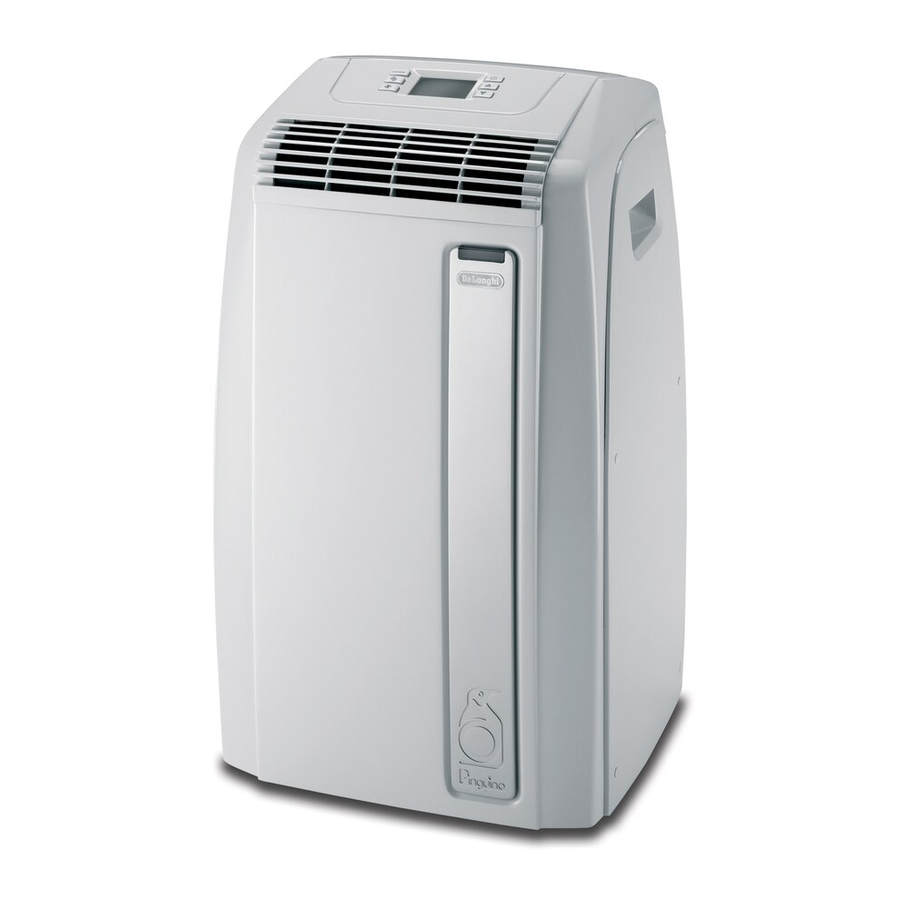
PAC A110-A120E
PAC A110-A120E
Register this product on-line and receive a free trial issue of Cook's Illustrated. Visit
www.delonghiregistration.com. Visit www.delonghi.com for a list of service centers near you.
(U.S. Only)
Enregistrez ce produit en ligne et recevez un
www.delonghiregistration.com.
Visitez www.delonghi.com pour y voir une liste des centres de réparation proches de chez vous.
(É.-U. uniquement)
Registre este producto en línea y reciba un ejemplar gratis de Cook's Illustrated.
Visite www.delonghiregistration.com.
Visite www.delonghi.com para ver la lista de centros de servicios cercanos a usted. (Solamente
en los Estados Unidos)
Registra questo prodotto "on-line" per ricevere una copia omaggio della rivista Cook's Illustrated.
Visita www.delonghiregistration.com.
Visita www.delonghi.com per una lista dei centri di servizio a te più vicini. (Solo negli Stati Uniti)
Lea cuidadosamente este instructivo antes de usar su aparato
PORTABLE AIR-CONDITIONER
CLIMATISEUR
CLIMATIZADOR
CONDIZIONATORE
Instructions for use
Keep these instructions
Mode d'emploi
Conservez cette notice
Instrucciones para el uso
Repase y guarde estas instrucciones
Istruzioni per l'uso
Leggere e conservare queste istruzioni
ELECTRICAL SPECIFICATIONS 115V ~ 60Hz
DONNEES ELECTRIQUES 115V~60Hz
CARACTERISTICAS ELECTRICAS 115V ~ 60Hz
CARATTERISTICHE ELETTRICHE 115V~60Hz
numéro gratuit de Cook's Illustrated. Visitez
Advertisement
Table of Contents

Related Manuals for DeLonghi PACA110-A120E


Summary of Contents for DeLonghi PACA110-A120E
- Page 1 Registra questo prodotto "on-line" per ricevere una copia omaggio della rivista Cook's Illustrated. Visita www.delonghiregistration.com. Visita www.delonghi.com per una lista dei centri di servizio a te più vicini. (Solo negli Stati Uniti) Lea cuidadosamente este instructivo antes de usar su aparato...
- Page 3 DESCRIPTION - DESCRIPCI N - DESCRIZIONE Ó ACCESSORIES • ACCESORIOS • ACCESSOIRES • ACCESSORI...
-
Page 4: Important Safeguards
As with any electrical appliance, the instructions aim to cover as many eventualities as possible. Caution and common sense should be used when operating and installing this air conditioner. • This appliance has been manufactured to cool and dehumidify domestic environments and should not be used for other purposes. -
Page 5: Electrical Connections
Failure to follow these important safety instructions absolves the manufacturer of all liability. The power cable must be replaced by a qualified professional only. The instructions below will enable you to prepare your air conditioner for operation as efficiently as possible. -
Page 6: Semi-Permanent Installation
When the hose (9) is not fitted, the drilled hole can be closed with the flange cap (11). NOTE: When installing the air conditioner semi-permanently, you should leave a door slightly open as little as 1/2 “ (1 cm) to guar- antee correct ventilation. -
Page 7: Description Of The Control Panel
✔ Never turn the air conditioner off by unplugging from the mains. Always press the button, then wait for a few minutes before unplugging. This allows the appliance to perform a cycle of checks to verify operation. -
Page 8: Air Conditioning Mode
AIR CONDITIONING MODE Ideal for hot muggy weather when you need to cool and dehu- midify the room. To set this mode correctly: • Press the MODE button a number of times until the air-conditio- ning symbol appears. • Select the target temperature by pressing the ton until the corresponding value is displayed. -
Page 9: Boost Function
MODE When using the appliance in this mode, the air hose does not need to be attached. To set this mode correctly: • Press the MODE button a number of times until the fan symbol appears. • Select the required fan speed by pressing the FAN button. Three speeds are available: Maximum speed: for maximum fan power Medium speed: reduces noise levels but still... -
Page 10: Using Remote Control
Description of the remote control DESCRIPTION OF THE REMOTE CONTROL 1 Air conditioning symbol 2 Dehumidifying symbol 3 Fan symbol 4 Fan speed indicator 5 SMART symbol 6 BOOST symbol 7 SLEEP symbol 8 AUTOFAN indicator 9 MODE button (selects the modes) 10 FAN button 11 Increase (+) and decrease (-) temperatu- re button... -
Page 11: Inserting Or Replacing Batteries
Using the remote control unit NSERTING OR REPLACING THE BATTERIES • Remove the cover on the rear of the remote control. • Insert two “AAA” 1.5V batteries, making sure they are in the cor- rect position (see the instructions inside the battery compart- ment). -
Page 12: Sleep Function
Using the remote control unit SLEEP FUNCTION This function is ideal for the night as it gradually reduces operation of the appliance. To set this function correctly: • Select the operating mode (air conditioning, dehumidifying or smart) as described above. •... -
Page 13: Self-Diagnosis
Programming shutdown • Press the button. The shutdown time and message ( on the remote control display. • Press the buttons to set the time you want the appliance to shut down. • When that time is reached, press the OK button to confirm. The mes- sage ( ) appears on the remote control display and the bol is displayed on the appliance to indicate that the timer is active. - Page 14 • Never use the appliance in very damp rooms (laundries for example). • Never use the appliance outdoors. close doors and windows or outlet • Make sure the air conditioner is on a level floor. If necessary, place the two castor locks do not cover the appliance...
-
Page 15: Cleaning The Cabinet
Never use petrol, alcohol or solvents to clean the appliance. Never spray insecticide liquids or similar. CLEANING THE AIR FILTERS To keep your air conditioner working efficient- ly, you should clean the dust filter every week of operation. The filter is housed in the intake grille. -
Page 16: Troubleshooting
• The air exhaust hose is blocked. short time only. • There are tight bends in the air exhaust hose. The air conditioner • Window open. works, but does not • There are heat sources in the room (lamps, cool the room. -
Page 17: Technical Specification
Technical specification TECHNICAL SPECIFICATION Power supply voltage see rating plate Max. absorbed power during air conditioning Refrigerant Cooling capacity Dimensions of appliance: • width • height • depth • weight NEVER TURN THE APPLIANCE UPSIDE DOWN OR ON ITS SIDE. IF THIS OCCURS, WAIT AT LEAST 4 HOURS BEFORE TURNING THE APPLI- ANCE ON This appliance is equipped with a 3 prong grounding plug. -
Page 18: Limited Warranty
After the first five (5) years of ownership, all expenses (all parts, labor and shipping) are to be paid by the owner of the unit. This warranty shall apply only if the AIR CONDITIONER is used in accordance with the factory directions that accompany it, and on an Alternating Current (AC) circuit.
Need help?
Do you have a question about the PACA110-A120E and is the answer not in the manual?
Questions and answers
Water leaking from bottom of unit pulled drain plug and its empty
Water is leaking from the bottom of the DeLonghi PACA110-A120E unit after pulling the drain plug because the drain plug releases collected condensation from the internal tank. This is normal and expected during the drainage process.
This answer is automatically generated
Can I still get a replacement air filter for my PAC A110L unit?