Table of Contents
Advertisement
Advertisement
Table of Contents

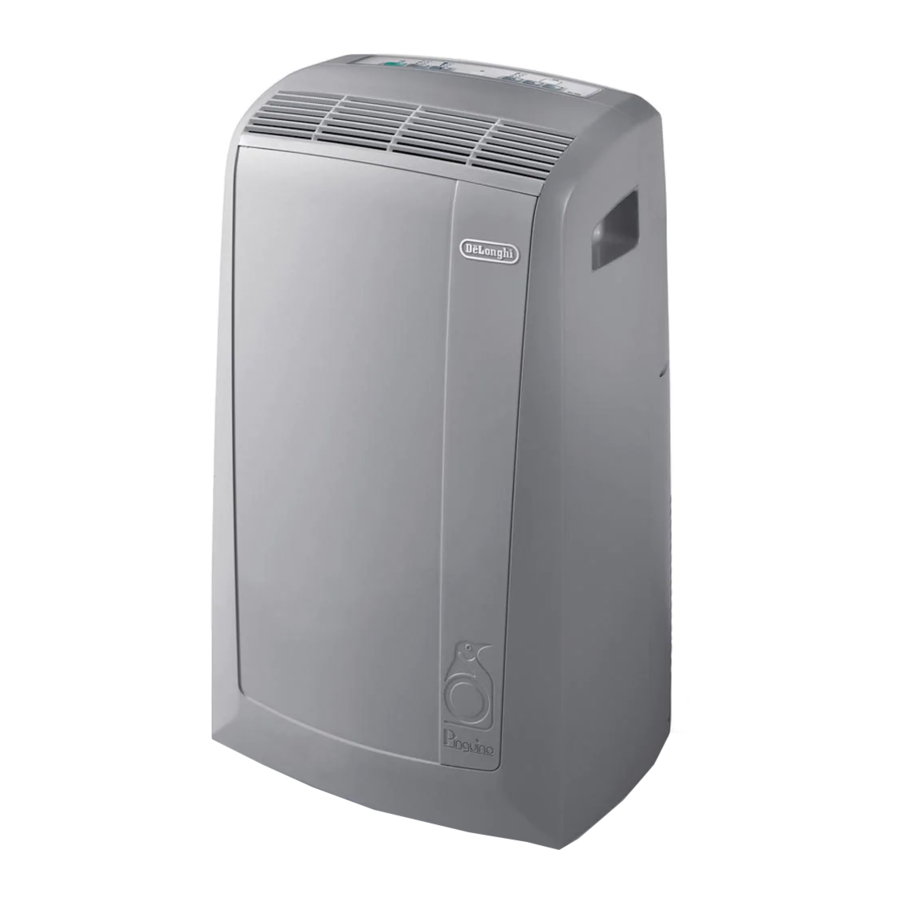
Summary of Contents for DeLonghi PAC N120
- Page 1 P A C N 1 2 0 P A C N 1 2 0 User manual...
- Page 2 DESCRIPTION ACCESSORIES...
-
Page 3: Important Safeguards
Important safeguards • Use this appliance only as described in this instruction manual. As with all electrical equipment, whilst the instructions aim to cover as many eventualities as possible, caution and common sense should be applied when operating and installing this appliance. -
Page 4: Electrical Connections
Pre p a r i n g f o r u s e ELECTRICAL CONNECTIONS Before plugging the appliance into the mains socket, check that: • The outlet’s power supply corresponds to the value indicated on the rating label on the back of the appliance;... -
Page 5: Semi-Permanent Installation
Pre p a r i n g f o r u s e French window • Attach the window outlet to the air exhaust hose as shown in fig. F. in the window in the wooden in the wall: you are pane kickboard of a recommended to... -
Page 6: Control Panel
Control panel THE CONTROL PANEL DESCRIPTION OF THE CONTROL PANEL A ON/OFF button B MODE selection button Air conditioning, dehumidifying, fan. C Fan speed selection button (MAX/MED/MIN) D Timer button E Programmed operation increase temperature/time button F Programmed operation decrease temperature/time button G Display Displays the temperature values set and the programmed operating time H Timer in operation indicator light I/L/M Fan speed lights... -
Page 7: Operation
Operation TURNING THE APPLIANCE ON Plug into an outlet. Two lines appear on the display indicating that the appliance is in stand-by. Press the ON/STAND-BY button (A). When turned on, the air con- ditioner starts operating in the same mode as when it was turned off. -
Page 8: Fan Mode
Operation FAN MODE Adjust fan speed by pressing the FAN button (C) as described for the air-conditioning mode. Remember that the higher the speed, the more air is filtered. If you select "MIN" speed, less air is filtered but the appliance is also less noisy. DEHUMIDIFYING MODE Ideal for reducing the humidity in a room without lowering or raising the temperature (spring or autumn, damp rooms, rainy spells, etc). -
Page 9: Models With Remote Control
Using the remote control unit (some models only) MODELS WITH REMOTE CONTROL • Point the remote control at the receiver on the air conditioner. The remote control must be no more than 16,4 ft (5 metres) MAX 16,4 ft away from the appliance (without obsta- MAX 5 metres cles between the remote control and the receiver). - Page 10 T i p s To get the best from your air conditioner, fol- • Never use the appliance in very damp low these recommendations: rooms (laundries for example). • Never use the appliance outdoors. • close the windows and doors in the room to be air conditioned.
-
Page 11: Cleaning The Cabinet
C l e a n i n g Before cleaning or maintenance, turn the Use a vacuum cleaner to remove the dust appliance off by pressing the ON/OFF button collected on the filter. (A) or in models with remote control unit, by If it is very dirty, immerse in warm water and pressing the ON/OFF button , then always... -
Page 12: Troubleshooting
Troubleshooting NOTE: NEVER TRANSPORT OR TURN THE APPLIANCE UPSIDE DOWN OR ON ITS SIDE. IF THIS OCCURS, WAIT 6 HOURS BEFORE TURNING THE APPLIANCE ON, 24 HOURS IS RECOMMENDED. (After the unit has been on its side, oil needs to return to the compressor to ensure proper function. With- out allowing the unit this time (6-24 hours) The unit may function for only a short time, and then the compressor will break down from lack of oil.) TROUBLESHOOTING... -
Page 13: Limit Conditions
Technical specifications TECHNICAL SPECIFICATION LIMIT CONDITIONS Power supply voltage see rating label Max. absorbed power during air conditioning “ Room temperature for air conditioning 21 ÷ 35°C Refrigerant “ Cooling capacity “ Transport, filling, cleaning, recovery and disposal of refrigerant should be performed by a tech- nical service centre appointed by the manufacturer only.


Need help?
Do you have a question about the PAC N120 and is the answer not in the manual?
Questions and answers