Advertisement
PARTS LIST

ASSEMBLY INSTRUCTIONS
 GENERAL NOTE
The following directions are explained from the position that you are standing in front of the item and looking directly at it. The term "left" and "right" refers to your left and right when standing in the front of the item, looking straight onto it. Note: This item is designed to mount on a wall. Once the system is installed, players should not hang on the unit to avoid damage or injury
SETUP

NOTE
Start by taking the included wall template and following the instructions on it. The template will help you align this item to the studs in the wall
It's important to have the wall brackets going the same direction when screwing them to the wall or the set will not be adjustable
If there are studs in your wall, use the 3in (7.6cm) wood screws for the given instructions on the template. If there are no studs, use the plastic anchors and the 2 1/8in (5.4cm) wood screws when fol owing the instructions on the template The plastic anchors must go all the way into the wall before the screws can be used

NOTE
Next step is to install the four frame connecting arms to the wall braces on the wall
This step is slightly easier if you install the lower arm first. Align to the lower hole on the left wall brace. Insert the M4 x 35mm (1.4in) bolt through the two parts and secure it with One of the M4 nuts. Make sure not to crank down on the parts. There should be little "play" so that the parts can move. Before moving to the right side, make sure that the hole for the quick release pin align as you move it
Next, align the frame connecting arm on the top side of the left wall brace. Secure using the same M4 x 35mm (1 4in) bolt and M4 nut. Now, repeat this process for the right side brace

NOTE
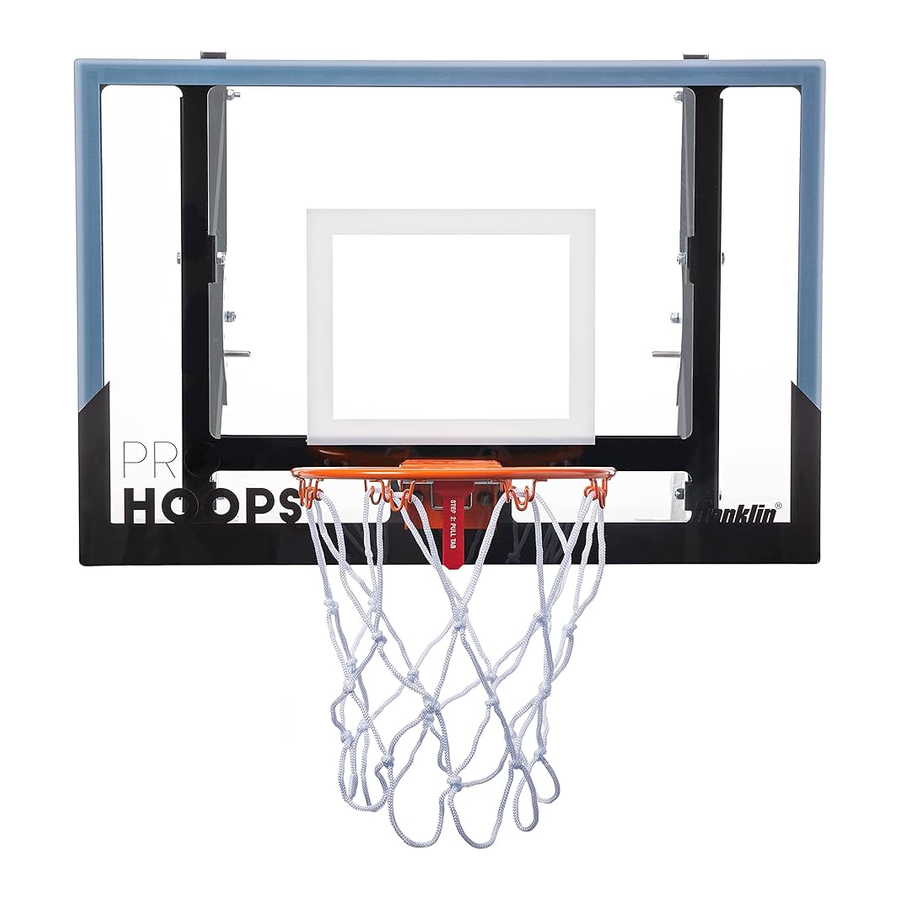
Now it's time to install the rim onto the backboard. Orient the backboard so that you can read the words Pro Hoops on it. You are now looking at the front.
Align the rim to the two holes towards the bottom of the backboard. Slide the two 3/8in (1 cm) bolts through the rim and then through the backboard. The threaded end should be sticking out the back of the backboard. Secure into place using the two 3/8in (1cm) nuts.

NOTE
Next step is to install the net onto the rim.

NOTE
The next step is to attach the backboard to the frame connecting arms. The easiest way to do this is with two people. Have person A hold the backboard as person B grabs the upper left connecting arm and aligns the two pieces. Person B will then take the M4 x 35mm (1.4in) bolt and slide it through the two pieces and secure into place using the M4 bolt.
Now repeat this process for the upper right connecting arm. Finally, repeat the process for the two lower connecting arms. It's important not to over tighten the M4 x 35mm (1.4in) bolts so that the set can adjust Before person A lets go of the backboard, move onto the next step.

Place the remaining screws out of reach of children.

NOTE
Have a person A carefully move the backboard up or down until the quick release pins can be slid through the frame. Once both are installed, they can let go of the set.
If you wish to adjust the height of the set, it is always suggested to use two adults to prevent injury. Both pins need to be securely in place before anyone can use the set.

NOTE
Inflate your Basketball using pump found inside the handle

NOTE
If you would like to fold the rim out of the way after use, it can be done in three steps.
First, flex the rim down about 25 degrees.
Secondly, pull down on the red tab.
Finally, while holding the red tab down, carefully guide the rim back up It should fold all the way up against the backboard.
When you are ready to play again, just pull it down into place!
YOU ARE NOW READY TO PLAY!
CUSTOMER SERVICE COMMITMENT
In the event that the product you've purchased has missing or damaged parts, please contact us at: parts@franklinsports.com
or
Visit our website at: franklinsports.com/instructions
If possible, please include product part number and parts description, so we can best assist you.
WE'RE YOU! PLEASE DO NOT RETURN THIS PRODUCT TO THE STORE IT WAS PURCHASED FROM. WE COMMITTED TO FULFILLING ALL REPLACEMENT P ART NEEDS IMMEDIATELY.
Thank you for your continued support, and welcome to the #FranklinFamiIy!
Documents / ResourcesDownload manual
Here you can download full pdf version of manual, it may contain additional safety instructions, warranty information, FCC rules, etc.
Advertisement


Need help?
Do you have a question about the PRO HOOPS and is the answer not in the manual?
Questions and answers