Advertisement
Quick Links
Z:\BADRUL\NEW CLASSIC\GUIDELINES\NCF Logo.jpg
Thank you for purchasing this quality product. Be sure to check all packing materials carefully for small parts,
which may have come loose inside the carton during shipment. Identify and count all items and compare with
the parts list and/or hardware list shown below.
Cautions :
(1) Do not fully-tighten the nuts or bolts until all nuts and bolts are assembled.
(To avoid causing damages to the thread, do not over-tighten the nuts or bolts.)
(2) Keep all hardware part out of reach of children.
PARTS LIST
NO
DESCRIPTION
A
CHEST
B
LEG
ASSEMBLY INSTRUCTIONS
Item No : B1078-070
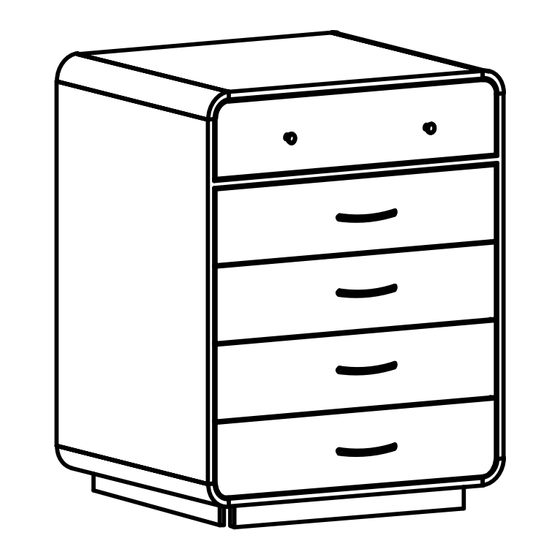
REX CHEST
(1PC PER CARTON)
SKETCH
1 PC
4 PCS
0
1
2
3
0
1
B
B
QTY
NO
DESCRIPTION
BOLT
1
1/4'' X 2 3/4''
SPRING WASHER
2
1/4"
FLAT WASHER
3
1/4"
4
ALLEN KEY
5
ANTI-TIP KIT
4
5
6
7
2
3
A
HARDWARE LIST
SKETCH
8
9
10
4
B
Created Date : 19/09/2024
QTY
8 PCS
8 PCS
8 PCS
1 PC
1 PC
Page 1 of 3
Advertisement

Summary of Contents for New Classic Furniture REX CHEST B1078-070
- Page 1 ASSEMBLY INSTRUCTIONS Item No : B1078-070 Z:\BADRUL\NEW CLASSIC\GUIDELINES\NCF Logo.jpg REX CHEST (1PC PER CARTON) Thank you for purchasing this quality product. Be sure to check all packing materials carefully for small parts, which may have come loose inside the carton during shipment. Identify and count all items and compare with the parts list and/or hardware list shown below.
- Page 2 Lay the Chest (A) down on a flat and clean surface. Assemble the Leg (B) to the STEP 1 : Chest (A) by using Allen key (4) and the hardware Bolt 1/4'' x 2 3/4'' (1), Spring washer (2) & Flat washer (3). STEP 2 : Pull open the drawer and remove the knob or handle from the inside of the drawer by using a screwdriver.
- Page 3 STEP 3 : Assemble the knob or handle to the front of the drawer by using a screwdriver. STEP 4 : Attach the Anti-tip kit (5) to the wall and behind the Chest (A) with a screwdriver. WALL Page 3 of 3 Created Date : 19/09/2024...


Need help?
Do you have a question about the REX CHEST B1078-070 and is the answer not in the manual?
Questions and answers