Advertisement
Quick Links
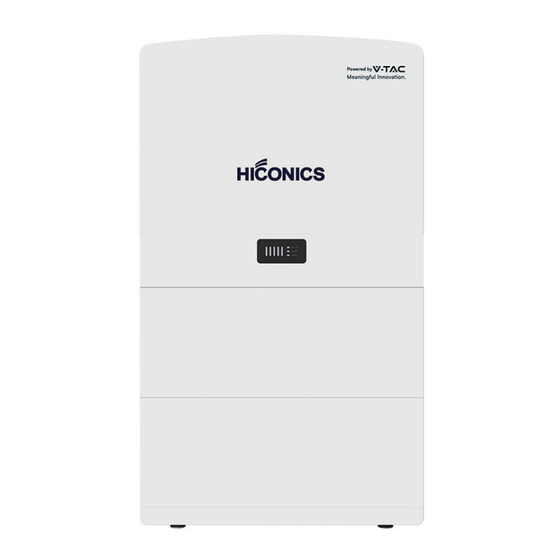
HYBRID INVERTER SINGLE PHASE ALL IN ONE
SKU
119821
HEC2-S6.0Hr2
119881
HEC2-S3.68Hr2
119891
HEC2-S5.0Hr2Â
Thank you for selecting and buying V-TAC Product. V-TAC will serve you the best. Please read
these instructions carefully & keep this user manual handy for future reference. If you have any
another query, please contact our dealer or local vendor from whom you have purchased the
product. They are trained and ready to serve you at the best.
MULTI-LANGUAGE
MANUAL QR CODE
Please scan the QR code
to access the manual in
multiple languages.
IN CASE OF ANY QUERY/ISSUE WITH THE PRODUCT, PLEASE REACH OUT TO US AT: SUPPORT@V-TAC.EU
FOR MORE PRODUCTS RANGE, INQUIRY PLEASE CONTACT OUR DISTRIBUTOR OR NEAREST DEALERS.
INSTRUCTION MANUAL
MODEL
INTRODUCTION
V-TAC EUROPE LTD. BULGARIA, PLOVDIV 4000, BUL.L.KARAVELOW 9B
WEEE Number: 80133970
Advertisement

Related Manuals for V-TAC HEC2-S6.0Hr2


Summary of Contents for V-TAC HEC2-S6.0Hr2
- Page 1 HEC2-S5.0Hr2Â INTRODUCTION Thank you for selecting and buying V-TAC Product. V-TAC will serve you the best. Please read these instructions carefully & keep this user manual handy for future reference. If you have any another query, please contact our dealer or local vendor from whom you have purchased the product.
- Page 2 2 Safety This marking indicates that this Caution, risk of electric shock. product should not be disposed 2.1 Notes on this Manual Explanation of Symbol of with other household wastes. This section gives an explanation of all the symbols shown on the inverter and on the type label.
- Page 3 The system can’t be disposed together with the household waste. Disposal information can be found in the enclosed documentation. Do not dispose of the battery system together with the household waste but in accordance with the disposal regulations for elec - tronic waste applicable at the installation site.
- Page 4 2.2 Important Safety Instructions IMPORTANT SAFETY INSTRUCTIONS Danger! Danger to life due to high voltages in the inverter! All work Danger! not to be used by children or persons with reduced physical sensory or mental capabilities, or lack of experience and knowledge, unless they have been given supervision or instruction.
- Page 5 01 INSTALLATION OVERVIEW Unit: mm Primary Secondary Battery Pack Qty: Identical Battery Battery Pack Pack Qty as Qty: 2~3 Primary Stack Unit: mm Secondary Primary Connecting Grounding wire Power Cable plate*2 These accessories are only required when installing multiple stacks of batteries 02 DRILLING HOLES FOR BATTERY PACK POSITIONING Adjust the Base Bottom view...
- Page 6 Attention: Cover it to prevent dust Insert expansion Unscrew expansion bolt bolt cap Align with Label all drilling positions benchmark position for 2nd battery pack 03 INSTALLING BATTERY PACK...
- Page 7 04 INSTALLING BSM CONTROL BOX 05 DRILLING HOLES FOR INVERTER POSITIONING Benchmark Position Attention: Cover it to prevent dust Insert expansion Unscrew expansion bolt bolt cap...
- Page 8 06 INSTALLING INVERTER Tighten all screws finally 07 CONNECTION OF BMS CONTROL BOX AND INVERTER 08 AC CONNECTION GRID Connector ’ ’ S3.68~S6 (6mm² Cooper Wire) The diameter and material of PE wire is the same as power cable BACKUP Connector S3.68~S6 (6mm²...
- Page 9 Modeling 09 PV CONNECTION 10 CONNECTION OF COMMUNICATION CABLE Communication Terminal Assembly...
- Page 10 11 CONNECTION OF METERING Standard solution - CT LOAD GRID GRID Connector -------------- CT shall be subject to -------------------- the actual product! Optional solution Meter LOAD GRID ------------------------------------- Ep+Ep- CT shall be subject to the actual product! 12 OVERALL CABLE CONNECTION...
- Page 11 13 INSTALLING SIDE COVER Cable Conduit 14 POWER ON/OFF OPERATIONS Lights On: Startup Lights Not On: Press and hold done the button until it is on...
- Page 12 Please scan the following QR code for commissioning process Commissioning Guide for Midea Hiconics Solar Inverter Power O Procedure: IMPORTANT NOTES • This product contains battery type "Secondary" (rechargeable). • Electrical and electronic equipment that has become waste is known as old equipment/device.
Need help?
Do you have a question about the HEC2-S6.0Hr2 and is the answer not in the manual?
Questions and answers