Advertisement
Quick Links
Advertisement

Related Manuals for S&P NEMBUS 210-ES


Summary of Contents for S&P NEMBUS 210-ES
- Page 1 BY-PASS SABIK/NEMBUS...
- Page 3 INDEX 1. GENERAL SAFETY INSTRUCTIONS ....................4 2. GENERAL INSTRUCTIONS ......................4 2.1. Intended use ...........................4 2.2. Non-authorised use .......................4 2.3. Warranty ..........................4 3. INSTALLATION ..........................4 3.1. NEMBUS 210 ..........................5 3.2. SABIK 210, SABIK 350, SABIK 500 ..................7 4. COMMISSIONING ..........................9 4.1. Bypass function check ......................9 5.
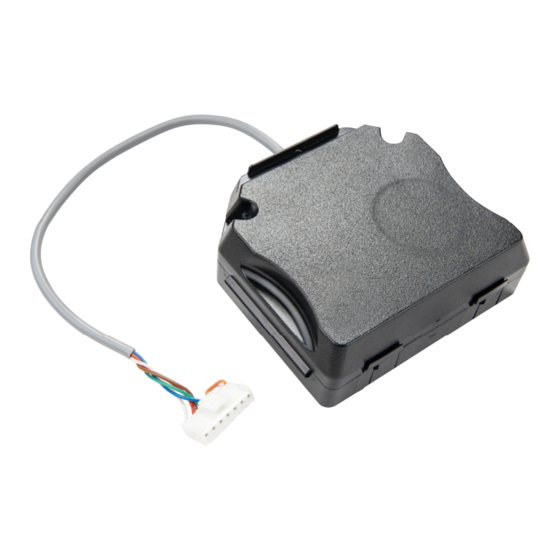
- Page 4 1. GENERAL SAFETY INSTRUCTIONS The Bypass is suitable for the NEMBUS 210 residential ventilation unit, and for the SABIK 210, SABIK 350 and SABIK 500. Item no. Description CAUTION R153120010 NEMBUS 210-ESB The following safety instructions must be (Bypass for NEMBUS 210) followed to prevent injuries or damages: R153139003 SABIK–ESB...
- Page 5 3.1. NEMBUS 210 NOTE The following diagrams of the NEMBUS 210 residential ventilation unit are sche- matic drawings. For installation of the bypass, the device is mounted fi rmly on the ceiling or on the wall, see operating and installation instructions of the venti- lation system.
- Page 6 5. Remove bypass cover and pull out the by- 6. Check the position of the bypass damper. pass safety guard. If needed, correct using the bypass safety guard as a tool. The notches (18) on the by- pass damper axis must match the slot (19) NOTE indicated in the EPP.
- Page 7 3.2. SABIK 210, SABIK 350, SABIK 500 1. Remove fi lter cover (12) (arrow 1). 4. Remove front cover (15) (Arrow 3). 2. Loosen the Torx 30 screws (14). 5. Remove cover (16) (arrow 4). 3. Unscrew the Torx 30 screws (13) (arrow 2).
- Page 8 M+P 26A 2331 7. Check the position of the bypass damper. 6. Remove bypass cover and take out the by- If needed, correct using the bypass safety pass safety guard. guard as a tool. The notches (18) on the by- pass damper axis must match the slot (19) indicated in the EPP.
- Page 9 4. COMMISSIONING Switch-off point At least one of the conditions must be met. • Outside temperature < 13ºC (adjustable from NOTE 12 to 20 ºC via Modbus) hysteresis -1.6 K The same procedure is followed for com- • Extract air temperature< 23ºC (adjustable missioning for all residential ventilation from 21 to 30 ºC via Modbus) hysteresis -1.6 K units.
- Page 10 6. DECOMMISSIONING/DISPOSAL 6.1. DECOMMISSIONING WITH DISASSEMBLY NOTE The same procedure is followed for the decommissioning of all residential venti- lation units. Decommissioning may only be carried out by a qualifi ed professional. • Switch the system to off-circuit. • Disconnect the entire system from the mains power supply.
- Page 12 S&P SISTEMAS DE VENTILACIÓN, S.L.U. C. Llevant, 4 Polígono Industrial Llevant 08150 Parets del Vallès Barcelona - España Tel. +34 93 571 93 00 www.solerpalau.com Ref. 9023104700...
Need help?
Do you have a question about the NEMBUS 210-ES and is the answer not in the manual?
Questions and answers