Table of Contents
Advertisement
Quick Links
Advertisement
Table of Contents

Related Manuals for Draper STORMFORCE MPSAW480SF


Summary of Contents for Draper STORMFORCE MPSAW480SF
- Page 1 Original Instructions Version 3 230V 480W MINI PLUNGE 57475...
-
Page 2: Preface
All photographs and drawings within this manual are document is part of the product; retain it for the life supplied by Draper Tools to help illustrate correct of the product, passing it on to subsequent holders. operation of the product. -
Page 3: Table Of Contents
2. Contents 1. Preface 8. Cutting Operations 15-17 1.1 Product Reference 8.1 Basic Cutting 1.2 Revisions 8.2 Cutting Out Tips 1.3 Understanding the Safety Content of This 8.3 Cutting Tough or Abrasive Materials Manual 9. Maintenance and Troubleshooting 1.4 Copyright © Notice 9.1 Blade Care 2. -
Page 4: Product Introduction
Read this manual in full before Any other application beyond the conditions established attempting to assemble, operate or maintain the product, for use will be considered misuse. Draper Tools accepts and retain it for later use. 3.2 Specification Stock No. -
Page 5: Health And Safety Information
4. Health and Safety Information 4.1 General Health and Safety Precautions • When operating a power tool outdoors, use an extension cord suitable for outdoor use. WARNING! Read all safety warnings, − Use of a cord suitable for outdoor use reduces the ... -
Page 6: Safety Instructions For All Saws
4. Health and Safety Information • DO NOT let familiarity gained from frequent use of Service tools allow you to become complacent and ignore • Have your power tool serviced by a qualified repair tool safety principles. person using only identical replacement parts. −... -
Page 7: Kickback Causes And Related Warnings
− DO NOT use dull or damaged blades. • Only use saw blades that are recommended by Draper Unsharpened or improperly set blades produce Tools and that are suitable for the material being cut. -
Page 8: Health & Safety Instructions For Lasers
4.7 Battery Button Health & Safety If the power supply cord is damaged, it must be replaced by Draper Tools, an authorised service agent or similarly BATTERY WARNING! KEEP OUT OF REACH OF qualified personnel in order to avoid a hazard. - Page 9 4. Health and Safety Information The value of the fuse fitted is marked on the pin face of the plug. Should the fuse need replacing, ensure the substitute is of the correct rating, approved to BS 1363/A and ASTA or BS Kite marked. This should only be performed by suitably qualified personnel.
-
Page 10: Identification And Unpacking
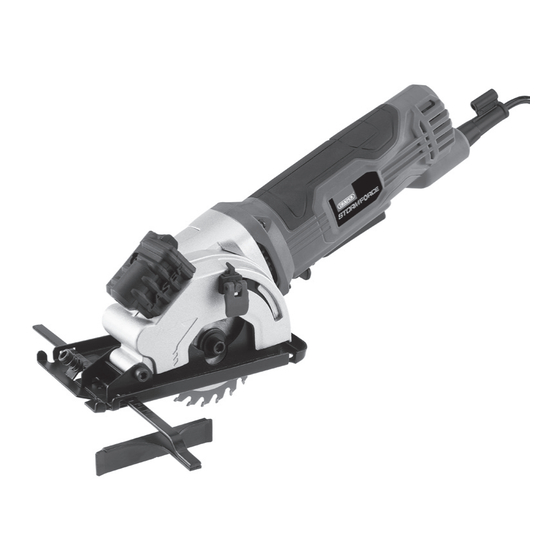
5. Identification and Unpacking 5.1 Product Overview (10) (11) (12) (14) (15) (13) (16) Laser guide Parallel guide slot Laser ON/OFF switch (10) Parallel guide locking screw Cutting depth gauge (11) Spindle lock button Safety ON/OFF trigger (12) Dust extraction outlet Lock off lever (13) Plunge guard lock Cutting depth adjustment &... -
Page 11: What's In The Box
If any part is damaged or missing, do not attempt to examine it for any signs of damage that may have occurred use the product. Please contact the Draper Helpline; during shipment. Before assembling the product, lay the contact details can be found at the back of this manual. -
Page 12: Preparation Instructions
6. Preparation Instructions Important: Before preparing or adjusting this tool, read and understand all the safety instructions listed in this manual. 6.1 Setting the Cutting Depth (Fig.1) Important: It is recommended that the cutting depth is set to approximately 2mm deeper than the thickness of the material being cut to ensure a cleaner cut. -
Page 13: Operating Instructions
7. Operating Instructions Important: Before operating this tool, read and understand all the safety instructions listed in this manual. Ensure that the product is fully assembled and correctly prepared for use. 7.1 Switching on the Plunge Saw (Fig.5 – Fig.6) WARNING! Before switching the saw on, check that the saw blade is fitted correctly and the saw blade locking flange bolt (7) is securely... -
Page 14: Laser Line Generator
7. Operating Instructions 7.4 Laser Line Generator (Fig.9) WARNING! Laser radiation. DO NOT stare into beam. To Turn the Laser On or OFF • Move the ‘ON/OFF‘ switch (2) to the ‘I’ position to turn on the laser. • To turn off the laser return the switch to the ‘O’ position. -
Page 15: Dust Extraction
7. Operating Instructions 7.7 Dust Extraction (Fig.11) WARNING! As the saw has a fully enclosed blade, forced dust extraction is important, and use of dust extraction is recommended. 1. Ensure the tool is unplugged and switched off before connecting the hose. (12) 2. -
Page 16: Basic Cutting
8. Cutting Operations Basic Cutting (Fig.12) 1. Check the material specification to ensure suitable 2. Fit the correct saw blade, ensuring it is sharp, for cutting. undamaged and fit for purpose. Blade Material suitable for cutting (20) Brass, copper, lead, aluminium and mild steel (max. 3mm) (21) Softwood, hardwood and, boards of all types (22) -
Page 17: Cutting Tough Or Abrasive Materials
8. Cutting Operations 8.3 Cutting Tough or Abrasive Materials WARNING! NEVER cut materials that produce toxic fumes or dust such as PTFE and asbestos. NOTE: When cutting tougher materials such as metals, additional clamping may be required to hold the workpiece securely in place. -
Page 18: Maintenance And Troubleshooting
Brushes worn. Have brushes replaced by an authorised service centre. Contact Draper Tools for advice. Other causes. Contact Draper Tools for advice. Replace saw blade – Refer to Poor cutting performance. Saw blade blunt. section 6.2. Remove and refit correctly – Refer Saw blade incorrectly fitted. -
Page 19: Spares, Returns And Disposal
Draper Tools Product Helpline for details of your nearest authorised agent. Draper Tools will endeavour to hold any spare parts, if applicable, for seven years from the date that it sells the final matching stock item. -
Page 20: Warranty
This warranty period cover parts and labour for 12 months from the date of Your Draper Tools guarantee is not effective until you can purchase. Where tools have been hired out, the warranty produce, upon request, a dated receipt or invoice to period covers 90 days from the date of purchase. -
Page 21: Explanation Of Symbols
12. Explanation of Symbols Class II construction Read the instruction manual (Double insulated) WEEE – Wear face mask and safety glasses Waste Electrical & Electronic Equipment Do not dispose of Waste Electrical & Electronic Equipment in with domestic rubbish Wear ear defenders Single value noise marking Maximum declared A-Weighted sound power level in decibels Wear protective gloves... - Page 22 Notes – 22 –...
- Page 23 Notes – 23 –...
-
Page 24: Contact Details
Product Helpline: +44 (0) 23 8049 4344 Telephone Sales Desk: +44 (0) 23 8049 4333 General Enquiries: +44 (0) 23 8026 6355 Please contact the Draper Tools Product Helpline for repair and servicing enquiries. © Published by Draper Tools Limited © Published by Draper Tools Limited...
Need help?
Do you have a question about the STORMFORCE MPSAW480SF and is the answer not in the manual?
Questions and answers