Asus TUF-AX3000 V2 Manual
Also See for TUF-AX3000 V2:
- Quick start manual (2 pages) ,
- Quick start manual (3 pages)
Advertisement
Table of Contents
Contents
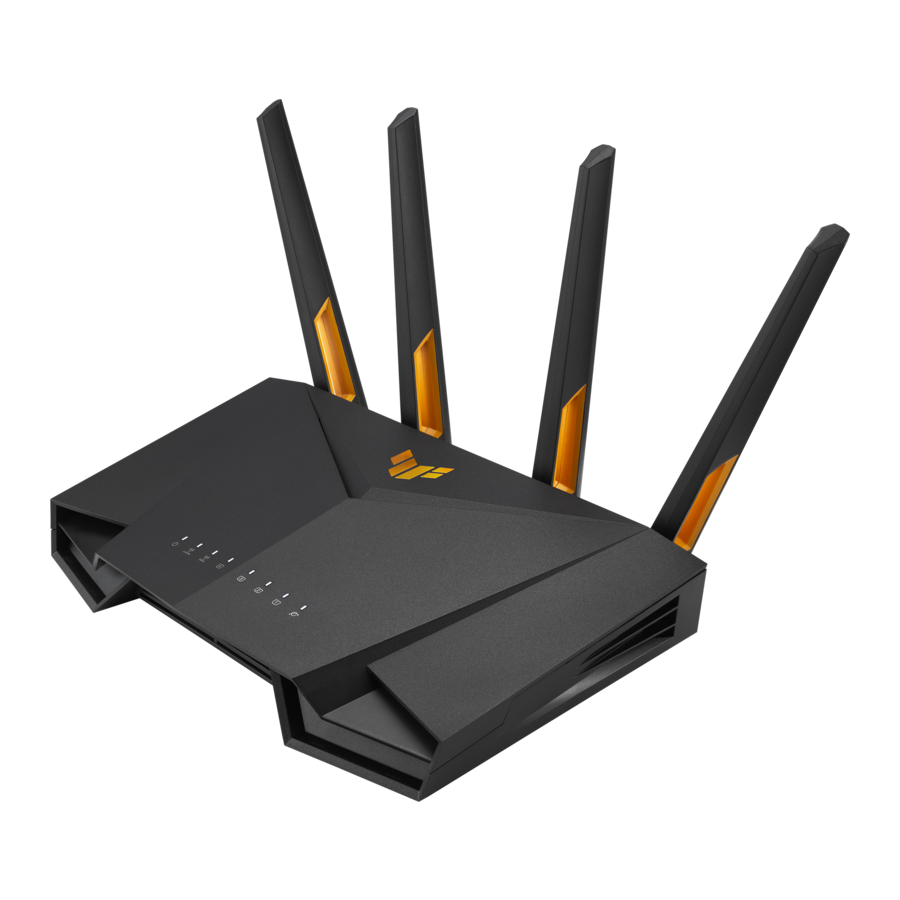
Asus TUF-AX3000 V2 Manual
Hardware Explanations
I/O Ports Overview

LED Lights Overview

Specifications:
| DC Power adapter | DC Output: +12V with 1.5A current | ||
| Operating Temperature | 0~40 ºC | Storage | 0~70 ºC |
| Operating Humidity | 50~90% | Storage | 20~90% |
Router Setup Steps
Prepare your Modem
- Unplug the power of cable / DSL modem.1
1If you are using DSL for internet, you will need your username / password from your Internet service provider (ISP) to properly configure your router.
![]()

- Connect your modem to WAN port at the back side of the router with the network cable provided.
- Power on the modem. Plug modem to the power outlet and power on.
![]()
- Check the modem LED lights to ensure the connection is active.
![]()


Install your Router
- Plug the adapter into the DCIN port, and press the Power button.
![]()
- The power LED will light up when the hardware is ready.
![]()


– via App
- [App] On your iOS or Android mobile device, go to the app store, search for ASUS Router, and download the app.
![]()
![]()
![play.google.com]()
![]()
![itunes.apple.com]()
- [App] On your iOS or Android mobile device, tap Settings > Wi-Fi, connect to the default network SSID shown on the product label on the bottom side of the router. Or scan the QR code on the product label to connect the default network SSID.
* XX refers to the last two digits of MAC address. You can find it on the label on the back of your router.
![]()
- [App] Launch ASUS Router App and follow the instructions to complete the setup.
![]()


– or via Web Browser
- [Wired] Connect your PC to a LAN port at the back side of the router using an additional network cable.
![]()
[Wireless] Connect to the network with default SSID shown on the product label on the back side of your router "ASUS_XX".
![]()
- [Wired / Wireless] Open a web browser. You will be redirected to the ASUS Setup Wizard. If not, navigate to http://router.asus.com. Follow the instructions to complete the setup.
![]()


Link Aggregation Setup Steps

Prepare your Router
Use Ethernet cables to connect your client to the LAN1 and LAN2 ports of TUF-AX3000 V2.
NOTE: The client that you connect to TUF-AX3000 V2 must support Link Aggregation Control Protocol (LACP).
Log in and Configure
- On your web browser, enter http://router.asus.com and log into the web GUI.
- From the navigation panel, go to LAN > Switch Control > Bonding/ Link aggregation and select Enable. When done, click Apply. Please scan the QR code for further information.
NOTE: Ensure that the Link Aggregation function of the client (eg. NAS) you connect to TUF-AX3000 V2 is enabled.
![]()

FAQ
Where can I find more information about the wireless router?
- Technical support site: https://www.asus.com/support
- Customer hotline: refer to the Networks Global Hotline Information section in this Quick Start Guide
Service and Support

https://www.asus.com/support
Video Tutorials

https://qr.asus.com/wl_videotutorials
Documents / Resources
References
![www.asus.com]() Official Support | ASUS Global
Official Support | ASUS Global![qr.asus.com]() https://qr.asus.com/wl_videotutorials
https://qr.asus.com/wl_videotutorials![play.google.com]() Google Play
Google Play![itunes.apple.com]() ASUS Router on the App Store
ASUS Router on the App Store
Download manual
Here you can download full pdf version of manual, it may contain additional safety instructions, warranty information, FCC rules, etc.
Advertisement


Need help?
Do you have a question about the TUF-AX3000 V2 and is the answer not in the manual?
Questions and answers