Advertisement
Product Introduction
What's in the Box

- Printer
- Type-C Cable
- Mac Adapter
- Tattoo Paper
- User Manual
- Unpacking Card
- Packing Box
If any accessories are missing or damaged, please contact us for assistance via email at support@munbyn.com.
Printer Overview

Printer Indicator Status
 Green light on: Normal use status / Full charge.
 Red light on: Cover opened / No paper / Overheat/ No paper loaded in normal state / An error occurred with the printer while charging.
 Green light flashing slowly: Charging while powered on / Printing while charging.
 Red light flashing: Low battery, please charge promptly / Charging while powered off.
 Blue light on: Bluetooth connection successful.
Set Up the Printer
Scan the QR code to watch more video tutorial: munbyn.biz/itp05video

Tattoo Paper Placement Guide

- Tear off the yellow paper.
![]()
- Take out the transparent protective sheet.
![]()
- Press and hold the power button for 2 seconds to turn on the printer.
![]()
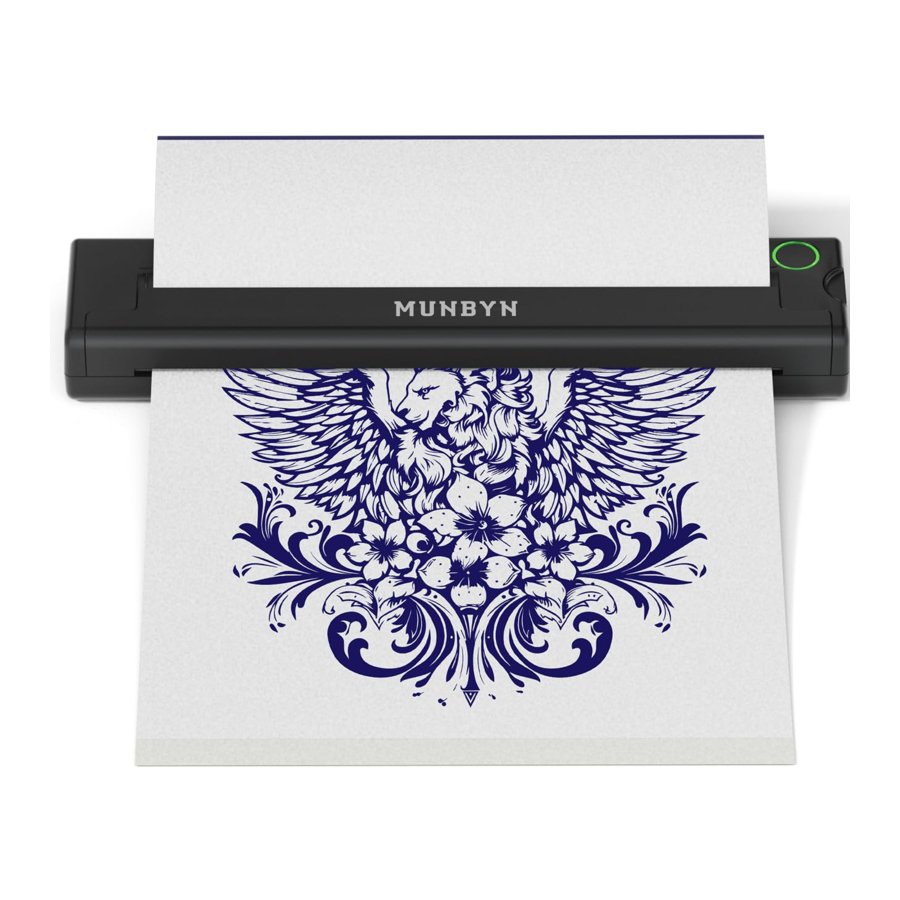
- Place the white front side neatly into the printer input port, and the printing paper will be fed in automatically.
![]()


 Note: Please use Munbyn brand paper for printing. It is compatible with ITP05 portable tattoo printers. Using other brands' paper may cause unclear print quality issues.
Mobile Phone Printing
Bluetooth Connection for Mobile Phone
Scan the QR code to watch more video tutorial: munbyn.biz/itp05video

How to Download the App
Search "Luck Jingle"  on App Store or Google Play to download the App. Or scan the QR code below to download.


How to Connect via Bluetooth
Turn on Bluetooth on your mobile phone and open the "Luck Jingle" app to connect to the printer.
(Tips: For Android phone, you need to turn on the Bluetooth and GPS.)
Note:
- Please ensure that all letters in the link are entered in lowercase. Otherwise, you will not be able to access the corresponding webpage.
- Due to the system requirements of mobile operating systems, the App requires permissions to access your location and to upload files. Please be assured that no personal information will be collected. The App will strictly adhere to all relevant policies and regulations.
Choosing Your Device Type
Select the device types -> Select "A4 Tattoo Printer".

How to Connect Your Device
Click the icon in the top right corner to begin connecting a device -> Select the device you wish to connect -> Tap "connect" to add the device.
( Note: Ensure that your phone's Bluetooth is turned on. Do not connect the printer through your phone's native Bluetooth settings.)

Tips: While the device is powered on, you can quickly press the power button three times to print the QR code for device connection. Then, open the Luck Jingle application and scan the QR code to connect to the printer.

Luck Jingle App Functions
Album Photo Printing
- Click "Album Photo", find the picture you want to print.


You can resize the pattern, rotate it, or enhance images by applying filters and adjusting brightness or contrast. Click on the print icon  in the upper right corner. You can adjust parameters such as print density or the number of copies, and then select "Print".

Tattoo Files Printing
On the Home screen, click "Importing files" and select the file you wish to print.
Note: Only PDF (tattoo design) format files are supported for import.

Other Printing
On the Home screen, you can click "Large image segmentation" or "Take a photo" to capture the scene you want to print. Afterward, review the image and adjust the corresponding parameters as needed.

Computer Printing
- Step 1: Turn on the printer. Please press and hold the power button for 2 seconds.
- Step 2: Connect the printer with the computer. Use the original Type-C data cable to connect the printer to the computer via USB.
- Step 3: Install the driver. For macOS, please read next section. For Windows, please read next section.
Note:
- A USB to Type-C adapter is required to connect to a Mac.
- If you have any questions or encounter safety warnings while downloading the driver, please contact us for assistance via email at support@munbyn.com, through WhatsApp at +86 18144898200, or by calling at +1 650 206 2250.
- Bluetooth connectivity is not supported on all PCs.
macOS
Install the Driver for Mac
Scan the QR code for the video tutorial: munbyn.biz/itp05macv

You can get the driver by accessing this link: munbyn.biz/itp05mac
Note:
Please ensure that all letters in the link are entered in lowercase. Otherwise, you will not be able to access the corresponding webpage.
- Please double-click on the pkg installer to begin. Follow the installation prompts until you see the message "The installation was successful".


- Add the printer to the macOS device. Please follow the steps below to add the printer to your Mac device: Go to System Preferences -> Printers & Scanners -> Click the "+" icon in the bottom left corner.


- Printer settings have been completed, and the ITP05 printer has been successfully added to "Printers & Scanners".


Windows System
Install the Driver for Windows PC
Scan the QR code on the right for the video tutorial: munbyn.biz/itp05windv

Note: Please ensure that all letters in the link are entered in lowercase. Otherwise, you will not be able to access the corresponding webpage.
Connect the printer to the computer using a USB cable, then press and hold the power button for 2 seconds to turn on the printer. (If you have already completed this step, please proceed directly to Step 2.)
- Download the Windows driver from the following link: munbyn.biz/itp05wind
- Run the installer you downloaded. When prompted, choose the language you want to use for the installation.
![information]() Note: When installing the Windows driver, a security warning alert may pop up. Please click the "Yes" button to agree to run the installation.
Note: When installing the Windows driver, a security warning alert may pop up. Please click the "Yes" button to agree to run the installation. - Click "Install" to continue with the installation.


- Follow the installation prompts until you click "Finish" to complete the setup and exit the installer.
- Please ensure you select the "ITP05" printer and choose "Tattoo paper" as the paper size when printing the required tattoo documents.


Note: If the USB port fails to recognize the printer, please follow these steps:
- Unplug the USB cable from both the computer and the printer, then reinsert it, ensuring the cable is securely connected.
- Restart the printer by shutting it down and then turning it back on.
Clean the Printer Head
If the printout is unclear or shows white lines, please clean the print head.
- Power off the printer.
- As shown in the figure, press the cover release button to open the flip-cover assembly. Then, remove any paper from inside the printer cover.


- Rotate it to the required angle. Use a cotton cloth or cotton swab dipped in rnedical alcohol to clean the printer head. Wait 1 to 2 minutes before using the printer again.
Scan the QR code for WhatsApp and Facebook online chat
E-mail: support@munbyn.com


Documents / Resources
References
![munbyn.biz]() ITP05 - YouTube
ITP05 - YouTube![www.apple.com]() App Store - Apple
App Store - Apple![play.google.com]() Google Play
Google Play![munbyn.biz]() 【ITP05-MUNBYN tattoo stencil printer】How to download the PC Driver and connect the computer(Mac ) - YouTube
【ITP05-MUNBYN tattoo stencil printer】How to download the PC Driver and connect the computer(Mac ) - YouTubeMunbyn ITP05 tattoo machine-mac-v1.00.pkg - pCloud
![munbyn.biz]() 【ITP05-MUNBYN tattoo stencil printer】How to download the PC Driver and connect the computer(Windows) - YouTube
【ITP05-MUNBYN tattoo stencil printer】How to download the PC Driver and connect the computer(Windows) - YouTube![www.munbyn.com]() MUNBYN® Official: Thermal Label Printer and Shipping Labels
MUNBYN® Official: Thermal Label Printer and Shipping Labels
Download manual
Here you can download full pdf version of manual, it may contain additional safety instructions, warranty information, FCC rules, etc.
Advertisement


Need help?
Do you have a question about the ITP05 and is the answer not in the manual?
Questions and answers