Advertisement
- 1 NOW IT'S TIME TO PUT IT TOGETHER!
- 2 PARTS - Be Smart—Sort Your Parts
- 3 HARDWARE & TOOLS
- 4 STEP 1 - Get a Leg Up
- 5 STEP 2 - Keep on Rolling
- 6 STEP 3 - Brace Yourself
- 7 HEIGHT SUGGESTIONS - Small or Tall?
- 8 STEP 4 - Top Notch
- 9 STEP 5 - Out-Stand-ing
- 10 STEP 6 - Start With a Clean Slate
- 11 STEP 7 - Never Be "Board"
- 12 STEP 8 - "Tray" Bien! It's the End
- 13 YOU DID IT!
- 14 ADDING PAPER
- 15 ACCESSORIZE
- 16 Documents / Resources
 ADULT ASSEMBLY REQUIRED |
We care about your comments. Please call us!
1-800-28L4-3948
www.MelissaAndDoug.com
Melissa & Doug, LLC, P.o. Box 590, Westport, CT 06881

CHOKING HAZARD - Small Parts.
Not for children under 3 years
NOW IT'S TIME TO PUT IT TOGETHER!
Don't worry—assembling your new easel is simple, and we're here to help. It may go a little faster with a partner to lend a hand, but we've made it so one person can assemble the easel. Here are a few tips before you begin:
- Read through all the instructions first.
- We've included everything you need. All parts are labeled with a lettered sticker (A-L). Clear a fiat, covered space (carpeted is best) to lay out all the materials, so everything is close at hand.
- The instructions include lots of helpful pictures—we show you, step-by-step, exactly how to align pieces and parts for speedy and accurate assembly. Note that hardware needed for each step is shown in the upper right corner of the page, each piece being added in a given step is highlighted in gray, and the "assembled view" (what it looks like when the step is completed) is included in the lower right corner of every page.
- In the instructions, the name of a part is followed by a letter in parentheses. This letter corresponds to the sticker on the part, as well as the picture of the part.
- Helpful hints are highlighted with a large exclamation point
- If you have any questions, we're here for you! Give our customer care team a call at 1-800-284-3948!
PARTS - Be Smart—Sort Your Parts
Before you begin assembly, make sure you have all the parts listed below. When directed, use the Allen wrench (part O) to attach the bolts to bolt caps.

HARDWARE & TOOLS

STEP 1 - Get a Leg Up
- Stack 2 lower legs (C) on top of each other, then align them to the holes on the upper hinged leg (D). Make sure numbers on the upper legs and lower legs match and face each other for proper assembly. Repeat on the opposite side.
- Using 8 short bolts (M) and 8 bolt caps (P), attach lower legs to upper hinged legs.
![]()


STEP 2 - Keep on Rolling
Using 2 short bolts (M) and 2 bolt caps (P), attach the paper dowel roll (H) to the leg braces (l).


STEP 3 - Brace Yourself
Slide the leg brace assembly (H & l) into place. Using 2 long bolts (N) and 2 bolt caps (P), fasten one end of the leg brace assembly to both sides of the easel.


HEIGHT SUGGESTIONS - Small or Tall?
The height of the Deluxe Magnetic Art Easel can easily be adjusted as young artists grow. Choose the height that works best for your child.

If you want to position the art boards in the middle or lower positions, skip now to Step 5.
STEP 4 - Top Notch
- Stand the easel up and slightly open the legs. Insert 2 short bolts (M) into the highest position holes on the easel's front legs. This side will hold the chalkboard.
- Insert 2 long bolts (N) into the highest position holes on the easel's back legs. This side will hold the dry-erase board.
![]()


Refer to Height Suggestions to determine which position to attach the dry-erase board and chalkboard.
STEP 5 - Out-Stand-ing
Using 2 long bolts (N) and 2 bolt caps (P), attach the remaining sides of the leg braces to the easel's legs.


STEP 6 - Start With a Clean Slate
- Using 2 short bolts (M) (already in place if mounting in the highest position) and 2 bolt caps(P), attach top of dry-erase board(A) and upper art board frame (F) to easel.
- Using 2 short bolts (M) and 2 bolt caps(P), attach bottom of magnetic chalkboard and a lower art board
![]()


STEP 7 - Never Be "Board"
- Using 2 long bolts (N) (already in place if mounting in the highest position) and 2 bolt caps (P), attach top of dry-erase board (B) and paper guide/cutter (E) to easel.
- Using 2 short bolts (M) and 2 bolt caps (P), attach the bottom of a dry-erase board and a lower art board frame (G) to easel.
![]()


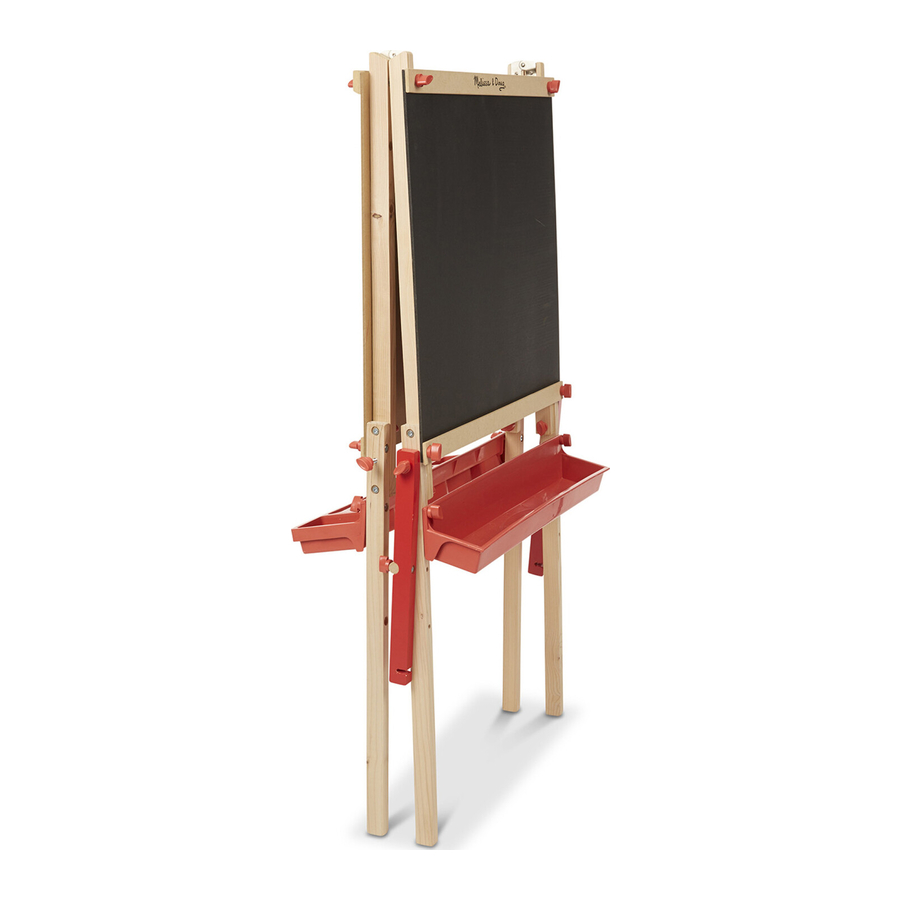
STEP 8 - "Tray" Bien! It's the End
- Using 2 short bolts (M) and 2 bolt caps (P), attach red tray (K) to magnetic chalkboard side of the easel.
- Using 2 short bolts (M) and 2 bolt caps (P), attach the red paint tray (J) to the dry-erase board side of the easel.
- Place magnets (L) on magnetic chalkboard (A).
![]()


YOU DID IT!
Now the real fun begins—it's time to paint, draw, and create!
Here are some tips for making the most of the Deluxe Magnetic Art Easel:
DRY-ERASE BOARD
- Only use markers (not included) specially formulated for use on dry-erase surfaces. Permanent markers will damage the dry-erase surface.
- Clean the board with a felt eraser or dry paper towel.
FOLD FLAT FOR STORAGE
- Unscrew the bolt caps to remove the paper roll.
- Reattach the dowel to the easel.
- Lift leg brace assembly to fold easel.
EXPLORE MORE WAYS TO PLAY!
- Use the letter magnets to spell a short word on the magnetic chalkboard (CAT, BOAT, SUN, etc.). Have the child draw a picture to match the word. Use the number and symbol magnets to make a simple math equation (for example, 1+2 = 3) on the magnetic chalkboard. Have the child draw one shape or picture (a circle, a star, a smiley face, etc.) under the 1,two of the same shape under the 2, and three of the same shape under the 3.
- Give clues and have the child draw what you describe, and then switch and draw what the child describes to you—get ready for some silliness!
- Draw a shape on the dry-erase board while the child draws a shape on the chalkboard. Switch sides. Add a shape or line to the child's drawing while the child adds a shape or line to yours. Continue switching sides, adding to each other's drawings until you both agree the works are complete!
- Play drawing games, such as tic-tac-toe or hangman. Play a guessing game, where one person thinks of a movie, book, place, or phrase, then tries to draw it (no letters allowed!) while the other person tries to guess what it is.
- Use the easel to play school! Have the child be the teacher and set up dolls or stuffed animals as students. He or she can use the chalkboard to teach the class the ABCs, simple math problems, or to write homework assignments!
ADDING PAPER
The Deluxe Magnetic Art Easel holds easel paper rolls up to 18 inches wide.
STEP 1
Unscrew the bolt caps (P) between the art boards to remove the paper roll dowel (H).

STEP 2

- Slide paper roll (not included) onto the dowel (H).
- Reattach dowel to easel.
STEP 3

- Feed the paper up between the art boards and back down the front between the dry-erase board (A) and the paper guide/cutter (E).
- Slide paper between dry-erase board (B) and lower art board frame (G).
ACCESSORIZE
The Melissa & Doug Easel Accessory Set (#4145) has everything needed to get started with the Deluxe Magnetic Art Easel. It includes poster paints, paintbrushes, spill-proof paint cups with lids, dry-erase marker, jumbo chalk sticks, felt eraser, and an easel paper roll.
For this and other art essentials, such as paper rolls, smocks, drop cloth, crayons, markers, paints, magnets, and much more, visit us at MelissaAndDoug.com!
Documents / Resources
References
![www.melissaanddoug.com]() Melissa & Doug: #1 Preschool Brand For Wooden Toys
Melissa & Doug: #1 Preschool Brand For Wooden Toys![melissaanddoug.com]() Melissa & Doug: #1 Preschool Brand For Wooden Toys
Melissa & Doug: #1 Preschool Brand For Wooden Toys
Download manual
Here you can download full pdf version of manual, it may contain additional safety instructions, warranty information, FCC rules, etc.
Advertisement


Need help?
Do you have a question about the Deluxe Magnetic Art Easel and is the answer not in the manual?
Questions and answers