Advertisement
PACKAGE CONTENTS

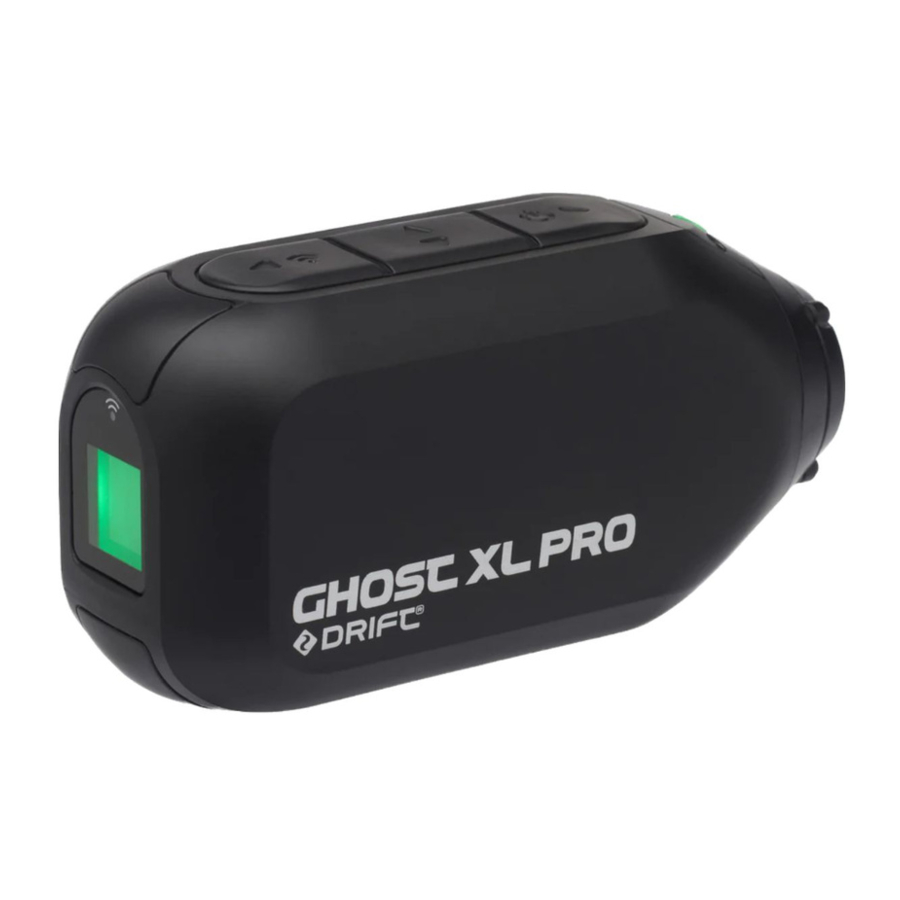
- Ghost XL Pro
- Universal Clip
- Curved Adhesive Mount
- Flat Adhesive Mount
- TRS-Audio Adaptor Cable
- TRS-Power Cable
- USB Cable
ABOUT YOUR CAMERA

![]() Rear Button
Rear Button![]() Middle Button
Middle Button![]() Front Button
Front Button- Status LED
- Rear Screen
- Microphone
- Type-C USB Port
- Micro SD Card Slot
- External Mic/Power Connector
- External Mic/Power Cover
- Rotating Lens
- Memory Card and USB Door


INITIAL SETUP
Open the Memory Card and USB door.

- Insert a Class 10 or higher microSD/HC/XC card (up to 256GB). Format before first usage!
- Connect the camera via a micro USB cable to a powered USB port, and charge the battery for 2.5hours before first use.
- Close the Memory card and USB door, and ensure that the latch is secured. You are ready to go!
GETTING STARTED
POWER ON/OFF

- Press and hold the
![]() button to power on.
button to power on. - The Rear Screen will power on, showing the welcome display.
- The camera is now ready to record video or take photos.
- Current camera mode is indicated by the colour of the Status LED and Rear Screen, along with the icon in the top left of the Rear Screen.
- To power off, press and hold the
![]() button for 3 seconds.
button for 3 seconds.
RESET YOUR CAMERA
If your camera becomes unresponsive, press and hold the ![]() button for 20s to reset it.
button for 20s to reset it.
MODE NAVIGATION
To change the current camera recording mode, press the ![]() button; changing between Video, Photo, Timelapse, Photoburst, and General Settings modes.
button; changing between Video, Photo, Timelapse, Photoburst, and General Settings modes.
MODE SELECTION & SETTINGS
MODE SETTINGS
To change the settings of the current mode press the ![]() button, this will move the highlight block from the mode icon onto each setting in turn.
button, this will move the highlight block from the mode icon onto each setting in turn.
VIDEO MODE
(Green LED) Press the ![]() button to start recording. The Status LED and LCD backlight will flash red to indicate recording. Press the
button to start recording. The Status LED and LCD backlight will flash red to indicate recording. Press the ![]() button again to stop recording.
button again to stop recording.
VIDEO SETTINGS
- Resolution
- Frame Rate
PHOTO MODE
(Yellow LED) The camera will capture still images when the ![]() button is pressed, and the status LED and LCD screen will flash red each time a photo is captured.
button is pressed, and the status LED and LCD screen will flash red each time a photo is captured.
PHOTO SETTINGS
- Resolution
TIMELAPSE MODE
(Purple LED) Press the ![]() button to capture a series of still images at a specified rate. The Status LED and LCD screen will flash red each time an image is captured. To stop recording, press the
button to capture a series of still images at a specified rate. The Status LED and LCD screen will flash red each time an image is captured. To stop recording, press the ![]() button once more.
button once more.
TIMELAPSE SETTINGS
- Resolution
- Timelapse Interval
PHOTOBURST MODE
(Cyan LED) The camera will capture a burst of still images for an allotted duration and at a specified rate, when the ![]() button is pressed. For best results, use a memory card with the highest possible data rate.
button is pressed. For best results, use a memory card with the highest possible data rate.
PHOTOBURST SETTINGS
- Resolution
- Burst Duration
- Capture Rate
GENERAL SETTINGS
(Blue LED) Press the ![]() button to scroll through the available settings, press and hold the
button to scroll through the available settings, press and hold the ![]() button to scroll backwards the Settings. and press
button to scroll backwards the Settings. and press ![]() to cycle through the options of a highlighted setting.
to cycle through the options of a highlighted setting.
| ON/OFF |
| 30s/1min/2mins/5mins/10mins |
| ON/OFF |
| 10s/30s/1min/2mins |
| ON/OFF |
| 2.4G/5.8G |
| ON/OFF |
| Paired/Unpaired |
| ON/OFF |
| 140/115/90 |
| +2/+1/0/-1/-2 |
| OFF/3s/5s/10s |
| High/Mid/Low |
| Normal/Vivid/Low/Light |
| Auto/100/200/400/800 |
| 0/1/2/3/4/5 |
| OFF/Low/Mid/High |
| ON/OFF |
| ON/OFF |
| Resume/Video/Photo/Timelapse/Burst |
| Never/2mins/5mins/10mins/20mins |
| ON/OFF |
| 20-01-01 |
| ON/OFF |
| ON/OFF |
| ON/OFF |
| 0/1/2/3/4/5 |
| ON/OFF |
| 0.5s/1s/2s/5s/10s/30s |
| EN/CN/DE/FR/IT/ES |
| YES/NO |
| YES/NO |
| |
|
MOUNTING THE CAMERA

- Attach the Universal Clip to the camera in any orientation as needed – first position the clip in the desired orientation, then secure by rotating the screw base by hand.
- Slide the Universal Clip into your chosen mount, ensuring that it 'clicks' into place. *Double check it has been fully inserted by pushing out the clips.
- Align your shot. Rotate the lens by hand until the screen is oriented correctly. Use the lens marker as an 'up' reference.
FEATURE OVERVIEW
DASH CAM MODE
How Does Dash Cam Mode Work?
Dash Cam Mode allows your Ghost XL Pro to record in a continuous loop. This means that when the memory card becomes full, the camera will record over the oldest footage.
In Dash Cam Mode the Ghost XL Pro will power on automatically when it detects a power supply. Connect the camera to a car or motorcycle power supply, and the camera will turn on and start recording when the ignition is turned on. When the ignition is turned off, the camera will save the footage and then power off instantly.
The interval setting is the duration of the loops that the Ghost XL Pro will record. For example, if you select a 2m interval and record for 20 minutes, you'll find 10 videos saved on your memory card, each two minutes long.
- Press the
![]() button to scroll through the modes and navigate to the settings menu.
button to scroll through the modes and navigate to the settings menu. - Press the
![]() button to scroll through the menu, until your reach the 'Dash Cam' option. Press the
button to scroll through the menu, until your reach the 'Dash Cam' option. Press the ![]() button to toggle Dash Cam Mode On/Off.
button to toggle Dash Cam Mode On/Off. - Press the
![]() button to scroll to the next option in the menu, 'Dash Cam Interval'. Press
button to scroll to the next option in the menu, 'Dash Cam Interval'. Press ![]() button to scroll through the available options.
button to scroll through the available options.
WATERPROOF POWER CONNECTION
The Ghost XL Pro can be connected to a car or motorcycle power supply for hands-free operation in Dash Cam Mode via the included 3.5mm Power cable.

Video-Lapse Mode
Captures a fast-motion video of your trip, allowing you to share a condensed record of your journey. When enabled, video lapse mode will automatically stitch together a timelapse video and save it to your memory card, with no editing required. Simply turn on Video-Lapse mode in the settings menu, select a VideoLapse Interval, and navigate to Video mode.

On the video mode screen a Video-lapse icon will indicate that the mode is enabled. Press the ![]() button to start recording, and press the
button to start recording, and press the ![]() button again to stop the Video-Lapse recording.
button again to stop the Video-Lapse recording.
Note: The Video-Lapse interval indicates how many frames per second are captured. A longer interval will result in a faster playback speed, and a shorter interval will result in a slower playback speed.
VIDEO TAGGING
'Video tagging mode can be enabled in the Ghost XL Pro settings menu. When activated, this feature allows the cam era to continuously record video, but only save to the memory card when important footage is "Tagged".
A 'Tagging Interval' can be selected in the settings menu, and this will determine the duration of the videos recorded. For example, if a 30s interval is selected and the user presses the ![]() button the last 30s of video will be saved to the memory card. The camera will then continue to record for a further 30s, giving a total video duration of 1 min.
button the last 30s of video will be saved to the memory card. The camera will then continue to record for a further 30s, giving a total video duration of 1 min.
The Video Tagging feature requires a class 10 micro SD card with 4GB of free space to function correctly. Please note that video tagging mode cannot be enabled together with Dash Cam Mode.
CLONE MODE
Link two or more Ghost XL Pro, Ghost XL, Ghost X or Ghost 4K cameras into a single network wirelessly controlled by one master camera. To set up clone mode:
- Navigate to the 'Clone Mode' option in the settings menu, and press the
![]() button to select.
button to select. - Select the 'master' option, and press the
![]() button to select. The master camera is now set up.
button to select. The master camera is now set up. - On a second cam era repeat the above, selecting the 'slave' option.
- Repeat for each additional slave camera.
- The master camera can now be used to wirelessly start and stop recordings, change settings and change modes on the entire group of cameras.
INSTANT ON MODE
Enabling Instant On Mode allows the camera to turn on, and immediately start recording with a single press of the ![]() button.
button.
BIT RATE
Users can choose to keep the normal compression used by the H.264 codec, or if they prefer, allow a higher flow of data for preserving more of the original recording. This will result in a bigger file size.
FILTER
Quickly tailor your cameras settings to the recording conditions with filters. Choose between Normal / Vivid / Low Light.
ACCESSORY GUIDE
BT REMOTE CONTRO L
(Compatible with Ghost XL Pro, Ghost 4K & Ghost XL)
The Drift BT Remote places intuitive control at your fingertips. Easily attached to a wrist or pack, the BT Remote Control clearly communicates yo ur cam era's current status using Drift's innovative color system. Use it to stop or start recording, Initiate video tagging or easily switch between Video, Photo, Timelapse and Photoburst modes. All with the touch of a finger

SUCTION CUP MOUNT
The perfect accessory for mounting your Ghost XL PRO to any non-porous flat surface. Ideal for use on car windshields or bodywork, the Suction Cup makes it simple to turn, tilt, and rotate your camera 360°.
PIVOT MOUNT
Mountable anywhere at nearly any angle, the Drift Pivot Mount is your tool to capture the moment from any point of view you can imagine. Includes flat and curved adhesives, and can be used together with any other Drift mount.
HANDLEBAR MOUNT
The Drift handlebar mount is the perfect accessory for riders, whatever your discipline. Compatible with bars between 19mm and 36mm, and capable of pivoting more than 180 degrees, the handlebar mount opens up almost any angle for your action video.

Wi-Fi
To turn on your Ghost XLPro Wi-Fi, simply press and hold the ![]() button. The LCD screen will show a Wi-Fi icon when the Wi-Fi is enabled.
button. The LCD screen will show a Wi-Fi icon when the Wi-Fi is enabled.
Wi-Fi can also be turned on via the cam eras settings menu, where you'll also find an option to permanently switch the Wi-Fi network on.
DOWNLOAD THE DRIFT LIFE APP
Setup your shot, capture, playback, edit and live stream on your mobile device.


UPDATING THE GHOST XL PRO FIRMWARE
Download the latest firmware from the Drift website and copy the Ghost_XL_Pro.bin file into the root of a formatted micro SD card. Insert the micro SD card into the camera and power on. The camera screen will display 'Firmware Updating' as the update is installed. Once complete, the camera will power down.
CONNECTING YOUR CAMERA
CONNECTING TO A PC
- Connect the camera using the USB cable (provided); the camera screen will show a USB icon.
- The camera's folder may open automatically; if not, open using My Computer.
- The camera should be recognised as a removable disk; double-click to open.
- Open the DCIM folder to access your files.
CONNECTING TO A MAC
- Connect the camera using the USB cable (provided); the camera screen will show a USB icon.
- The camera's folder may open automatically; if not, open using Finder.
- The camera should be recognised as an external device; double-click to open.
- Open the DCIM folder to access your files.
SPECIFICATIONS
Video Mode – Frame Rate
4K/25FPS (4096x2160)
4KUHD/25,30FPS (3840x2160)
2.7K/24,25,30,50,60FPS (2704x1520)
1080P/24,25,30,50,60,100,120FPS(1920x1080)
720P/25,30,50,60,120,240FPS (1280x720)
File Format – MP4(H.264)
Photo Mode – 4,8,12 Mega Pixels
Sensor Type – Sony 12MP
Lens Type – 140° Wide Angle
Battery – 3000mAH Rechargeable Li-Ion
Microphone – Build-in Noise Reducing Microphone
Input – Type-C USB,TRRS Port For External Power or Audio
Memory – Micro SD, SDHC, SDXC, Up to 256GB
Wi-Fi – 2.4/5.8G
Bluetooth Build-in, Remote Control Compatible
IPX7 Waterproof
Size 47x92x35mm
Weight 145g
CUSTOMER SUPPORT
Download the full manual and check our official website for firmware updates, customer support, and info on all of our products.
https://driftinnovation.com/
If you have any suggestions, comments or concerns; please contact our customer support team at:
support@driftinnovation.com
Documents / Resources
References
![www.apple.com]() App Store - Apple
App Store - Apple![play.google.com]() Google Play
Google Play![driftinnovation.com]() Drift | No matter what moves you, capture it best with Drift – Drift Innovation
Drift | No matter what moves you, capture it best with Drift – Drift Innovation
Download manual
Here you can download full pdf version of manual, it may contain additional safety instructions, warranty information, FCC rules, etc.
Advertisement


Need help?
Do you have a question about the GHOST XL PRO and is the answer not in the manual?
Questions and answers