Nexigo N970P - 4K AI-Powered Webcam Manual
- User manual (20 pages) ,
- User manual (81 pages) ,
- User manual (52 pages)
Advertisement
NEXIGO WEBCAM SETTINGS SOFTWARE
While all of our cameras are plug-and-play, this free software tool is best for those who want full control over settings like brightness, saturation, exposure, and focus. To download the latest version, head to nexigo.com/software

PRODUCT INSTALLATION
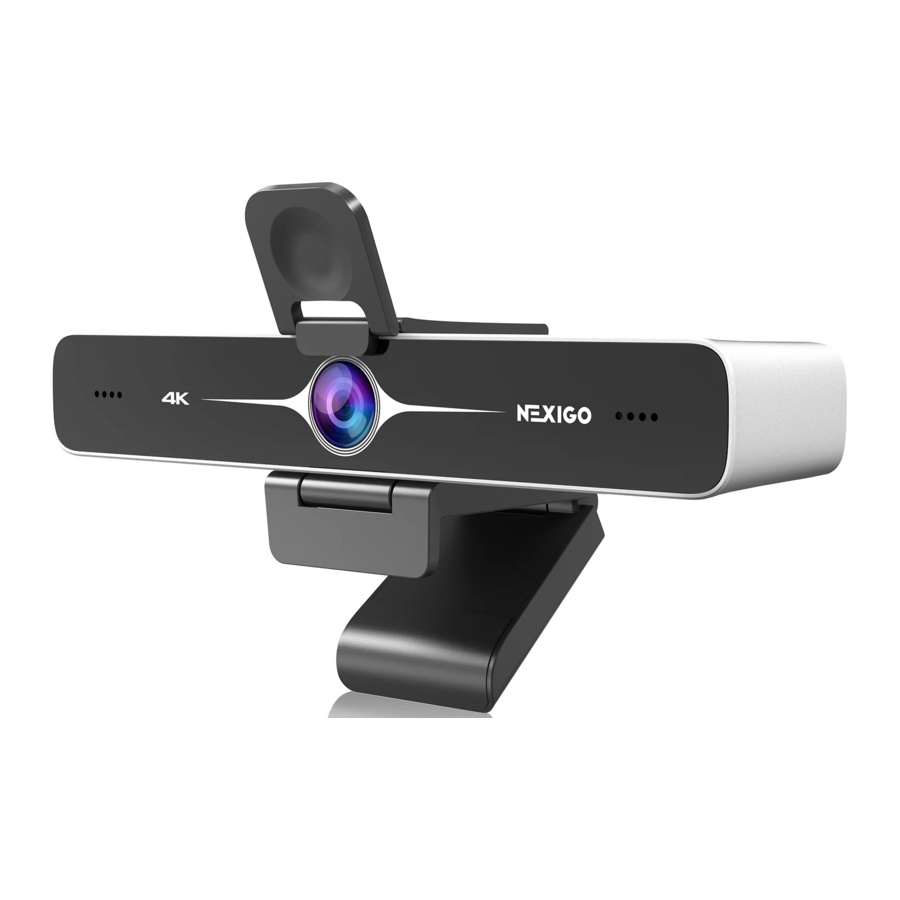
PRODUCT DIAGRAM

- UHD Lens
- Activity Indicator
- Noise Reduction Microphones
- 1/4" Tripod Screw Hole
- Flexible Clip / Base
- USB-B 3.0 Port
INSTALLING YOUR WEBCAM
Option 1: Place on a flat surface.
Option 2: Mount on a laptop or monitor.
Option 3: Install with a 1/4" thread tripod.
CONNECT THE WEBCAM TO YOUR COMPUTER
Windows Setup
- Go to Settings > Privacy > Camera and turn on "Let apps use my camera".
- Select the apps on the list where you want the camera to be used. When the app is open, ensure that you have selected the NexiGo N970P 4K Webcam as the active camera and microphone from the list of available options.
macOS
- Go to the Apple menu > System Preferences > Security & Privacy, select the Privacy tab. Select Camera from the list of options on the left side of the page.
- Locate the apps you want to enable camera access for. Click the box next to the app's name to enable camera access for that application.
PRODUCT OVERVIEW
DIMENSION

WHAT'S IN THE BOX?
4K ePTZ Camera x 1
Privacy Cover x 1
User Manual x 1
USB-B to USB-A Cable x 1
Remote (Requires 2 AAA batteries, not included) x 1
MAIN FEATURES
N970P is a 4K ultra-high-definition ePTZ camera with AI intelligence. It will intelligently and automatically frame individuals in the center of its image. The N970P uses advanced ISP processing algorithms to produce vivid images with clear, even brightness, high resolution, and strong colors.
- UHD 4K Resolution: Displays resolutions up to 4K at 30fps (MJPEG) or 30fps (H.264). Compatible with 1080p and 720p.
- Auto Framing: Employs superior detection algorithms to intelligently capture and frame speakers in the center of the image.
- ePTZ: Electronic Pan-Tilt-Zoom, with up to 10X zooming, allows for easy adjustments from a distance.
- Built-in Mics: Two built-in omni-directional microphones equipped with noise suppression technology to reduce background noise but remain highly effective up to 20ft.
- Multiple Installation Options: Can be installed in multiple ways. Comes equipped with a standard mount clamp for use on laptops, computers, and larger screens. Can also be installed on tripods.
- Easy to Use: Plug-and-play with no additional drivers or installation required.
SPECIFICATION
| Video resolution | 4K UHD (3840 x 2160) |
| Video format | MJPEG: 3840 x 2160@30fps, 1920 x 1080@60fps etc. H.264: 3840 x 2160@30fps, 1920 x 1080@60fps etc. YUY2: 1920 x 1080@30fps, 1280 x 720@30fps etc. NV12: 1920 x 1080@30fps, 1280 x 720@30fps etc. |
| Image sensor | 1/2.8" back-illuminated sensor |
| Digital zoom | Up to 10X digital zoom at 4K@30fps |
| Focus type | Fixed focus |
| Focus range | 10" - 90" (0.25m - 2.28m) |
| Field of view | D=90° / H=83° / V=54° |
| Mic pickup range | Up to 20ft |
| Application support | Chat software: Skype, FaceTime, Zoom, Yahoo!, Hangouts Streaming software: Open Broadcaster Software and Xsplit Photo or video: Using system Camera App (Camera for Windows, Photo Booth for macOS) |
| System requirements |
|
REMOTE CONTROL INSTRUCTION
KEYS INTRODUCTION

- Power Button
Press to turn the webcam on/off. - Menu Button
Press to open or close the On Screen Display (OSD) menu, or return to the previous menu. Press and hold for three seconds to mirror / unmirror the OSD menu. - Electronic Pan / Tilt Control
Press the arrow buttons to pan / tilt the camera's view when it is zoomed in. Hold to increase the speed of the pan / tilt. - OK Button
Resets the video capture view to the default position. In the OSD menu, press to select options and enter the next menu. - Numbered Buttons
Assign, recall, or delete presets for the numbered buttons (1, 2, 3).
Recall Preset: Press one of the numbered buttons once to recall the preset on that button.
Set Preset: Press and hold for three seconds to save the current settings to a numbered button and will override any previously saved preset. - Zoom +
Press to zoom in on the video. Hold to adjust faster. - Zoom -
Press to zoom out the video. Hold to adjust faster.
![warning]() Note: Please ensure that y
Note: Please ensure that you have disabled the auto framing function and closed the OSD menu before using the zoom function. - Auto Framing Toggle
Press to enable or disable the auto framing function.
Press and hold to adjust the auto framing sensitivity. - Indicator light
The indicator light will flash when the remote is being used. If you do not see the indicator light when you press a button you may need to adjust or change the battery.
MAIN MENU
Press menu button to display the OSD menu. Use the arrows on your remote to navigate the menu. Your selection will be displayed with an ">" arrow. Use the OK button to select the highlighted item.

- System Setting
Move the pointer to the (Setup) in the Main menu, click the OK button and enter into the (Setup menu) as shown below:

Auto Framing: Enable / disable the auto framing feature. You can also adjust the auto framing sensitivity.
ePTZ Level: Switch the digital zoom range between 1x - 5x and 1x-10x. The default is 1x-5x..
Mic Gain: Mute / unmute the microphone. You can also adjust the microphone volume from 0-10
Volume: Adjust the volume of the microphone to 0-10.
Image Style: Switch to Default, Normal, Clarity, Bright, and Soft modes.
OSD Flip-H: Mirror / unmirror the OSD menu.
USB Transfer Type: Switch to BULK, and ISOC modes. - Exposure Setting
Move the pointer to (Exposure) in the Main menu, click the OK button and enter the (Exposure menu) as shown below:

Mode: Switch to Auto, Manual, Shutter Priority and Bright modes.
Expo Comp: Toggle to On / Off (only available in Auto mode).
Blacklight Comp: Toggle to On / Off (only available in Auto mode).
Flicker: Switch to Off / 50Hz / 60Hz (only available in Auto / Shutter Priority / Bright modes).
Gain Limit: Adjust from 0~15 (only available in Auto / Bright modes).
Dynamic Range: Adjust the Dynamic Range between 1~8 or disable it (only available in Auto / Bright modes).
ISO: Switch to 100-1600 (only available in Manual / Shutter Priority modes)
Bright: Switch the brightness from 0~23 (only available in Bright mode).
Shutter: Switch to 1/30, 1/50, 1/60, 1/90, 1/100, 1/120, 1/180, 1/250, 1/350, 1/500, 1/1000, 1/2000, 1/3000, 1/4000, 1/6000, 1/10000 (only available in Manual/Shutter Priority modes). - Color
Move the pointer to the (Color) in the Main menu, click the OK button and enter the (Color menu) as shown below:

WB Mode: Switches to Auto, Manual, OnePush, VAR modes.
Red Tone: Adjust from -10~10 (only available when in Auto / Manual modes).
Blue Tone: Adjust from -10~10 (only available when in Auto / Manual modes).
Saturation: Adjust from 0~50.
Hue: Adjust from 0~8.
AWB Sensitivity: Switch among High, Middle, and Low (only available when in Auto mode).
Color Temp: Switch from 2400K~7100K (only available when in VAR mode). - Image
Move the pointer to the (Image) in the Main menu, click the OK button and enter into the (Image menu) as shown below:

Brightness: Adjust from 0~100.
Contrast: Adjust from 0~100.
Sharpness: Adjust from 0~15.
Flip-H: Switch to On to flip the image horizontally, switch to Off to restore to normal.
Flip-V: Switch to On to flip the image vertically, switch to Off to restore to normal.
B&W Mode: Switch to Color, B&W (Black and White) mode.
Gamma: Switch to Default, 0.34, 0.39, 0.47, 0.5.
Low-Light Mode: Switch to On / Off. - Noise Reduction
Move the pointer to the (Noise Reduction) in the Main menu, click the OK button and enter the (Noise Reduction menu) as shown below:

NR-2D: Toggle the 2D Noise Reduction On / Off or adjust it between 1-7.
NR-3D: Toggle the 3D Noise Reduction On / Off or adjust it between 1-8. - Version
Move the pointer to the (Version) in the Main menu, click the OK button and enter the (Version menu) as shown below to check the current firmware version.

- Restore Default
Move the pointer to the (Restore Default) in the Main menu, click the OK button and enter the (Restore Default menu) as shown below:

Restore Factory Settings: Restore the camera to its default factory settings.


FAQ
Q1: How do I know if my camera is being recognized by the system?
A: Connect the camera to any USB 2.0 or USB 3.0 port. It will take a few seconds for the camera to be recognized after it is connected to the system. To ensure the camera has been installed correctly on a Windows computer; check under Control Panel>System and Security>Device Manager.

To verify the webcam is connected on a Mac computer, click the Apple Menu (in the top left corner of your screen) and then click About this Mac. Click on System Report from the pop-up window that appears. The System Information window for your Mac will appear. Navigate to the USB section and check if the webcam is listed as a connected device (like the photo below):

Q2: What can I do if the images or videos are an abnormal color? How to adjust image parameters such as brightness or contrast?
A: Please ensure that the light in your environment is free of unique tones or intense light sources. Things such as walls / floors / other large-area non-standard light sources, including areas with colored or intense light.
In such environments photographed pictures are subjected to color cast due to the lighting impact of these light sources.

For Windows & Mac:
Using the NexiGo Webcam Settings Software, you can adjust the image parameter you want according to your needs.
 Note: Download the NexiGo Webcam Settings Software from nexigo.com/software.
Q3: Why does my screen go blank or black while trying to preview images?
A: There are several reasons this could happen:
- There is something wrong with the USB port. Please use a different USB port or another PC and test the camera again.
- The PC does not recognize the camera device.
- The operating system and computer configuration do not satisfy the requirements of the camera. Please check your system specifications.
- The video preview feature of the application is not turned on, or the application has a privacy feature that prohibits access to the camera. Please try with a different application.
Q4: Why is there flickering or banding on the video feed when I use the webcam?
A: This might be due to lighting inconsistencies in your room. To resolve this, download the NexiGo Webcam Settings Software from nexigo.com/software. In the software, select your NexiGo webcam in the device selection bar, then change the power line frequency to either 50Hz or 60Hz depending on your needs. For example, if your screen flicks at 50Hz, you can switch to 60Hz to solve it.

Note: The camera defaults to indoor mode. Please do not aim the camera directly at the light source.
Q5: How do I use the preset function?
A: Preset Settings:
Step 1. Adjust the camera view to fit your needs. You can zoom in / out using the zoom buttons or pan and tilt the camera using the arrow buttons.
Step 2. Press and hold any numbered buttons (1 to 3) for three seconds to save the current settings to a numbered button. After the setting is completed, a "Set preset: #" will be shown in the upper left corner of the image with the number of the preset that was selected and will override any previously saved preset.
Call Preset:
Press one of the numbered buttons once to recall the preset on that button. If the button has been preset, a "Call preset: #" will be shown in the upper left corner of the image with the number of the pressed button.
CONTACT INFORMATION
Website: www.nexigo.com
E-mail: cs@nexigo.com
Tel: +1(458) 215-6088
SAFETY NOTES
This manual contains detailed instructions on the operation and installation of the NexiGo N970P. Please read the manual in its entirety before installation and use.
- Do not place or attach the webcam to an unstable or uneven surface. Failure to follow this precaution may cause the product to fall and cause damage to the unit.
- The lens on this camera is made of glass. To avoid any potential damage, be sure to keep it out of reach of small children.
- The webcam may heat up after extended use. If the camera is hot to the touch, turn off the camera and leave it to cool down before further use.
- Do not use or store the webcam in extremely cold or hot environments. This may cause the webcam to malfunction. This item is intended to be used at room temperature and in a controlled environment.
- If the unit is damaged, please exercise the warranty or recycle the webcam at your nearest electronics store. Do not attempt to repair, disassemble, or modify the webcam under any circumstance. Contact NexiGo Customer Support if there is an issue to exercise the warranty.
- To clean the device, wipe it with a soft, dry cloth. To clean the lens, use a dry microfiber cloth or a lens cleaner. Use only a mild detergent if necessary. Do not use strong or corrosive detergents to avoid damaging the lens.
Documents / Resources
References
Download manual
Here you can download full pdf version of manual, it may contain additional safety instructions, warranty information, FCC rules, etc.
Advertisement


Need help?
Do you have a question about the N970P and is the answer not in the manual?
Questions and answers