Dangbei DBOX02 (Mars Pro2) - Smart Projector Manual
- User manual (128 pages) ,
- Manual (3 pages) ,
- Faq (3 pages)
Advertisement
- 1 Packing List
- 2 Projector Overview
- 3 Remote Control Overview
- 4 Getting Started
- 5 Network Settings
- 6 Focus Settings
- 7 Image Correction Settings
- 8 Bluetooth Speaker Mode
- 9 Google Assistant
- 10 Chromecast built-in
- 11 Screen Mirroring
- 12 Inputs
- 13 More Settings
- 14 Specifications
-
15
Troubleshooting
- 15.1 No audio output
- 15.2 No image output
- 15.3 No network
- 15.4 Blurry Image
- 15.5 Non-rectangular Image
- 15.6 Automatic keystone correction failed
- 15.7 Autofocus failure
- 15.8 Smart Eye Protection failed
- 15.9 Intelligent Screen Fit failure
- 15.10 The Remote Control is unresponsive
- 15.11 Connect the Bluetooth devices
- 15.12 Others
- 16 Important Precautions
- 17 Documents / Resources
Packing List
Before using this product, please check that all items are included in the box.

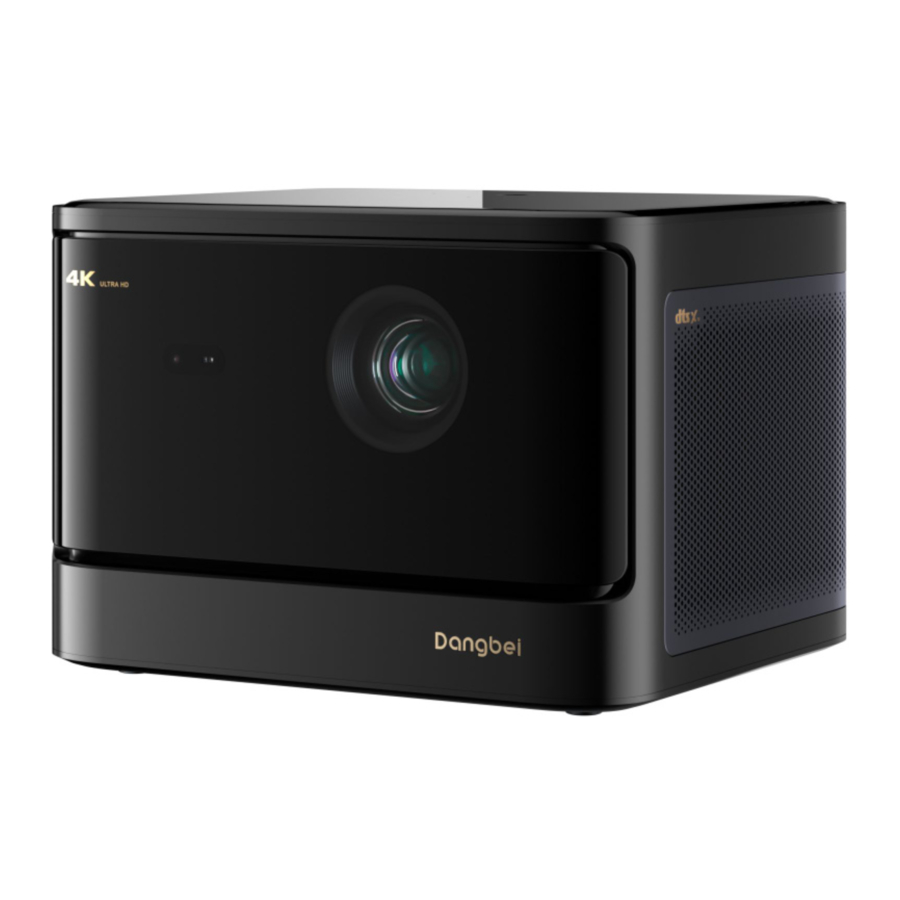
Projector Overview
Overview and interface description.


| Power Button LED Indicator Guide | ||
| Button | LED Status | Description |
 Power button | Solid White | Power Off |
| Off | Power on | |
| Flashing White | Upgrading Firmware | |
Remote Control Overview
- Open the battery compartment cover of the remote control.
- Install 2 AAA batteries*.
- Put back the battery compartment cover.

* Please insert new batteries according to the polarity indication.
Getting Started
Placement
Position the projector on a stable, flat surface in front of the projection surface. A flat and white projection surface is recommended. Please follow the instructions below to determine the distance between the projector and the projection surface, and the corresponding projection size:

| Size | Screen (Length × Width) |
| 80 inches | 177 x 100 cm 5.8x 3.28 ft |
| 100 inches | 221 x 124 cm 7.25 x 4.06 ft |
| 120 inches | 265 x 149 cm 8.69 x 4.88 ft |
| 150 inches | 332 x 187 cm 10.89x 6.14 ft |
 The best recommended projection size is 100 inches.
Power on
- Connect the projector to the power outlet.
![]()
- Press the power button on the projector or remote control to turn on the projector.
![]()


Standby Mode/Power off
Press the power button on the projector or remote control to enter standby mode.
Press and hold the power button on the projector or remote control for 2 seconds to turn off the projector.
Remote Control Pairing

* If the pairing is unsuccessful, repeat the above steps until the remote control indicator light stops flashing.
- Turn on the projector and wait for the Bluetooth pairing prompt on the screen.
- Bring the remote control within 10 cm / 0.33 ft of the projector.
- Simultaneously press and hold the
![]() and
and ![]() keys.
keys. - Release the keys after the indicator light starts flashing.
- Wait until you hear two "beep" sounds, indicating a successful pairing.
 and
and  keys.
keys.Network Settings

- Go to [Settings], select [Network & Internet], and turn on Wi-Fi.
- Choose your network and enter the correct password.
Focus Settings
Method 1: Press the red side key (up) for manual focus. Press and hold for 2 seconds for autofocus.

Method 2: Go to [Projector], select [Focus], and choose either manual focus or autofocus.

Autofocus
Select [Auto Focus] to trigger the autofocus function.
The image will automatically become clear.
Manual focus
Select [Manual Focus] and use the navigation keys (up / down) on the remote control to adjust the focus distance and make the image clear.
Image Correction Settings
- Keystone Correction
- Go to [ Projector] - [Image Correction].
- Select [Auto Keystone Correction], and the screen will automatically be corrected.
- Select [Manual Keystone Correction], and use navigation keys to adjust the four points and the image shape.
![]()
- Intelligent Screen Fit
- Go to [Projector] - [Image Correction], and turn on [Fit to Screen].
- Follow the on-screen instructions to automatically adjust the projected image to fit the screen.
- Intelligent Obstacle Avoidance
- Go to [Projector] - [Image Correction] - [Advanced], and turn on [Avoid Obstacles].
- Follow the on-screen instructions to automatically adjust the projected image to avoid any objects on the projection surface.

Bluetooth Speaker Mode

- Go to [Settings], select [Projector], and click on [Bluetooth speaker mode].
- Connect your phone to a device with the Bluetooth name containing "DBOX02". After modifying the device name, the Bluetooth name will also be synchronized accordingly.
- When you hear "Bluetooth connection successful", the projector can play music from your phone.
- Press and hold the
![]() key on the remote control for 2 seconds to exit the [Bluetooth speaker mode].
key on the remote control for 2 seconds to exit the [Bluetooth speaker mode].
 key on the remote control for 2 seconds to exit the [Bluetooth speaker mode].
Google Assistant
Your TV is more helpful than ever. Use your voice to find movies, stream apps, play music and control the TV. Ask Google Assistant to find a specific title, search by genre, or get personalized recommendations. Even get answers on screen, control smart home devices, and more. Press the Google Assistant button on the remote to get started.

Chromecast built-in™
Easily cast movies, shows, photos, and more from your phone or tablet, right to your TV.
To cast in-app content:
Simply tap the Cast button from apps you already know and love. No new logins or downloads required.
- Connect your device and the projector to the same wireless network.
- Open the streaming app on your device.
- Play a video and tap the Cast button on the video screen.
![]()
- Select "DBOX02" to connect. The projector will display the video from your device
* Due to copyright restrictions, certain content cannot be cast to the projector. You can stream the content on the projector by installing the same application on it.
Screen Mirroring
You can project the entire screen from your device to the projector.

To cast the device screen:
- Ensure that both your device and the projector are connected to the same wireless network.
- Install the AirScreen app on the projector.
- Open the AirScreen app and follow the on-screen instructions to complete the process.
Inputs

HDMI
Insert the HDMI device into the HDMI port.
Go to [Inputs], select the HDMI option.
USB Drive
Download the File Explorer app from Google Play. Insert a USB-A dirve into the USB port.
Open the app and find the USB drive, select the content which you want to play.
* USB format supported: FAT32, NTFS
More Settings
- Projection Mode
Go to [Settings] - [Projector] - [Advanced Settings] - [Projection Mode] to choose the placement method of the projector. - Zoom
Go to [Settings] - [Projector] - [Image Correction] - [Image Adaption] to decrease the image size from 100% to 50%. - 3D Mode
After playing the video, press and hold the Home button, a dashboard in the upper right corner of the screen.
On dashboard, go to [Picture] - [3D Mode], according to the format of the 3D video, select the corresponding 3D option. - System & Product Info
Go to [Settings] - [System] - [About] to check the System & Product information.
Specifications
| Display Technology | 0.47 in, DLP |
| Display Resolution | 3840 x 2160 |
| Throw Ratio | 1.27:1 |
| Speakers | 2 x 12W |
| Bluetooth Version | 5.2 |
| WI-FI | Dual Frequency 2.4/5.0 GHz |
| Dimensions (L x W x H) | 236 × 201.5 × 167 mm 9.29 x 7.93 x 6.57 inches |
| Weight | 3.98kg / 8.77lb |
Troubleshooting
No audio output
- Check if you have double-clicked the black side key on the remote control to put the projector in mute mode.
- Check if the projector interface "HDMI ARC" or Bluetooth is connected to an external audio device.
No image output
- Press the power button located on the rear of the projector. The power button indicator light will turn off if the projector enters projection mode successfully.
- Ensure that the power adaptor has power output.
No network
- Enter settings, and check the network connection status in the network option.
- Ensure that the network cable is correctly inserted to the projector interface "LAN".
- Ensure that the router is correctly configured.
Blurry Image
- Adjust the focus or keystone.
- The projector and screen/wall must be positioned with an effective distance.
- Projector lens is not clean.
Non-rectangular Image
- Place the projector perpendicular to the screen/wall if keystone correction function is not used.
- Use the keystone correction function to adjust the display.
Automatic keystone correction failed
- Ensure that the Camera/TOF on the front panel is not blocked or dirty.
- The best automatic keystone correction distance is 2.0-4.0m, horizontal ±30°.
Autofocus failure
- Ensure that the Camera/TOF on the front panel is not blocked or dirty.
- The best autofocus distance is 2.0-4.0m, horizontal ±20°.
Smart Eye Protection failed
- Ensure that the Camera/TOF on the front panel is not blocked or dirty
- The optimal sensing range is located around the center of the image. Being too close to the edges may result in the eye protection feature not triggering.
Intelligent Screen Fit failure
- Ensure that the projector is correctly positioned, so that the projected image extends beyond the edges of the screen.
- Ensure that the projection screen has a colored border/frame on all four sides, so that the projector can recognize the frame.
- Ensure that the red box pattern is within the screen frame, and is not blocked.
The Remote Control is unresponsive
- Ensure that the remote control is successfully paired via Bluetooth. If the pairing is successful, the LED light will flash once when you press any button. When you press and hold any button, the LED light will remain solid.
- If the pairing is unsuccessful, the LED light will flash three times when you press any button. When you press and hold any button, the LED light will flash three times and then remain solid.
- Check if the power indicator is still on without pressing any buttons. If it is, check the status of the remote control buttons to ensure they are not being pressed.
- Ensure that there are no interferences or obstructions between the projector and remote control.
- Check the battery and installation polarity.
Connect the Bluetooth devices
Enter settings, open the [Remotes&Accessories] to pair more bluetooth devices.
Others
Please feel free to contact us at support@dangbei.com
Important Precautions
- As with any bright source, do not stare into the direct beam, RG2 IEC 62471-5:2015
![]()
- Users are aware of the risk of skin or corneal burns. CLASS 1 LASER PRODUCT.Comply with IEC 60825-1:2014.
- Do not block or cover the heat dissipation holes of the device to avoid affecting the heat dissipation of the internal parts, and damaging the device.
- Keep away from humidity, exposure, high temperature, low pressure, and magnetic environments.
- Do not place the device in areas susceptible to excessive dust and dirt.
- Place the device in a flat and stable station, and do not place the device on a surface that is prone to vibration.
- Do not allow children to handle the device without supervision.
- Do not place heavy or sharp objects on the device.
- Avoid extreme vibrations, because these may damage the internal components.
- Please use the correct type of battery for the remote control.
- Only use attachments/accessories specified or provided by the manufacturer (such as the exclusive power adapter, bracket, etc.).
- Do not disassemble the device. The device should only be repaired by staff authorized by the manufacturer.
- Place and use the device in a 5-35°C environment.
- The metal casing is coated with insulating paint.
- The plug is considered as a disconnected device of the adapter.
- The adapter should be installed near the equipment, and should be easily accessible.
- Protect the power cord from being walked on or pinched, particularly at the plugs, convenience receptacles, and the point where this exits from the device.
- Unplug this device if there are lightning storms or when unused for a long period of time.
- Where the power plug or an appliance coupler is used to disconnect the device, the disconnected device would remain readily operable.
- Never touch the power cable or power connector with wet hands.
- Risk of explosion if battery is replaced byan incorrect type. Dispose of used batteries according to local regulations.

Documents / ResourcesDownload manual
Here you can download full pdf version of manual, it may contain additional safety instructions, warranty information, FCC rules, etc.
Download Dangbei DBOX02 (Mars Pro2) - Smart Projector Manual
Advertisement


Need help?
Do you have a question about the DBOX02 and is the answer not in the manual?
Questions and answers