Advertisement
Quick Links
Advertisement

Related Manuals for JARDAN Wilbur WIL125S


Summary of Contents for JARDAN Wilbur WIL125S
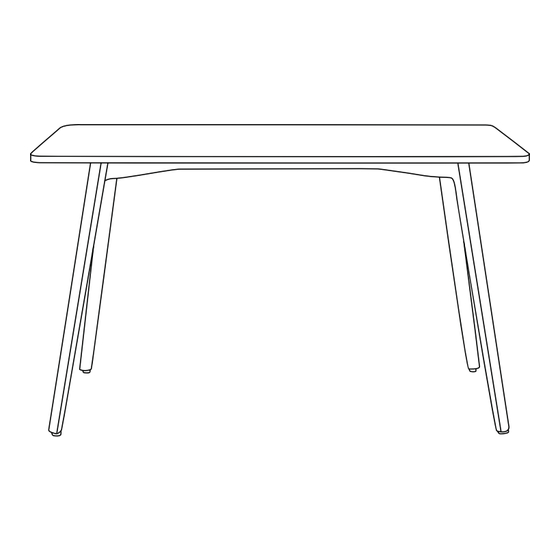
- Page 1 Wilbur Assembly Instructions 3 Leg / 4 Leg jardan.com.au...
- Page 2 Wilbur Assembly Instructions Place the worktop face down on soft surface. Unscrew and remove long bolts from the frame. Lift off frame from top and place frame on soft surface. jardan.com.au...
- Page 3 M6x16 countersunk screw to securely fix leg in place. Repeat process with next leg. Flip frame over and insert leg bracket into tube. Use provided 2x M6x16 countersunk screw to securely fix leg in place. Repeat process with next leg. jardan.com.au...
- Page 4 Use the long M6x70 screws to secure the frame to the top. Use Remaining M6x16 screws to fix legs to worktop. Tighten all screws. Safely flip table right side up. Twist glides at the base of the legs to level table if required. Note: Use more than one person to flip/move table. jardan.com.au...
-
Page 5: Care And Maintenance
Our philosophy is simple, we only make furniture that lasts. Over their lifetime our products will need a little care and attention to ensure they can be enjoyed by generations to come. The following information will help you care for your Jardan products in the best possible way.
Need help?
Do you have a question about the Wilbur WIL125S and is the answer not in the manual?
Questions and answers