Advertisement
Quick Links
Advertisement

Related Manuals for JARDAN Otis


Summary of Contents for JARDAN Otis
- Page 1 Otis Assembly Instructions Otis Table jardan.com.au...
- Page 2 Otis Assembly Instructions Components Required A 1 x Table top 1 x Allen key B 1 x Support frame 1 x Fixing provided: M10 bolt C 2 x Legs jardan.com.au...
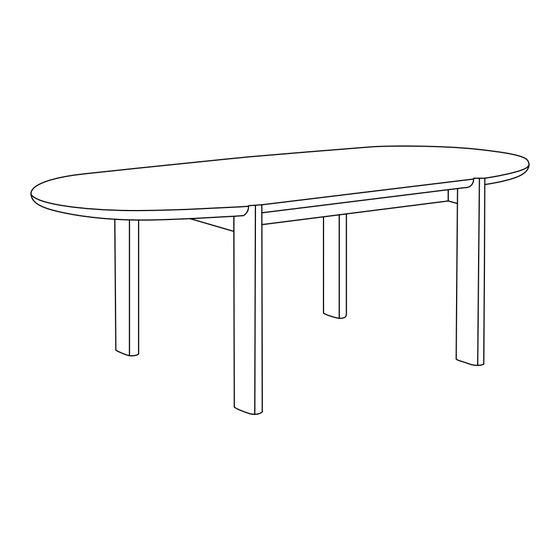
- Page 3 Otis Assembly Instructions Unwrap and familiarise yourself with all the components. Note: When delivered the support frame B and the table top A are already fixed together. Flip the table top A with the support frame B upside down and position the legs C facing outwards on both sides.
- Page 4 Otis Assembly Instructions Secure legs C to support frame B with Allen key and the bolts provided. Using at least 2 people, flip the table right side up and check that all connections are secure. jardan.com.au...
-
Page 5: Care And Maintenance
Our philosophy is simple, we only make furniture that lasts. Over their lifetime our products will need a little care and attention to ensure they can be enjoyed by generations to come. The following information will help you care for your Jardan products in the best possible way.
Need help?
Do you have a question about the Otis and is the answer not in the manual?
Questions and answers