Advertisement
Quick Links
Advertisement

Related Manuals for JARDAN Olive


Summary of Contents for JARDAN Olive
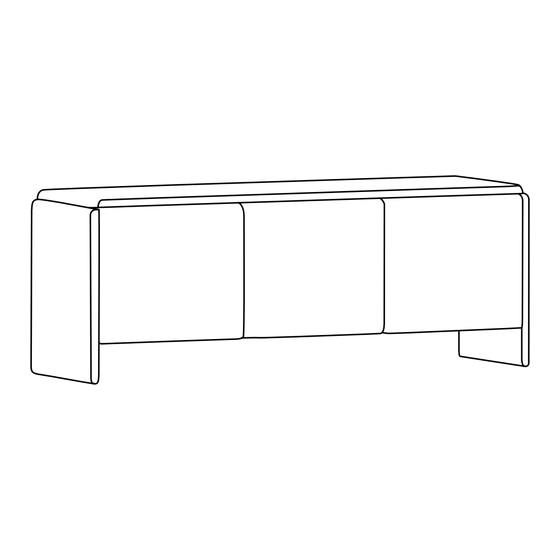
- Page 1 Olive Assembly Instructions Olive Sideboard jardan.com.au...
- Page 2 Olive Assembly Instructions Components Required A Shelves 1 x Cordless Torque Drill on low B Doors setting (to prevent damage) C Clip brackets D Screws E Shelf pins jardan.com.au...
- Page 3 Olive Assembly Instructions Unwrap shelves and doors (packaged separately) and lay on soft surface. Clip brackets on doors into their respective fittings, ensuring doors are orientated the right way up. These clip onto the face of the internal bracket. Level doors using the 2 screws to adjust height, angle and protrusion.
- Page 4 Olive Assembly Instructions Insert shelf inserts into respective holes inside the cabinet with the flat spots facing up. Height can be set using the suitable holes. Fit shelves into cupboard and rest on top of shelf inserts. Ensure shelf feels secure.
-
Page 5: Care And Maintenance
Our philosophy is simple, we only make furniture that lasts. Over their lifetime our products will need a little care and attention to ensure they can be enjoyed by generations to come. The following information will help you care for your Jardan products in the best possible way.
Need help?
Do you have a question about the Olive and is the answer not in the manual?
Questions and answers