Advertisement
Quick Links
Advertisement

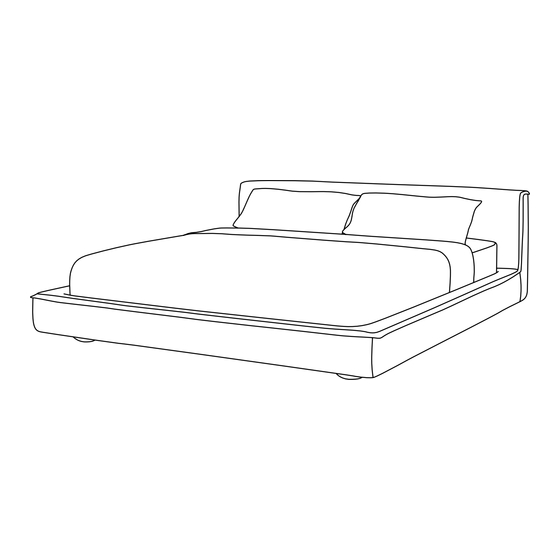
Summary of Contents for JARDAN Sunny Bed
- Page 1 Sunny Bed Assembly Instructions jardan.com.au...
- Page 2 Sunny Bed Assembly Instructions Components Required A 1 x Headboard 1 x Cordless Torque Drill on low setting (to B 2 x Side rails prevent damage) C 1 x Foot rail 1 x 5/16 Hex nut socket drive D 2 x Castor rails...
- Page 3 Sunny Bed Assembly Instructions Unwrap and familiarise yourself with all components. Loose cover will be partially attached to headboard A. Fasten side rails B to headboard A one at a time using 4 screws H. Attach foot rail C to the side rails B by fastening through the corner brackets, using 4 screws H per corner.
- Page 4 Sunny Bed Assembly Instructions Pull the loose cover over the foot rail C at each corner by compressing the foam until the fabric cover slides over the top. Straighten cover so the flanged edge runs straight along the edges of the frame.
- Page 5 Sunny Bed Assembly Instructions With at least two people, turn bed on it’s side. With one person holding the frame stable, attach the two castor rails D to each end of the side rails, securing in place with 2 screws H at each end. Using the velco attachments, secure the loose cover to the underside of the side rail.
- Page 6 Sunny Bed Assembly Instructions Place bed back into upright position, lower the center rail E onto the bed frame until it locks into the central attachments on the headboard A and foot rail C jardan.com.au...
-
Page 7: Care And Maintenance
Our philosophy is simple, we only make furniture that lasts. Over their lifetime our products will need a little care and attention to ensure they can be enjoyed by generations to come. The following information will help you care for your Jardan products in the best possible way.


Need help?
Do you have a question about the Sunny Bed and is the answer not in the manual?
Questions and answers