Advertisement
Quick Links
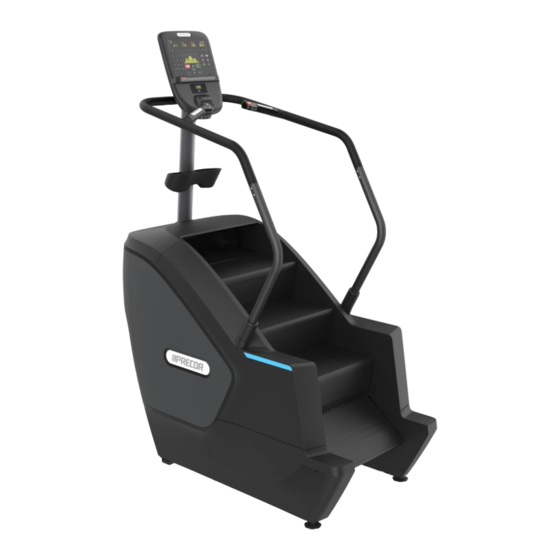
StairClimber™ SCL
800 Line Assembly Guide
®
Assembly requirements
Precor recommends at least two people for this installation.
DO NOT attempt assembly by yourself.
Follow the steps in the order listed in this assembly guide. Be sure to:
• Assemble the equipment close to where you plan to use it.
• Assemble the equipment on a solid, flat surface so that it remains level and stable.
• Locate the equipment at least 24 inches (0.6 meter) away from walls or furniture
on either side of the equipment, and 24 inches (0.6 meter) away from objects
behind or in front of the equipment.
• The equipment needs a minimum ceiling height of 9' 9" feet (3 meters).
• DO NOT move the equipment without assistance.
• DO NOT connect power to the equipment until instructed to do so.
©2023 Peloton Interactive, Inc.
Figure 1
Hardware kit
Required tools
• Hex wrench 5/32-inch
• Hex wrench 7/32-inch
• Wrench open end 3/4-inch
• Torque wrench
Image
Hex-head bolt with washer 5/16-18 x 1-inch
Flat-head socket cap screw (FHCS) 1/4-20 x 5/32-inch
(for console mount only)
Button-head cap screw (BHCS) 3/8-16 x 7/32-inch (black)
Lower handlebar covers (set of 2)
Gasket
Gasket cover
O-ring (pre-installed on handlebars)
Right handlebar
Left handlebar
Center mast
Stop wire (pre-installed in right handlebar)
Heart rate and speed wires (pre-installed in left handlebar)
NOTE Extra hardware may be included with the StairClimber.
StairClimber Assembly Guide | P/N 306314-101B ENU | 31 July 2023 | 1
• Wrench 1/2-inch
• Philips screwdriver
Description
Qty
4
4
8
4
1
1
2
1
1
1
Advertisement

Summary of Contents for Precor StairClimber SCL 800 Series
- Page 1 Assembly requirements Image Description Precor recommends at least two people for this installation. DO NOT attempt assembly by yourself. Hex-head bolt with washer 5/16-18 x 1-inch Follow the steps in the order listed in this assembly guide. Be sure to: Flat-head socket cap screw (FHCS) 1/4-20 x 5/32-inch •...
- Page 2 Run the HDMI cable through the jack plate and up the left side with the No other Precor consoles can be used with this model. It will power cable. Feed the cable through the opening at the top of the unit with the not operate.
- Page 3 Install the handlebars Slide the left handlebar (from user side) over lower mount so that the O-ring seats correctly. Secure handlebar using two BHCS 3/8-16 x 7/32-inch The lower handlebar mounts on the base are (black) and hand tighten (Figures 13 and 14). naturally angled.
- Page 4 Maintenance For care and maintenance, refer to the Precor Cardio Equipment Maintenance Guide at www.precor.com. It is important to maintain your equipment in accordance to the Figure 19 guide as not to void the limited warranty. Snap the top cover back into place (Figure 20).


Need help?
Do you have a question about the StairClimber SCL 800 Series and is the answer not in the manual?
Questions and answers