Table of Contents
Advertisement
Quick Links
Advertisement
Table of Contents

Related Manuals for GAMEMAX Diamond CP


Summary of Contents for GAMEMAX Diamond CP
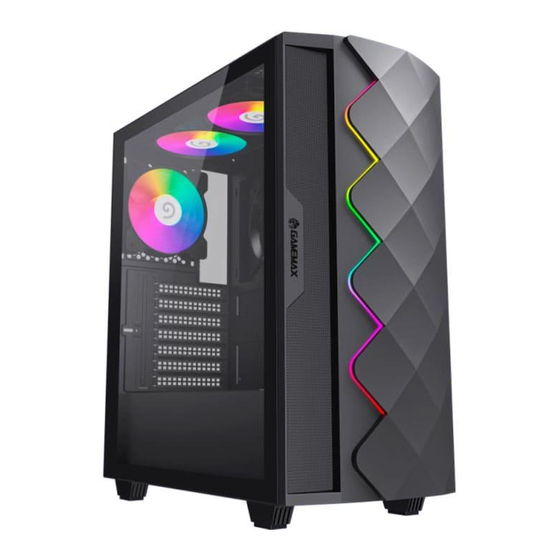
- Page 1 USER MANUAL...
-
Page 2: Specification
SPECIFICATION Model No. Diamond CP Materials Chassis 0.5mm SPCC, tempered glass on left side panel Motherboard support E-ATX/ATX M-ATX ITX PSU type ATX PSU (Bottom located) TOP panel I/O ports USB3.0*1+USB2.0*1, HD Audio Drive Bays 3.5'' HDD*2 + 2.5'' SSD*2 Expansion Slots 7 slots , Support up to 340mm (Max.) VGA card... -
Page 3: Side Panel Installation
SIDE PANEL INSTALLATION Loose the drop-proof screws A, pull out the right side Loose the drop-proof screws B, put out left glass side panel panel. panel toward to the arrowhead direction. Put hand into bottom of front panel, then you can pull up it. -
Page 4: Power Supply Installation
POWER SUPPLY INSTALLATION Insert PSU from left side Secure with screws MOTHERBOARD INSTALLATION Put M/B on right position of chassis which preinstalled iron Use the provided standoffs and screws to secure the screws. motherboard. -
Page 5: Explosive View
EXPLOSIVE VIEW Chassis Left glass side panel Right side panel Front panel PSU cover 1*120mm fan on the rear 2*120mm fans on the top HDD bracket SSD bracket Magnetic dust filter on the top Dust filter on the bottom VGA card bracket COC Turbo Fan... - Page 6 I/O PORTS Light modes control buttom Reset button HD Audio USB 2.0 USB 3.0 Power Switch...
-
Page 7: Vga Card Installation
VGA CARD INSTALLATION Remove the PCI slot protection cover. Install the graphics card and secure it with a screw. -
Page 8: Hdd Installation
VGA CARD HOLDER INSTALLATION A. VGA Card Holder B. Put the holder into the situable position on C. Fix the screws at the rear side of the the motherboard plate according to the VGA motherboard plate HDD AND SSD INSTALLATION HDD installation Loosen 2pcs screws for HDD bracket, pull out HDD bracket Secure with screws... -
Page 9: Ssd Installation
Put bracket on chassis after HDD installation, and secure Fix SSD on bracket up side and secure with screws with 2pcs screws. first, then fix HDD. SSD installation Take off SSD bracket, then fix SSD on bracket and lock bracket to previous place. -
Page 10: Fan Installation
FAN INSTALLATION The size of fan cooling: Front: 3*120mm or 2*140mm Fans Top: 2*120mm or 2*140mm Fans Rear: 1*120mm Fan PSU Cover: 2*120mm Fans... -
Page 11: Liquid Cooling Installation
LIQUID COOLING INSTALLATION Put the 120mm radiator in the rear panel then Put the radiator in the front panel Secure with screws secure with screws Front: 120/140/240/280mm liquid cooling Top: 120/140/240mm liquid cooling Rear: 120mm liquid cooling Put the radiator in the top panel Secure with screws... - Page 12 PCH and VRM, which can run stably, CASE 1021 1021 more important that effectively improve breakdown, Note: The data comes from the gamemax laboratory, subject to environmental bluescreen, running slowly and so on. influences, the test results will be affected to a certain extent...
- Page 13 COC TURBO FAN INSTALLATIONS 1. How to Remove COC Turbo Fan Remove two screws as shown Take it away 2. How to Install COC Turbo Fan Insert type design, easy to install, only 2pcs of screws to fix Insert the COC Turbo Fan into fixed position Align the two screw holes and put it down slowly Fasten two screws...
-
Page 14: Led Strip
FAN AND LED STRIP CONNECTING FAN AND LED STRIP CONNECTING LED STRIP... - Page 15 Power Up with Gamemax, Gaming to the Max! www.gamemaxpc.com...
Need help?
Do you have a question about the Diamond CP and is the answer not in the manual?
Questions and answers