Advertisement
Quick Links
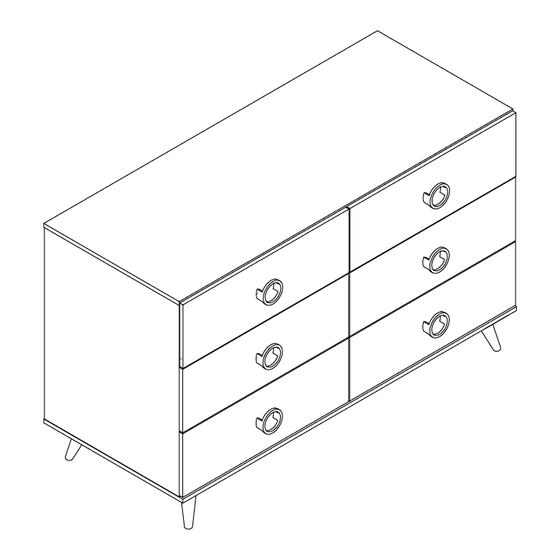
ASSEMBLY INSTRUCTION FOR ACME FURNITURE
Thank you for purchasing the quality product. Be sure to check all packing material carefully for small parts which
may have come loose inside the carton during shipment. Separate, identify and count all parts and metal hardware.
Compare with all parts are present. If any part(s) are missing or damaged, please contact your local furniture dealer.
For efficient and speedy service, please indicate the model number and code letter of part(s) needed.
***Do not fully tighten screws until fully assembled.***
***
Do not throw protective panels away.
The protective panels may be damaged during shipping.
Please do not return it, it will not affect the assembly of the product.
The main purpose of protective boards is to protect the unit.
In addition, place these boards in designated locations to increase
product stability.
MODEL#AC00549
***
Advertisement

Related Manuals for Acme Furniture AC00549


Summary of Contents for Acme Furniture AC00549
- Page 1 ASSEMBLY INSTRUCTION FOR ACME FURNITURE MODEL#AC00549 Thank you for purchasing the quality product. Be sure to check all packing material carefully for small parts which may have come loose inside the carton during shipment. Separate, identify and count all parts and metal hardware.
- Page 2 Because our products may be challenging for beginners, we deeply understand that you may encounter some difficulties. To avoid discouragement, we have provided some useful tips, as follows. Enough Open Space Ensure that there is enough space for movement during assembly.
- Page 3 Every cam bolt must have a cam lock connector to hold the parts together. When assembling, the hardware parts and the wooden board must be kept vertical, and the tools must be in full contact with the hardware groove. Caution: Do not use excessive force to advoid over- fastening, or even...
- Page 4 Inserting wood dowels is likely to be tight, so wood dowels may not easily touch the bottom and damage the side panels during installation. It is recommended to slight hit the wooden pins with a hammer to eliminate the gap between the wood dowel and board.
- Page 5 Wall Caution: For the safety concern, please secure unit onto wall by using wall mounted straps provided, in between unit and wall. No jumping or climbing on the unit. To ensure product durable and smooth operation, suggest not to exceed the height of drawer side (as shown on “X”) while putting products.
- Page 7 Attention Some number parts listed on the instruction sheet may not be in parts bag as they may already be assembled. Carefully check parts and packing materials prior to ordering replacements.
- Page 8 Push runner to see screw holes on the other end. Front Front...
- Page 9 Push runner to see screw holes on the other end. Front 180° Front...
- Page 13 Caution: Please do not drag or use the corner to lift the product, especially after the cabinet feet are installed.When the product needs to be moved or turned, it must be raised.
- Page 14 To iImplement safety requirements and prevent children from being injured by hazards associated with clothing storage units tipping over. Protective panles "MUST" be placed in designated locations to meet equipment stability requirements.
- Page 17 Please follow the number shown in the figure and assemble in order . **For safety, please lock the slide rail at the front to prevent tipping.** Extend the two outer slides of the runners Secure two screws from the outside of the so that they could align with the sides of the drawer using a Phillips screwdriver to drawer.
- Page 18 Wall For safety, please use the strap to secure the unit on the wall. ASSEMBLY IS COMPLETED. Make sure the product is rested on a flat surface and does not feel loose or wobbly. If it does, double check that the bolts/screws are secured and properly tightened.
Need help?
Do you have a question about the AC00549 and is the answer not in the manual?
Questions and answers