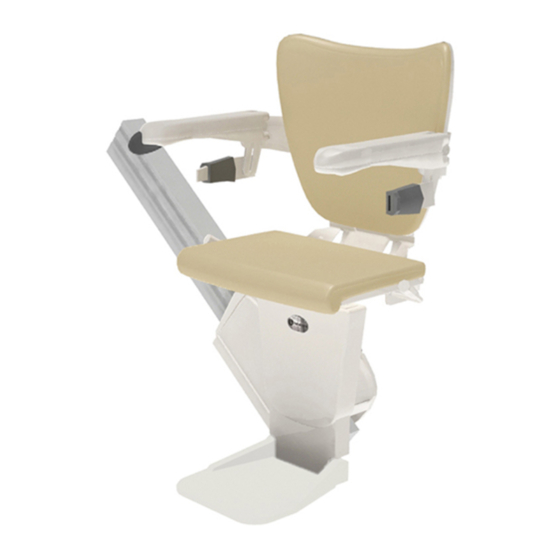
Handicare 1100 Instructions Manual
Ota parts
Hide thumbs
Also See for 1100:
- User manual ,
- Installation manual (150 pages) ,
- Quick reference manual (52 pages)
Advertisement
Quick Links
HANDICARE 1100
Hi, it's me.
I'm stuck on the lift.
Can you help me?
Don't worry,
I'll be there
in a minute
Parti del OTA
Pièces de OTA
OTA teile
OTA onderdelen
Partes del OTA
OTA parts
*AA29285*
A A 2 9 2 8 5
I N S T R U C T I O N
INSTRUCCIÓN
INSTRUCTIE
ANLEITUNG
INSTRUCTION
ISTRUZIONE
ES
I T
NL
FR
US
DE
EN
Advertisement

Summary of Contents for Handicare 1100
- Page 1 *AA29285* A A 2 9 2 8 5 HANDICARE 1100 I N S T R U C T I O N INSTRUCCIÓN INSTRUCTIE ANLEITUNG INSTRUCTION ISTRUZIONE Hi, it’s me. I’m stuck on the lift. Can you help me? Don’t worry, I’ll be there...
-
Page 2: Tools Required
KIT: AA29285 TOOLS REQUIRED Pz 2 2 mm 3 mm Torx T20 INSTRUCTION 11P00266 Electro Static Discharge 1 OTA INSTRUCTION... - Page 3 EXPLANATION Only a technician certified for this lift should service this lift (for more detailled information about the required competence see the installation manual). The latest instructions for the lift and instructions for options are available for download at www.handicarepartners.com. [1] Check that all the components of the concerning kit are present.
- Page 4 START FROM STEP 12 WHEN THE OTA IS PRE-INSTALLED INTO THE 1100 SEAT. 3 OTA INSTRUCTION...
- Page 5 Opmerking: door de metalen ring te draaien kan de drukknop losgemaakt worden van het connectordeel. Comience desde el paso 12 cuando la OTA esté preinstalada en el asiento 1100. [2]Desenrosque la cubierta superior del apoyabrazos {A}. Retire la cubierta superior {B}. Retire la cubierta inferior {C}.
- Page 6 Ph 3 5 OTA INSTRUCTION...
- Page 7 EXPLANATION [7]Connect the loom with the microphone{A}. Connect the loom with the push button{B}. [8]Install the top cover of the armrest{A}. Fasten the cover{B}. [9]Put any excess wiring into the back cover cavity {A}.Position the back cover{B}. Do not squeeze the wiring. [10]Fasten the back cover.
- Page 8 8 mm 7 OTA INSTRUCTION...
- Page 9 EXPLANATION [11]Unscrew the top cover{A}. Remove the cover{B}. [12]Unscrew the back cover{A}. Remove the cover{B}. [13]Unscrew the two nuts{A}. Remove the upper tilt chassis cover{B}. [14]Unscrew the bottom tilt chassis cover {A}. Remove the bottom tilt chassis cover {C}. Slide the two ribs on the cover out of the recesses on the frame {B}.
- Page 10 3 mm 9 OTA INSTRUCTION...
- Page 11 EXPLANATION [15]Unscrew the safety guards{A}. Slide the safety guard over the rail and remove from the power pack{B}. [16]Remove the two nyloc nuts{A}.Remove power pack cover from the unit{B}. [17]Position the OneTouchAlert(OTA) box the back cover. Fasten the box{B}. Note: ensure nuts are fitting into box before fastening to chassis. [18]Install the SIM card{A}.
- Page 12 SIM card Microphone/speaker Power Antenna Push button Orange LED 1 Orange LED 2 0 Nm 2 mm 11 OTA INSTRUCTION...
- Page 13 EXPLANATION [21]Connect the power loom to the print. [22]Connect the OTA loom the print{A}. Connect the OTA switch loom to the print{B}. [23]Connect the speaker loom{A}. Route the wires neatly into the recess of the box{B}. [24]Position{A} and fasten the cover of the OTA box{B}. [21]Sluit de stroomkabel aan op de PCB.
- Page 14 SIM card Microphone/speaker Power Antenna Push button Orange LED 1 Orange LED 2 13 OTA INSTRUCTION...
- Page 15 EXPLANATION [25]Guide the battery loom through the frame. [26]Guide the power loom through the chair and chair axle{A}. Connect the battery loom to the power loom{B}. [27]Disconnect the two wires of the battery. [28]Connect the battery loom of the OTA to the batteries (black wire on the -){A}. Reconnect the normal wires of the battery on top of the piggyback connectors.
- Page 16 8 mm 15 OTA INSTRUCTION...
- Page 17 EXPLANATION [29]Fasten the looms of the OTA nicely on chair and power pack with the supplied feet/cablebinders. Make sure that the looms cannot get too tight when turning the chair. [30]Fit the bottom tilt chassis cover {A}. Slide hereby the two ribs of the cover into the recesses of the frame. Secure the cover using two screws{B}.
-
Page 18: Program With App
0 Nm 3 mm 2 3 3 2 3 5 Hi, it’s me. Can you hear me? Numbers: tel. 1: ..tel. 2: ..tel. 3: ..tel. 4: ..tel. 5: ..Perfect, I understand you loud and clear Numbers: tel. - Page 19 EXPLANATION [33]Refit the cover {A} and tighten the screws {B}. Be carefull with the wiring. [34]Tilt the power pack cover onto the unit. Be careful not to trap the looms.Carefully push the power pack cover into the four brackets on the unit{A}. Secure the power pack cover in place using the two nyloc nuts. Be carefull with the motor wiring{B}. [35]Slide the safety guards over the rail onto the power pack{A}.Secure the guards firmly in place{B}.
- Page 20 Only a certified technician should install this kit. The latest instructions of the lift and instructions for options are available for download at www.handicarepartners.com. Partes del OTA Handicare 1100 Este manual contiene: Este kit solo lo debe instalar un técnico cualificado. Las últimas instrucciones del salvaescaleras y las instrucciones para las diversas opciones están disponibles para su descarga en www.handicarepartners.com.


Need help?
Do you have a question about the 1100 and is the answer not in the manual?
Questions and answers